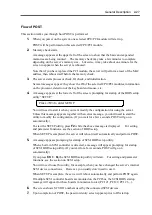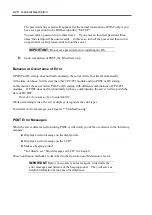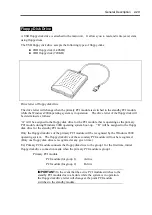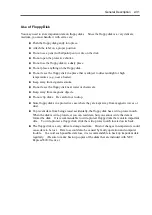
2-32 General Description
CD-ROM Drive
NEC Express5800/ft series has a CD-ROM drive on the front panel. It is a device used to read
data from a CD-ROM (compact disc read-only memory). Compared to a floppy disk, a CD-ROM
allows for larger volume and fast data readout.
CAUTION
Observe the following instructions to use the server safely. Otherwise, there
are risks of a burn, injury, or damage to physical assets. For details, see
safety precautions in Chapter 1.
■
Do not leave the CD tray ejected.
When you cannot eject a CD-ROM
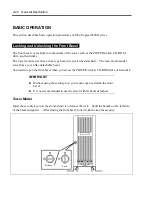
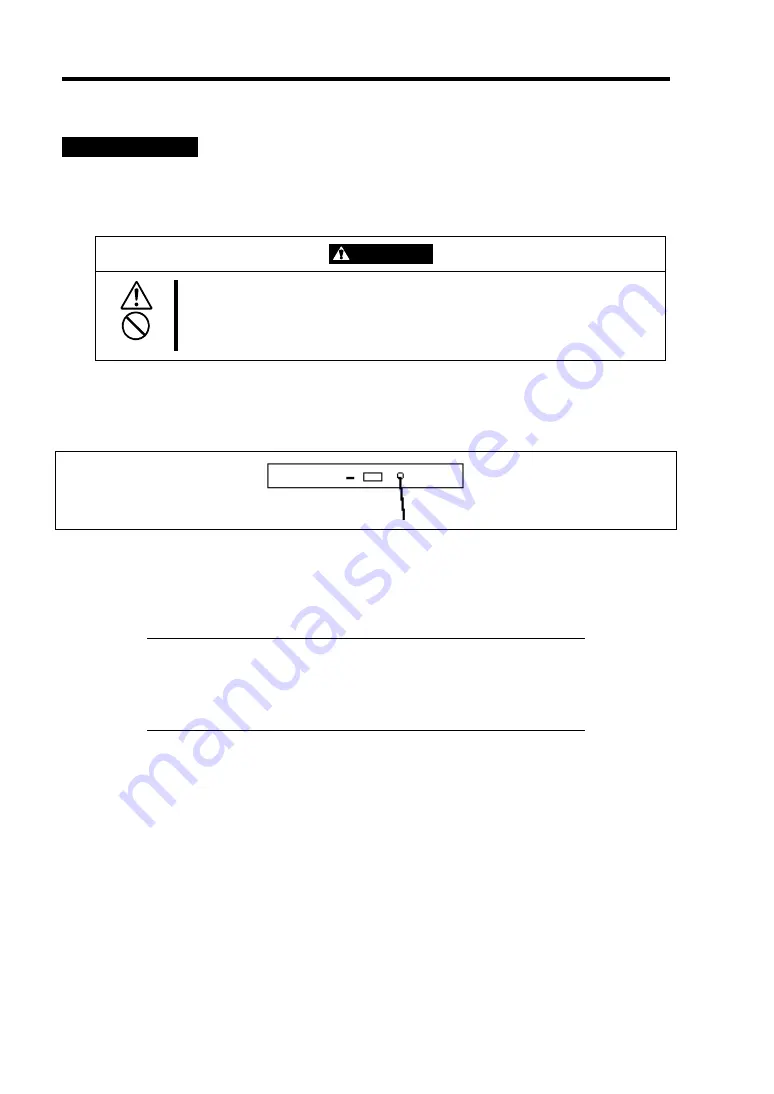
When you cannot eject the CD-ROM by pressing the eject button, follow the steps below to eject it:
1.
Press the POWER switch to power off the server.
2.
Use a metal pin of about 1.2 mm in diameter and 100 mm long (alternatively, you can use
a fairly large paper clip after straightening). Insert it gently into the manual release hole
located to the right of the eject button until the tray is ejected.
IMPORTANT:
Do not use a toothpick, plastic pin, or other breakable objects.
If you cannot eject the CD-ROM by following the steps above,
contact your sales agent.
3.
Hold the tray and pull it out.
4.
Take out the CD-ROM.
5.
Push the tray back.
Manual release hole
Summary of Contents for Express5800/320Lb FT Linux
Page 10: ...iv This page is intentionally left blank ...
Page 16: ...x This page is intentionally left blank ...
Page 19: ...Precautions for Use 1 3 Label A Label B Label C Label E Label D ...
Page 20: ...1 4 Precautions for Use Rack mount model Label B Label A Label C Label D ...
Page 21: ...Precautions for Use 1 5 Label D Label C Label B Label A ...
Page 22: ...1 6 Precautions for Use PCI CPU Modules PCI Module CPU Module Label A Label A Label A ...
Page 36: ...1 20 Precautions for Use This page is intentionally left blank ...
Page 44: ...2 8 General Description Front View inside Tower model Rack mount model ...
Page 70: ...2 34 General Description This page is intentionally left blank ...
Page 118: ...3 48 Setup This page is intentionally left blank ...
Page 162: ...4 44 System Configuration This page is intentionally left blank ...
Page 294: ...6 14 Maintenance This page is intentionally left blank ...
Page 336: ...7 42 Troubleshooting This page is intentionally left blank ...
Page 355: ...System Upgrade 8 19 15 Check the disk you selected and click Next 16 Click Complete ...
Page 399: ...System Upgrade 8 63 Cable ties included with cabinet ...
Page 410: ...8 74 System Upgrade This page is intentionally left blank ...
Page 412: ...A 2 Specifications This page is intentionally left blank ...

