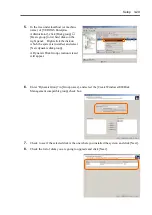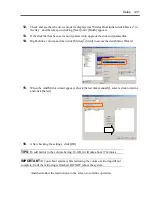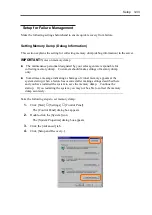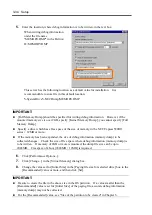
3-24 Setup
IMPORTANT:
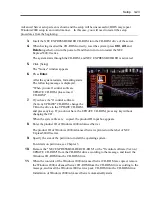
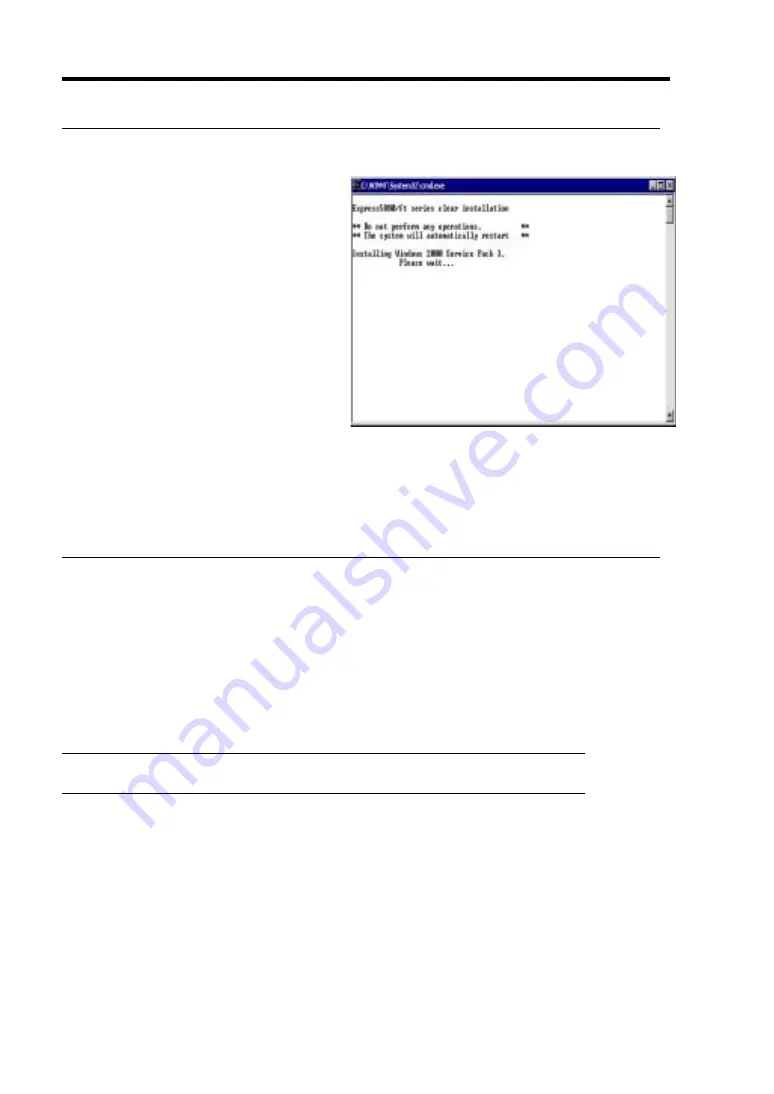
During automatic installation, a
window will appear to show messages
on progress and the applications will
show their install wizards. However,
before “Windows 2000 Setup Wizard”
window appears, do not do any
operation on the screen.
If you close the installation progress
window, the installation will be
interrupted and Windows will be ready
for use. However, the dual
configuration will not be established
successfully. In this case, you will
need to install Windows 2000
Advanced Server all over again.
If you find “Previous Operating
System C:” on the OS selection screen, never select this. If you have selected “Previous
Operating System C:,” the following message will appear; press a key as instructed to return to
the OS selection screen.
Non-system disk or disk error
Press a key to reboot
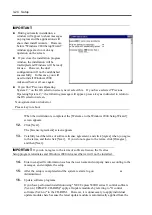
When the installation is completed, the [Welcome to the Windows 2000 Setup Wizard]
screen appears.
12.
Click [Next].
The [License Agreement] screen appears.
13.
Carefully read the terms of software license agreement, and click [Agree] when you agree
to the terms, and then click [Next]. If you do not agree to the terms, click [Disagree],
and then [Next].
IMPORTANT:
If you do not agree to the terms of software license, the ft series
Setup program terminates and Windows 2000 Advanced Server will not be installed.
14.
Enter user-specific information such as the user name and company name according to the
messages, and complete the setup.
15.
After the setup is completed and the system restarts, log on
as
Administrator.
16.
Update software programs
If you have performed installation using "NEC Express5800/ft series ft control software
(Ver:n.n) UPDATE CD-ROM," apply all update modules by referring to "ft control
software (Ver:n.n)" in the CD-ROM. However, it is unnecessary to apply individual
update modules here because the latest update module is automatically applied from the
Summary of Contents for Express5800/320Lb FT Linux
Page 10: ...iv This page is intentionally left blank ...
Page 16: ...x This page is intentionally left blank ...
Page 19: ...Precautions for Use 1 3 Label A Label B Label C Label E Label D ...
Page 20: ...1 4 Precautions for Use Rack mount model Label B Label A Label C Label D ...
Page 21: ...Precautions for Use 1 5 Label D Label C Label B Label A ...
Page 22: ...1 6 Precautions for Use PCI CPU Modules PCI Module CPU Module Label A Label A Label A ...
Page 36: ...1 20 Precautions for Use This page is intentionally left blank ...
Page 44: ...2 8 General Description Front View inside Tower model Rack mount model ...
Page 70: ...2 34 General Description This page is intentionally left blank ...
Page 118: ...3 48 Setup This page is intentionally left blank ...
Page 162: ...4 44 System Configuration This page is intentionally left blank ...
Page 294: ...6 14 Maintenance This page is intentionally left blank ...
Page 336: ...7 42 Troubleshooting This page is intentionally left blank ...
Page 355: ...System Upgrade 8 19 15 Check the disk you selected and click Next 16 Click Complete ...
Page 399: ...System Upgrade 8 63 Cable ties included with cabinet ...
Page 410: ...8 74 System Upgrade This page is intentionally left blank ...
Page 412: ...A 2 Specifications This page is intentionally left blank ...

