1. Installing Internal Optional Devices
Express5800/B120f User's Guide
48
Chapter 2 Preparations
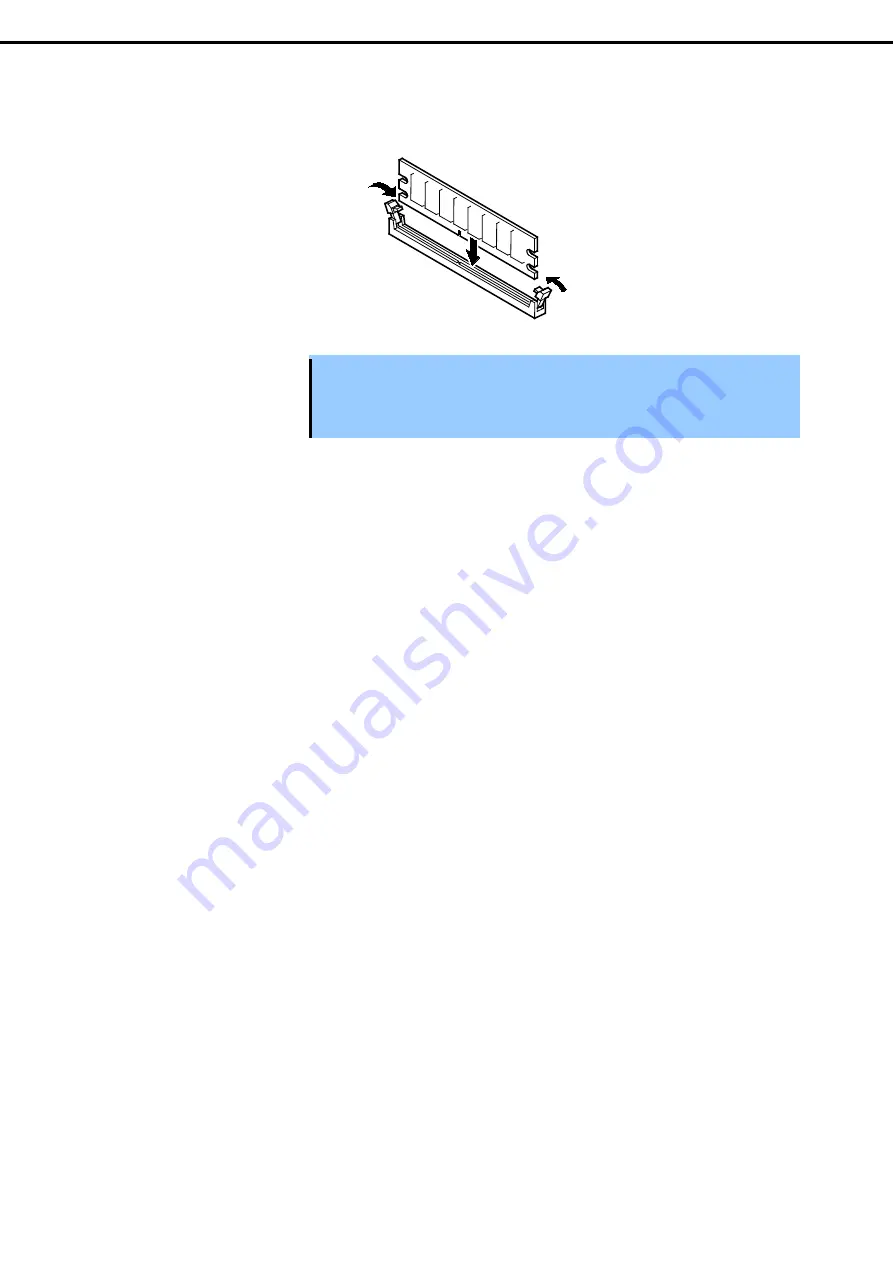
2. Push the DIMM into the socket straight.
If the DIMM is inserted into the DIMM socket, the lever is automatically closed.
Important
•
Make sure of the orientation of the DIMM. The connecting side of the DIMM has a
cut-out to prevent an incorrect insertion.
•
Use extreme care when inserting a DIMM. Applying too much pressure can
damage the DIMM and/or connector.
3. Close the lever firmly.
4. If you need to install two or more DIMMs, install them according to steps 2 through 4.
5. Install the top cover, air duct, and hard disk drive cage according to
Chapter 2 (1.3.4 Installation of top
cover, air duct, and hard disk drive cage)
.
If Mezzanine Card (Type 2) for blade is installed, remove it according to
Chapter 2 (1.6.2 Installation)
.
6. Install the CPU blade having been removed to the Blade Enclosure according to the
User's Guide
of the
Blade Enclosure.
7. Make sure that no error message appears on the POST screen.
If any error messages are displayed, refer to
Chapter 3 (1. Error Message of POST and Virtual LCD)
in
"
Maintenance Guide
".
8. Run SETUP and select menus in the order of
Advanced
and
Memory Configuration
to make sure that
the status of installed DIMM is "Normal". (Refer to
Chapter 2 (1. System BIOS)
in "
Maintenance Guide
".)
9. Set the paging file size to a value larger than the recommended value (installed memory * 1.5) (for
Windows). Refer to
Installation Guide
for more information.


