5. Installing Optional Devices
Express5800/R310e-E4, R320e-E4, R320e-M4, R310f-E4, R320f-E4, R320f-M4 Maintenance Guide (Windows)
171
Chapter 2 Configuring and Upgrading the System
5.3.1
Installing 2.5-inch Hard Disk Drive
Follow the steps below to install the hard disk drives. Install the hard disk drives from a smaller slot number to
large number on CPU/IO module 0/1, from slot 0 to slot through slot 7.
Important
See Chapter 2 (5.1.3 Precautions for installing/replacing optional devices) and
Chapter 1(1.8 Anti-static Measures) in Safety Precautions and Regulatory
Notices before starting installing or removing options.
If you install hard disk drives when this server is turned off, mount 2 hard disk
drives to constitute duplexing, then start the system. After the system is started,
see Chapter 3(1.2.2 Making disks duplex by RDR) and be sure to configure the
hard disk drive duplexing settings.
Tips
You can install a hard disk drive without shutting down the OS.
In this case, you can skip Step 1 and Step 7.
1. Shut down the OS.
The server turns off automatically.
2. Remove the front bezel.
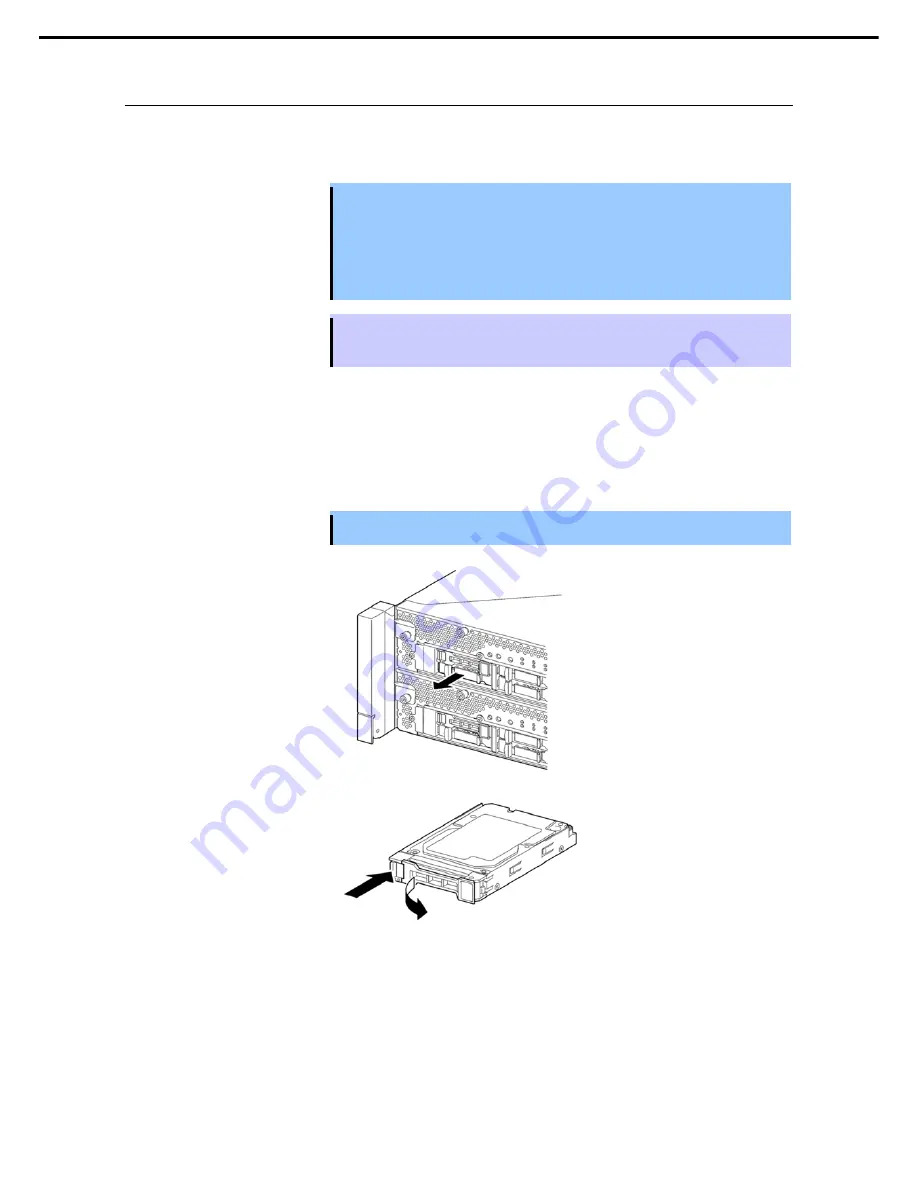
3. If a dummy tray is inserted in a slot you want to install the hard disk drive, remove the dummy tray.
Important Keep and store the dummy tray for future use.
4. Unlock the hard disk drive.
Summary of Contents for Express5800/R310e-E4
Page 267: ...MEMO...


