1. Hard Disk Drive Operations
Express5800/R310g-E4, R320g-E4, R320g-M4 Maintenance Guide (Windows)
133
Chapter 2 Configuring and Upgrading the System
1.3
Replacing Failed Hard Disk Drives
The following describes how to locate and replace the failed hard disk drive.
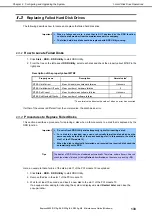
Important
When a failure occurs to a disk that is NOT duplexed by the RDR function,
contact a staff member from the maintenance service company.
The failed hard drive disk should be replaced with RDR Utility running.
How to Locate Failed Disks
1.3.1
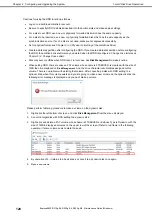
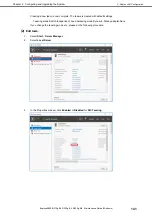
1. Click
Start
–
RDR
–
RDR Utility
to start RDR Utility.
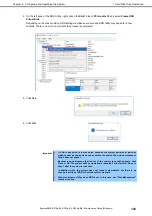
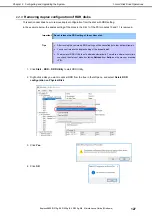
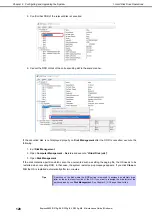
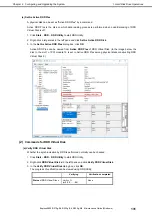
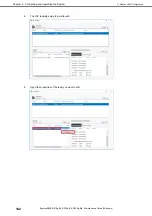
2. From the tree on the left pane of
RDR Utility
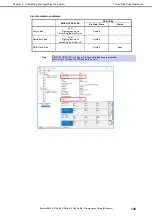
, select each disk and check the property about MTBF in the
right pane.
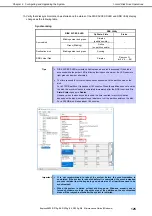
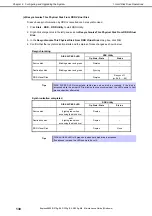
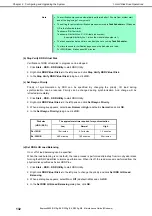
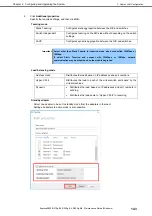
Description of the property about MTBF
Property name
Description
Normal value*
MTBF: HardCurrent
Mean time between hardware failures.
Unknown
MTBF: HardNumberOfFaults
Mean number of hardware failures.
0
MTBF: SoftCurrent
Mean time between software failures.
Unknown
MTBF: SoftNumberOfFaults
Mean number of software failures.
0
* The normal value denotes the value of when no error has occurred.
If either of the values is different from the normal value, the disk has an error.
Procedures to Replace Failed Disks
1.3.2
This section describes a procedure for replacing a disk when a failure occurs to a disk that is duplexed by the
RDR function.
Important
Do not refresh RDR Utility status frequently right after inserting a disk.
For a disk to be inserted, use a new or physically formatted disk which has the
same capacity as the disk of the corresponding slot (in this example, the disk in
slot 1 of the PCI module 10)
When the disk is physically formatted and recycled, the inserted disk might be
automatically set to RDR.
Tips
The display of RDR Utility is not updated automatically. Therefore, update it every time you
check the status of disks by clicking
Refresh
from
Action
on the menu or pressing <
F5
>.
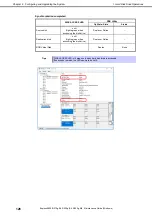
Here, an example that a failure of the disk in slot 1 of the PCI module 10 is explained.
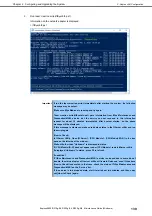
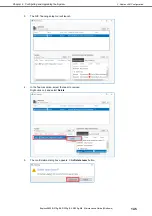
1. Click
Start
–
RDR
–
RDR Utility
to start RDR Utility.
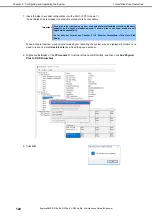
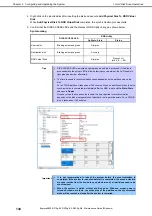
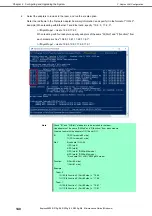
2. Remove the disk in the slot 1 of the PCI module 10.
3. Wait for at least 15 seconds, and insert a new disk to the slot 1 of the PCI module 10.
If a popup window asking for rebooting the system is displayed, select
Restart Later
and close the
popup window.

