Release 6.0
223
User Guide
Chapter 7 Initializing a Disk Array (SAS)
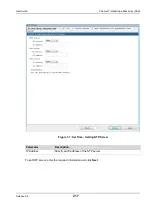
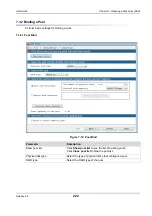
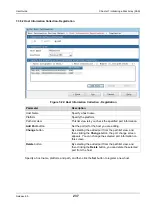
Perform the following steps to bind a pool:
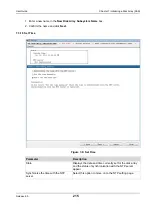
1. Select the type of physical disk from
Physical disk type
.
2. Select the type of RAID from the
RAID type
drop-down list menu.
3. Select the number of physical disk that configure the pool and their capacity using either
Auto disk
selection
option or
Manual disk selection
option.
4. Click
Next
to move on to the step for checking settings.
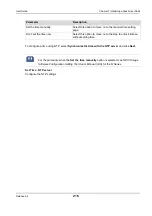
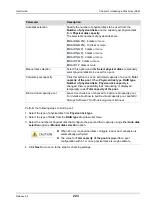
Auto disk selection
Specify the number of physical disks to be used from the
Number of physical disks
and the capacity per physical disk
from
Physical disk capacity
.
The selectable numbers of physical disks are:
RAID6(4+PQ): 6 disks or more
RAID6(8+PQ): 10 disks or more
RAID5(2+P): 3 disks or more
RAID5(4+P): 5 disks or more
RAID5(8+P): 9 disks or more
RAID-TM: 3 disks or more
RAID1: 2 disks or more
Manual disk selection
Select this option and click
Select physical disks
to manually
select physical disks to be used for a pool.
Calculate pool capacity
Click this button to see an estimated capacity of a pool in
Total
capacity of the pool
. When
Physical disk type
,
RAID type
,
Number of physical disks
,
Physical disk capacity
is
changed, there is possibility that “calculating” is displayed
temporarily under
Total capacity of the pool.
Bind a virtual capacity pool
Leave this check box unchecked to build a real capacity pool.
For details about how to build a virtual capacity pool, see
NEC
Storage Software Thin Provisioning User’s Manual
.
Parameter
Description
When 61 or more physical disks configure a pool, pool expansion is
automatically performed.
The value for
Total capacity of the pool
displayed for a pool
configuration with 61 or more physical disks is rough estimate.
Summary of Contents for M100
Page 25: ...Release 6 0 25 User Guide About Warning Labels Power Supply AC Power Supply ...
Page 27: ...Release 6 0 27 User Guide About Warning Labels Battery ...
Page 29: ...Release 6 0 29 User Guide About Warning Labels Power Cable AC Power Supply ...
Page 40: ...Release 6 0 40 User Guide Chapter 1 Overview 1 2 1 4 Controller CONT ...
Page 48: ...Release 6 0 48 User Guide Chapter 1 Overview 1 2 3 3 Controller CONT ...
Page 260: ...Release 6 0 260 User Guide Chapter 8 Installing Optional Parts Figure 8 12 Removing the DIMMs ...
Page 459: ...NEC Corporation 7 1 Shiba 5 chome Minato ku Tokyo 108 8001 Japan URL http www necstorage com ...


