24
5. Using On-Screen Menu
❶
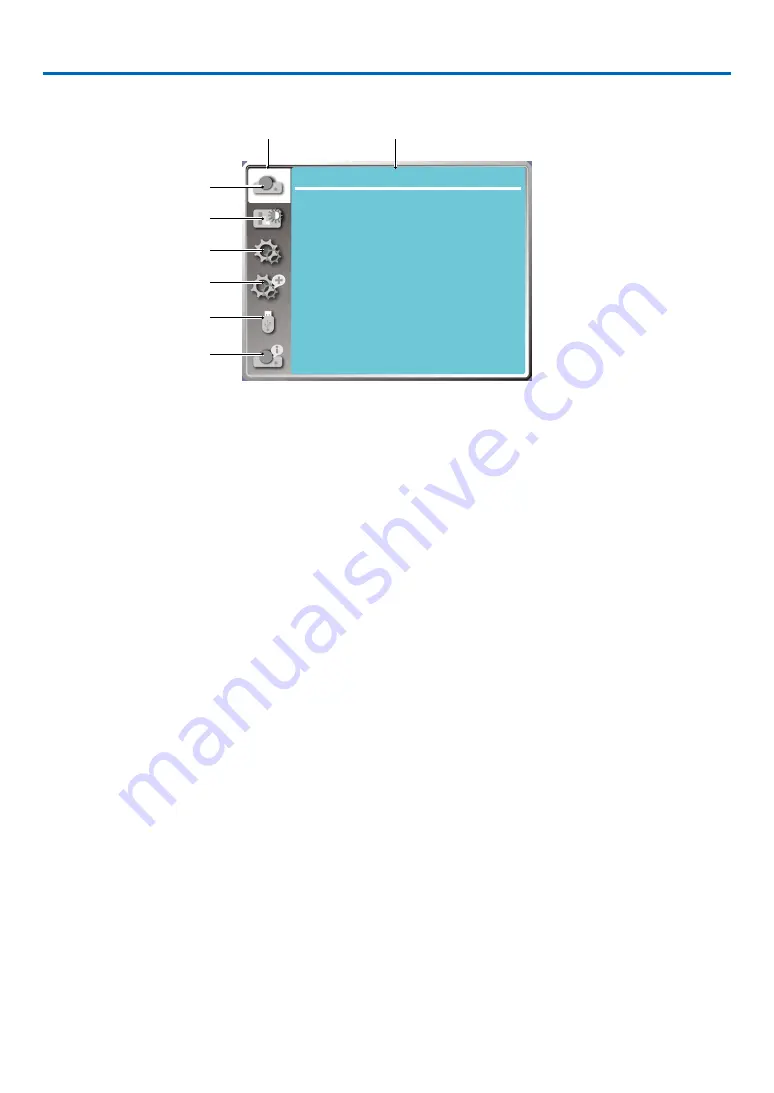
Menu item overview
...
Display
Auto PC adj.
Fine sync
0
0
0
0
H position
V position
Aspect
Normal
Front
Upper left
Blue
Orientation
Menu position
Background display
System
H.size
1. Display menu
• Select Auto PC adj., Fine sync, H position, V position, H. size to adjust the parameters to match the VGA
format.
• Aspect: XGA(Normal/Wide/Full/16:10), WXGA/WUXGA(Normal/Wide/Full/4:3).
---Video signal only supports Normal/Wide.
• Orientation: Choose Front, Auto ceiling/Rear, Auto ceiling/Front, Ceiling / Rear, Ceiling / Front and Rear.
• Menu position: Set screen menu display position on the screen.
• Background display: Sets the background color of the projection screen.
• Signal format: Select the compatible system signal format with input source.
2. Color adjust menu
Available options in the Image mode menu are Dynamic, Standard, Cinema, Blackboard (Green), Color-
board, or User image.
• For video signal input, the available color adjust options: Contrast, Brightness, Color, Tint, Red, Green,
Blue and Sharpness.
• For other signal input, the available color adjust options:Contrast, Brightness, Color temp. , Red, Green,
Blue and Sharpness.
3. Setting menu
Configuration of the basic function operation on the projector: On start, Standby mode, High altitude, ECO
mode, Cooling fast, Closed caption, Key lock, Iris, Baud rate, Sound and HDMI setup.
4. Expand menu
Available adjust options are Language, Auto setup, Keystone, Security, Power management, Filter, Test
pattern, Network setup, Control ID, Factory default and Lamp counter reset.
5. USB-A menu
Select parameter of Set slide, Slide transition effect, Sort order, Rotate, Best fit, Repeat, Apply.
6. Information menu
Display information about the projector.
①
②
③
④
⑤
⑥
Main menu
Submemu


