32
5. Using On-Screen Menu
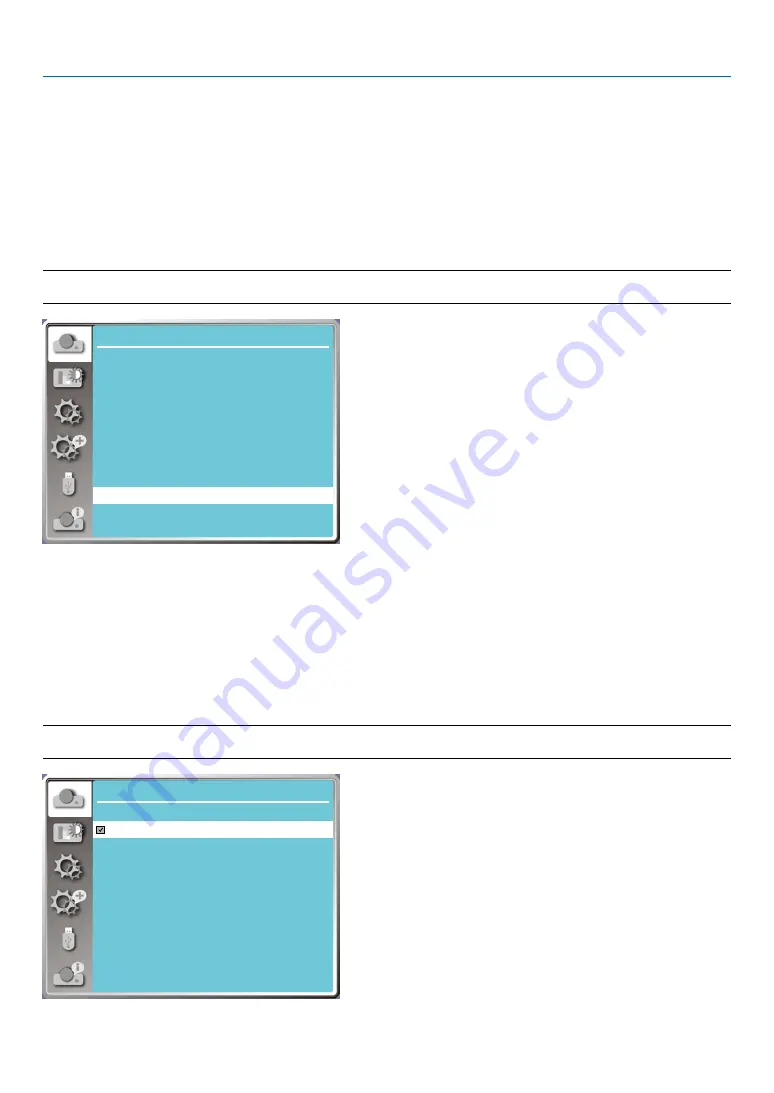
[Background display]
Select this function can adjust background color.
Press < MENU > button on the remote controller or on the top control panel to display the OSD menu. Press
▲ ▼
button to select the Display menu ,then press <ENTER> or
▶
button.
1) Press
▲ ▼
button to select [Background display] menu.
2) Press <ENTER> button.
3) Press
▲ ▼
button to select reqiured item .
Blue....... The entire projection area display blue.
Black......The entire projection area display black.
Logo.......The entire projection area display NEC PROJECTOR background.
NOTE:
• This function will be invalid once you select input signal as USB-A and LAN.
H.size
...
Display
Auto PC adj.
Fine sync
0
0
0
0
H position
V position
Aspect
Normal
Front
Upper left
Blue
Orientation
Menu position
Background display
System
[Signal format]
If a PC is selected as the input signal source, your projector will detect and adapt to its signal format automatically.
Correct image can be displayed without any setup operation.
Your projector will display one of the following:
Auto: The Auto PC Adjusting function will make necessary adjustment to your projector to project valid images. If
images are displayed incorrectly, adjust it manually.
---- : No PC signals detected. Check the connection between PC and your projector.
NOTE:
• Your projector may save data generated by the Auto PC Adjusting function.
Display
System
1024 x 768 , 60 HZ
1920 x 1080 , 60 HZ
- - - -
- - - -
1280 x 800 , 60 HZ
• The selected Signal format displays in the Signal format menu.


