1. Installing Internal Optional Devices
Express5800/GT110e-S User’s Guide
91
Chapter 2 Preparations
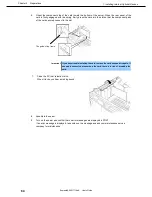
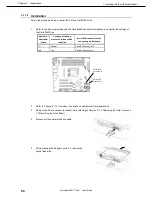
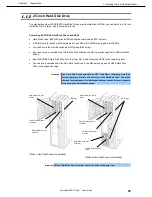
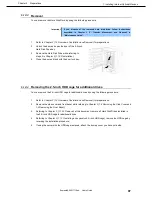
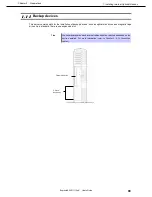
6. If the 3.5-inch device is attached, remove the cable and then remove the device.
For details, refer to
Chapter 2
(
1.14
Backup devices
).
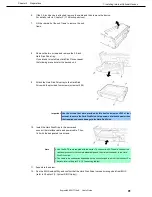
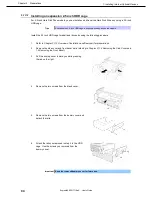
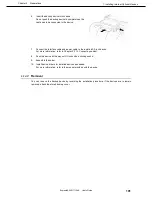
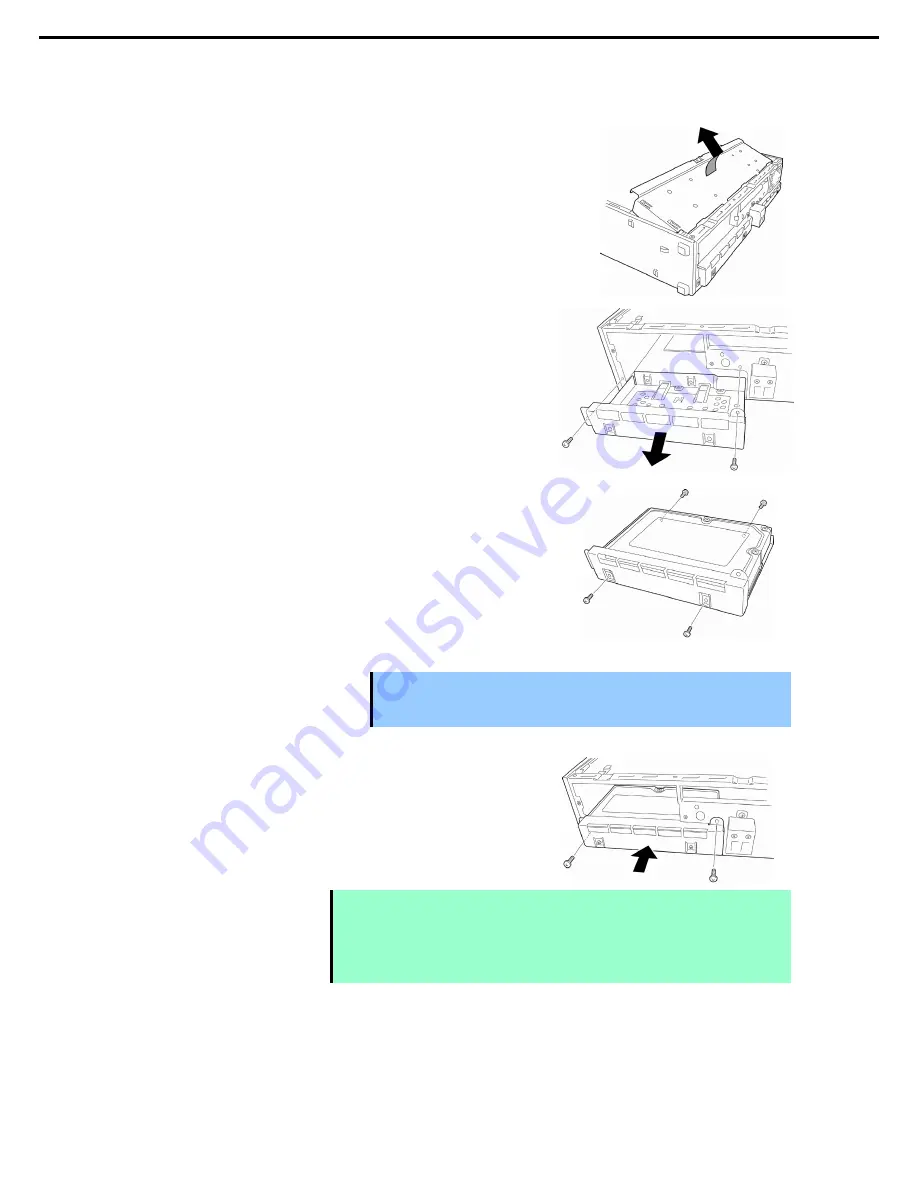
7. Lift the rear part of the sub frame to remove the sub
frame.
8. Remove the two screws and remove the 3.5-inch
Hard Disk Drive tray.
If you intend to install two Hard Disk Drives, repeat
the following procedure for the second unit.
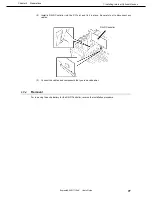
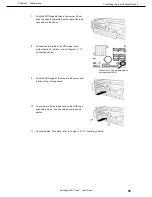
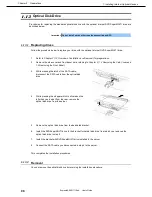
9. Attach the Hard Disk Drive tray to the Hard Disk
Drive with the provided four screws (screw set 505).
Important Use the screws that were provided by this device (screw set 505 of four
screws) to secure the Hard Disk Drive. Using screws of a length greater than
that required can cause damage to the Hard Disk Drive.
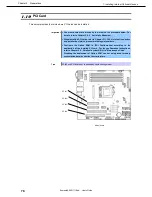
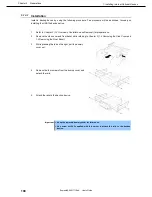
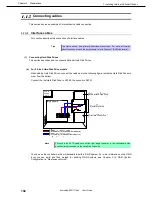
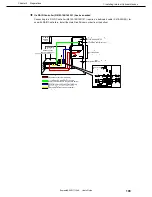
10. Install the Hard Disk Drive in the server and
connect the interface cable and power cable. Then,
fix it with the designated two screws.
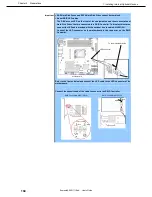
Note
•
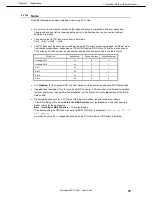
Use the SATA cable supplied with the server. To connect the SATA cable, connect the
right angle connector to the motherboard side and the straight connector to the Hard
Disk Drive side.
•
The cable to be used varies depending on the controller type to which it will connect. For
details, refer to
Chapter 2
(
1.15 Connecting cables)
.
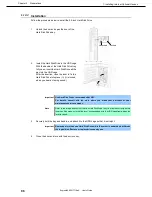
11. Assemble the server.
12. Run the BIOS setup utility and confirm that the Hard Disk Drive is properly recognized from BIOS
(refer to
Chapter 3
(
2. System BIOS Setup
)).

