System Upgrade 8-7
Installing 2.5-inch Hard Disk Drive
Follow the procedure below to install the hard disks. Install the hard disks from a smaller slot
number to large number on CPU/IO module 0/1, from slot 0 to slot through slot 7.
IMPORTANT:
Refer to “ANTI-STATIC MEASURES” and “PREPARING
YOUR SYSTEM FOR
UPGRADE” before starting installing or removing options.
You must mount two HDDs that form dual disk configuration before starting the OS.
1.
Shut down the OS. The system turns off automatically.
2.
Remove the front bezel.
3.
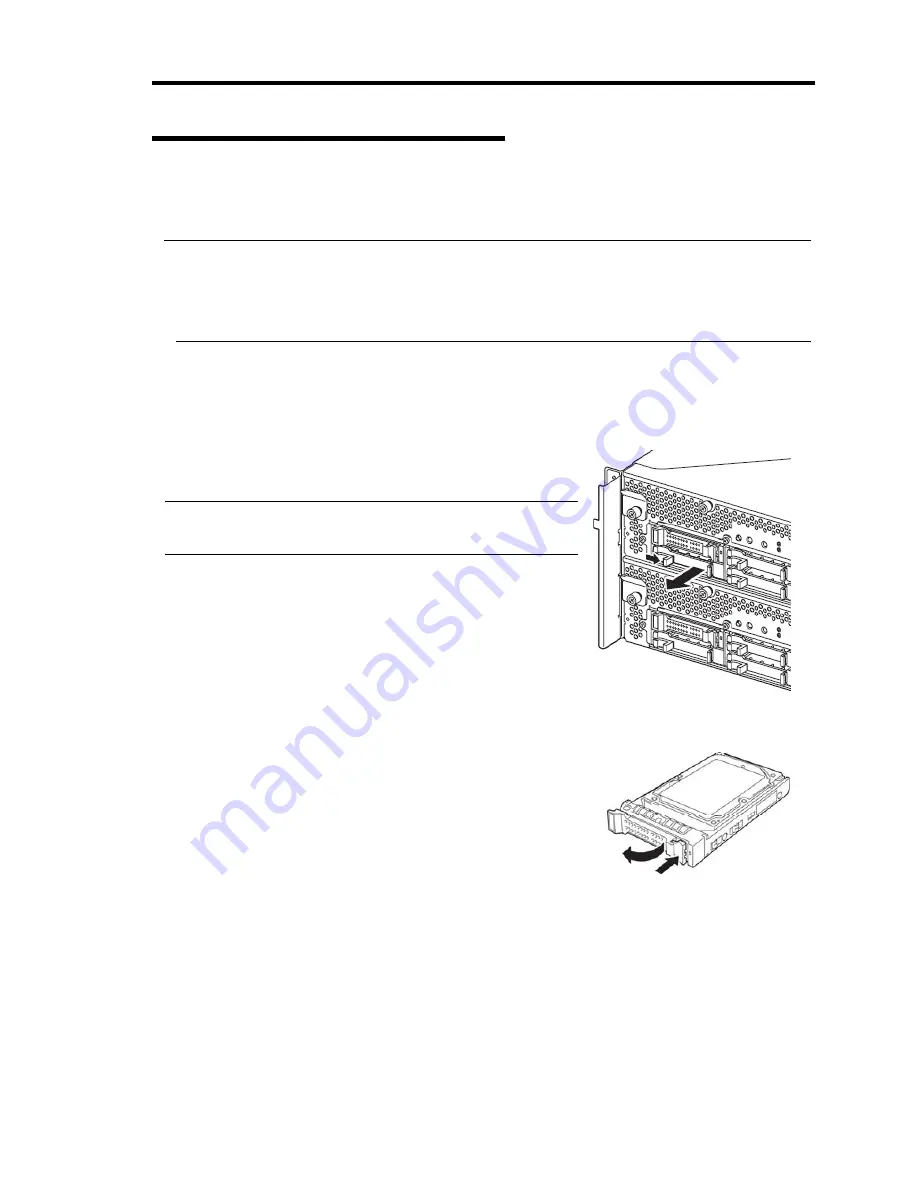
Identify the slot to which you want to install a hard disk drive.
4.
If a dummy tray is inserted in a slot you want to install
the hard disk drive, remove the dummy tray.
IMPORTANT:
Keep and store the dummy tray with care.
5.
Unlock the hard disk drive.
Summary of Contents for N8800-162F
Page 10: ...this page is intentionally left blank...
Page 43: ...General Description 2 7 Front View With front bezel attached With front bezel removed...
Page 46: ...2 10 General Description Rear View R320a E4 R320b M4...
Page 90: ...3 22 Linux Setup and Operation This page is intentionally left blank...
Page 107: ...System Configuration 4 17 Security Move the cursor onto Security to display the Security menu...
Page 124: ...4 34 System Configuration Exit Move the cursor onto Exit to display the Exit menu...
Page 136: ...4 46 System Configuration This page is intentionally left blank...
Page 212: ...6 16 Maintenance This page is intentionally left blank...
Page 236: ...7 24 Troubleshooting This page is intentionally left blank...
Page 267: ...System Upgrade 8 31 PCI 2 PCI 1 R320a E4 R320b M4 PCI 2 PCI 1 PCI 4 PCI 3 Riser Card...


