Upgrading Your System 4-5
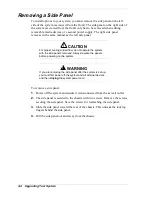
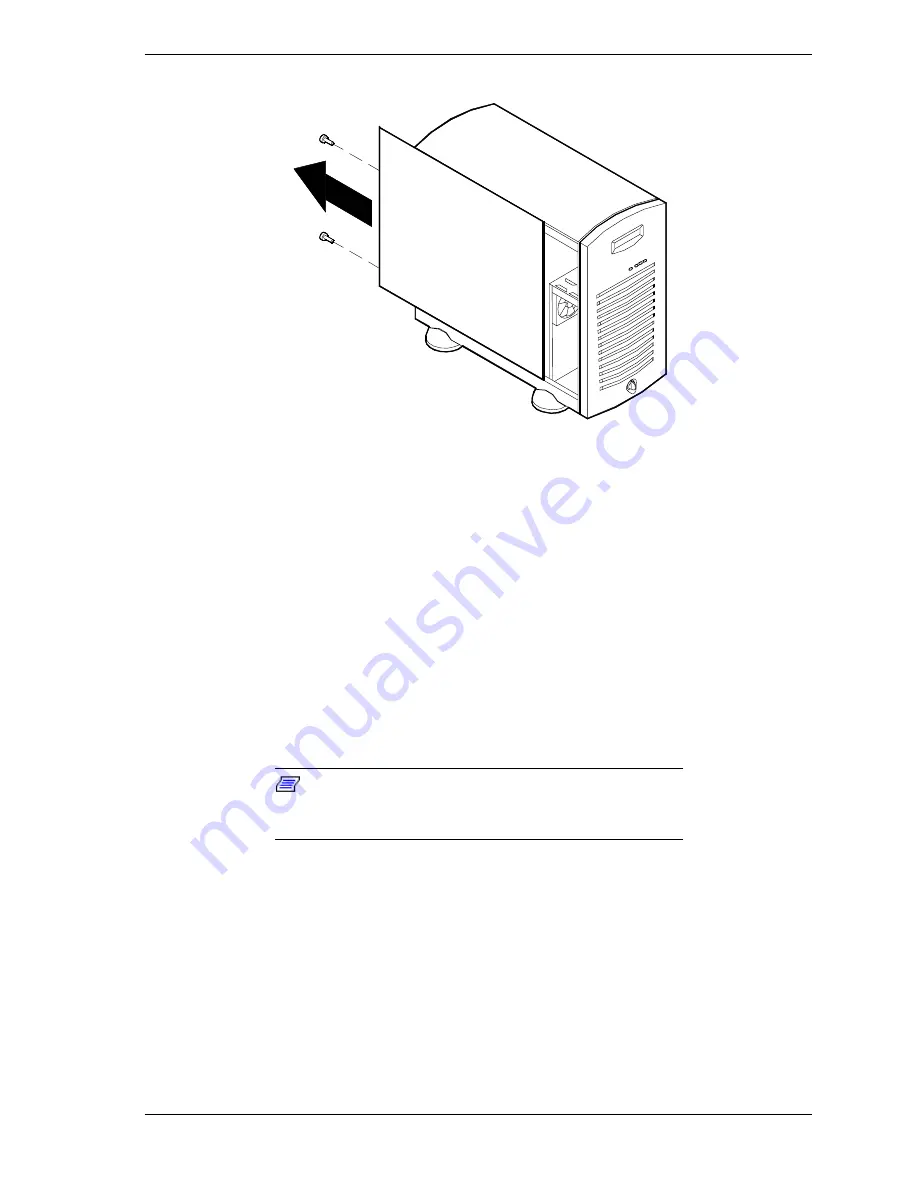
Removing a System Side Panel
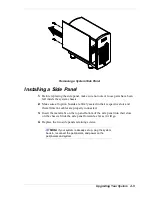
Installing a Side Panel
1.
Before replacing the side panel, make sure no tools or loose parts have been
left inside the system chassis.
2.
Make sure all option boards are firmly seated in their respective slots and
that all interior cables are properly connected.
3.
Insert the metal tabs on the top and bottom of the side panel into their slots
on the chassis. Slide the side panel forward as far as it will go.
4.
Replace the two side panels retaining screws.
Note:
If your system is already set up, plug the system
back in, reconnect the peripherals, and power on the
peripherals and system.
Summary of Contents for NEAX Express
Page 1: ...U s e r s G u i d e NEAX Express...
Page 2: ......
Page 3: ...U s e r s G u i d e NEAX Express...
Page 10: ...viii Contents...
Page 36: ...1 20 System Overview...
Page 80: ...3 30 Configuring Your System...
Page 136: ...5 22 Problem Solving...
Page 137: ...A System Cabling System Cabling Before You Begin Static Precautions Standard Configuration...
Page 142: ...A 6 System Cabling...
Page 180: ...C 20 Emergency Management Port...
Page 181: ...D Platform Event Paging...
Page 192: ...10 Glossary...
Page 198: ...Index 4...
Page 199: ...xx...
Page 200: ...456 01509 000...


