Upgrading Your System 4-15
Installing DIMMs
1.
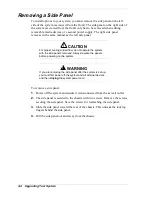
Power off the system and remove the left side panel as described earlier in
this chapter.
!
CAUTION
Observe static precautions. Use an antistatic wrist strap.
Hold DIMMs only by their edges.
2.
Holding the DIMM module only by the edges, remove it from its antistatic
package.
3.
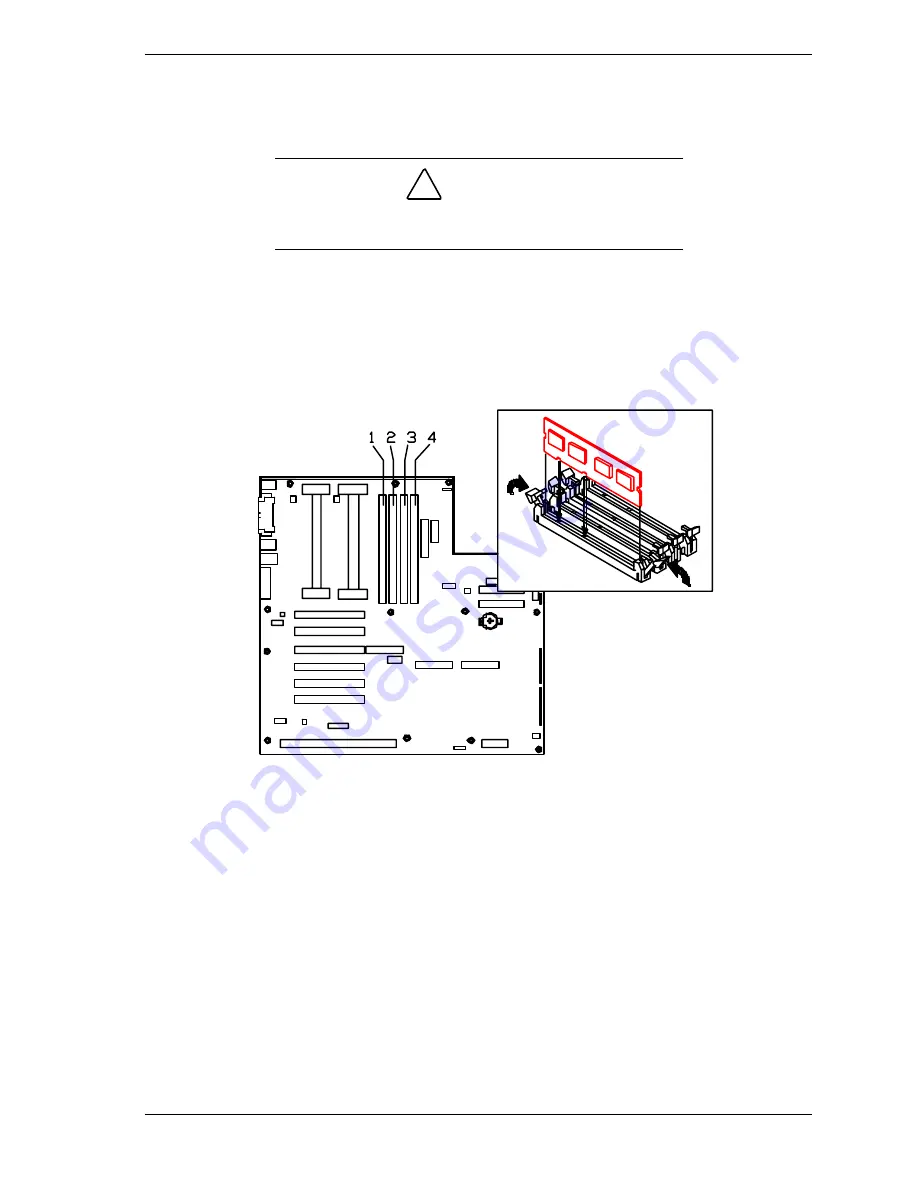
Position the DIMM so that the two notches in the bottom edge of the DIMM
align with the keyed socket.
Inserting Memory DIMMs
4.
Insert the bottom edge of the DIMM into the socket, and press down firmly
on the DIMM until it seats correctly.
5.
Gently push the plastic ejector levers on the socket ends to the upright
position.
6.
Repeat the steps to install each DIMM.
7.
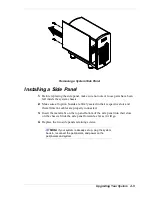
Replace the left side panel, plug in the system power cord, and turn on the
system.
Summary of Contents for NEAX Express
Page 1: ...U s e r s G u i d e NEAX Express...
Page 2: ......
Page 3: ...U s e r s G u i d e NEAX Express...
Page 10: ...viii Contents...
Page 36: ...1 20 System Overview...
Page 80: ...3 30 Configuring Your System...
Page 136: ...5 22 Problem Solving...
Page 137: ...A System Cabling System Cabling Before You Begin Static Precautions Standard Configuration...
Page 142: ...A 6 System Cabling...
Page 180: ...C 20 Emergency Management Port...
Page 181: ...D Platform Event Paging...
Page 192: ...10 Glossary...
Page 198: ...Index 4...
Page 199: ...xx...
Page 200: ...456 01509 000...


