Upgrading Your System 4-19
3.
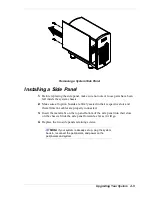
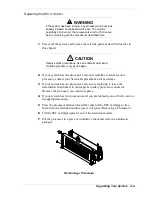
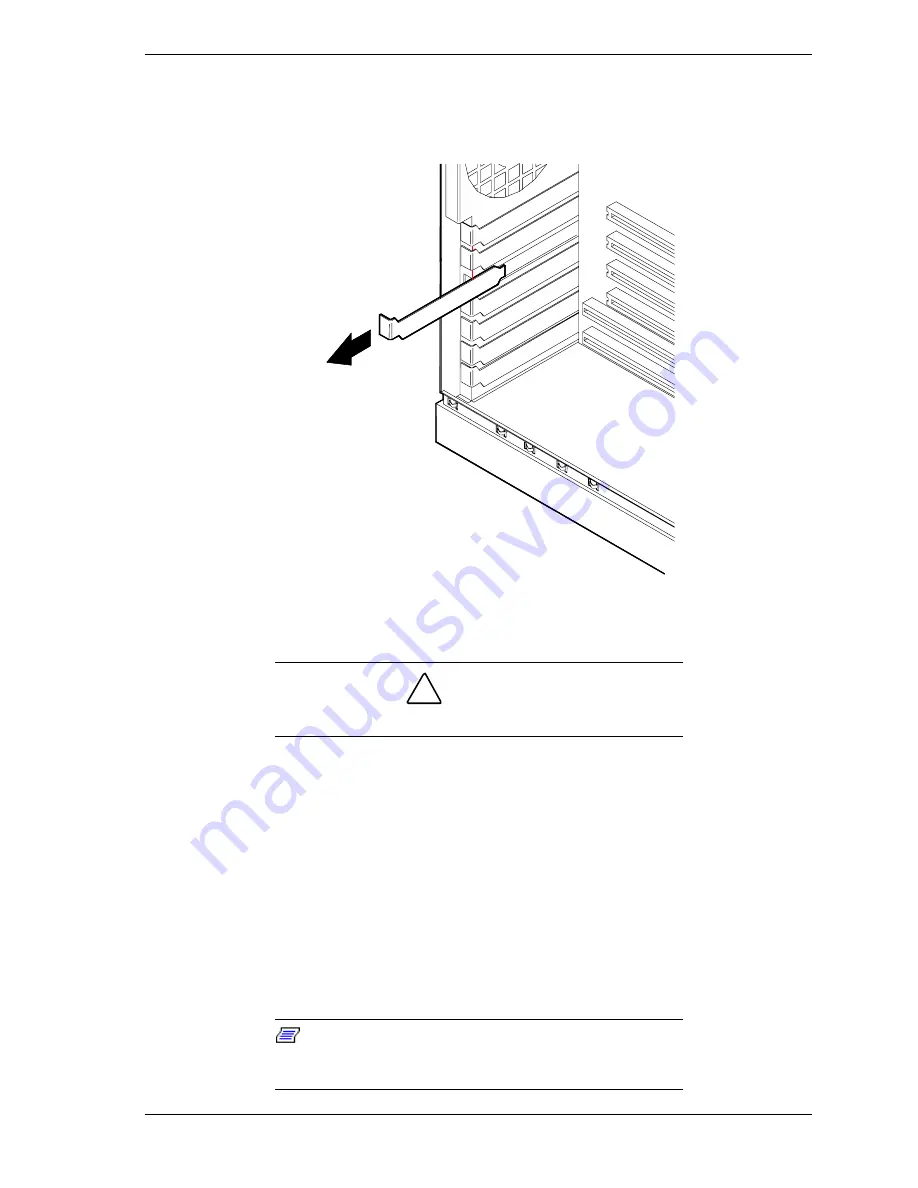
Remove and save the expansion slot cover by sliding it straight back and out
of the slot.
Removing the Expansion Slot Cover
!
CAUTION
Observe static precautions. Use an antistatic wrist strap.
4.
Remove the option board from its protective wrapper, holding the board
only by the edges. Do not touch the board components or the gold
connectors.
5.
Record the option board serial number in the equipment log.
6.
Set any board jumpers or switches as described in the documentation that
comes with the option board.
7.
Refer to the documentation accompanying the option board for information
on whether the board is a PCI or ISA board. Refer to “Option Board
Hardware Configurations” table to determine the recommended option board
slot assignment and configuration parameters.
Note:
If you are adding a non-Plug and Play Legacy
ISA option board, run the SSU before installing the board.
For details on the SSU, refer to Appendix B.
Summary of Contents for NEAX Express
Page 1: ...U s e r s G u i d e NEAX Express...
Page 2: ......
Page 3: ...U s e r s G u i d e NEAX Express...
Page 10: ...viii Contents...
Page 36: ...1 20 System Overview...
Page 80: ...3 30 Configuring Your System...
Page 136: ...5 22 Problem Solving...
Page 137: ...A System Cabling System Cabling Before You Begin Static Precautions Standard Configuration...
Page 142: ...A 6 System Cabling...
Page 180: ...C 20 Emergency Management Port...
Page 181: ...D Platform Event Paging...
Page 192: ...10 Glossary...
Page 198: ...Index 4...
Page 199: ...xx...
Page 200: ...456 01509 000...

