94
5. Using On-Screen Menu
[GEOMETRIC CORRECTION]
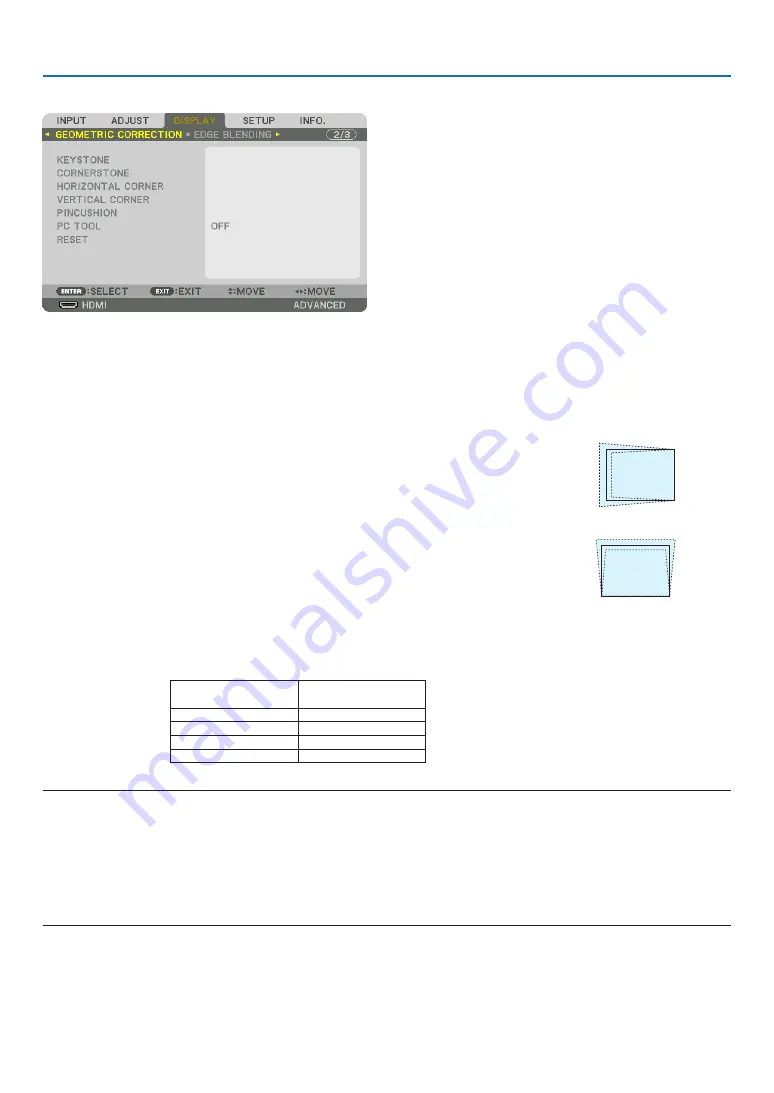
KEYSTONE
Display the trapezoid correction screen and adjust the trapezoidal distortion of the projection screen.
To display the [KEYSTONE] screen, select [DISPLAY]
→
[GEOMETRIC CORRECTION]
→
[KEYSTONE] in the on-
screen menu. The [GEOMETRIC CORRECTION] screen can also be displayed by pressing the 3D REFORM button
on the projector or on the remote control.
HORIZONTAL ......... Adjustments when projecting from a diagonal direction to the
screen.
VERTICAL .............. Adjustments when projecting from the top or bottom direction to
the screen.
TILT ....................... Adjusts the distortion when performing trapezoidal correction with the screen moved in the vertical direction
using the lens shift.
THROW RATIO ....... Adjusts according to the projection ratio of the optional lens used.
Model name of lens
unit
Adjustment range
NP-9LS12ZM1
12–19
NP-9LS13ZM1
14–23
NP-9LS16ZM1
17–29
NP-9LS08ZM1
8–14
NOTE:
• When power is supplied to the device, the adjustment value of the [KEYSTONE] used previously is retained even if the gradient
of the device is changed.
• When clearing the adjustment value of [KEYSTONE], press the 3D REFORM button for 2 or more seconds.
• When setting other [GEOMETRIC CORRECTION] functions, the [KEYSTONE] menu cannot be selected. When performing trapezoidal
correction, press the 3D REFORM button for 2 or more seconds to clear the adjustment value of [GEOMETRIC CORRECTION].
• As electrical correction is carried out by [KEYSTONE], the brightness may be reduced or the screen quality may deteriorate
sometimes.


