


5-50 Installing Options
Removing the Desktop Front Panel
Remove the desktop front panel before installing a device in one of the 5
1/4-inch accessible device slots.
If you are installing an accessible 5 1/4-inch device, you also need to
remove the blank panel that covers the slot on the front panel.
Remove the front panel and blank panel as follows.
1.
Remove the system unit cover (see “System Unit Cover”).
2.
Squeeze the locking tabs on each side of the front panel.
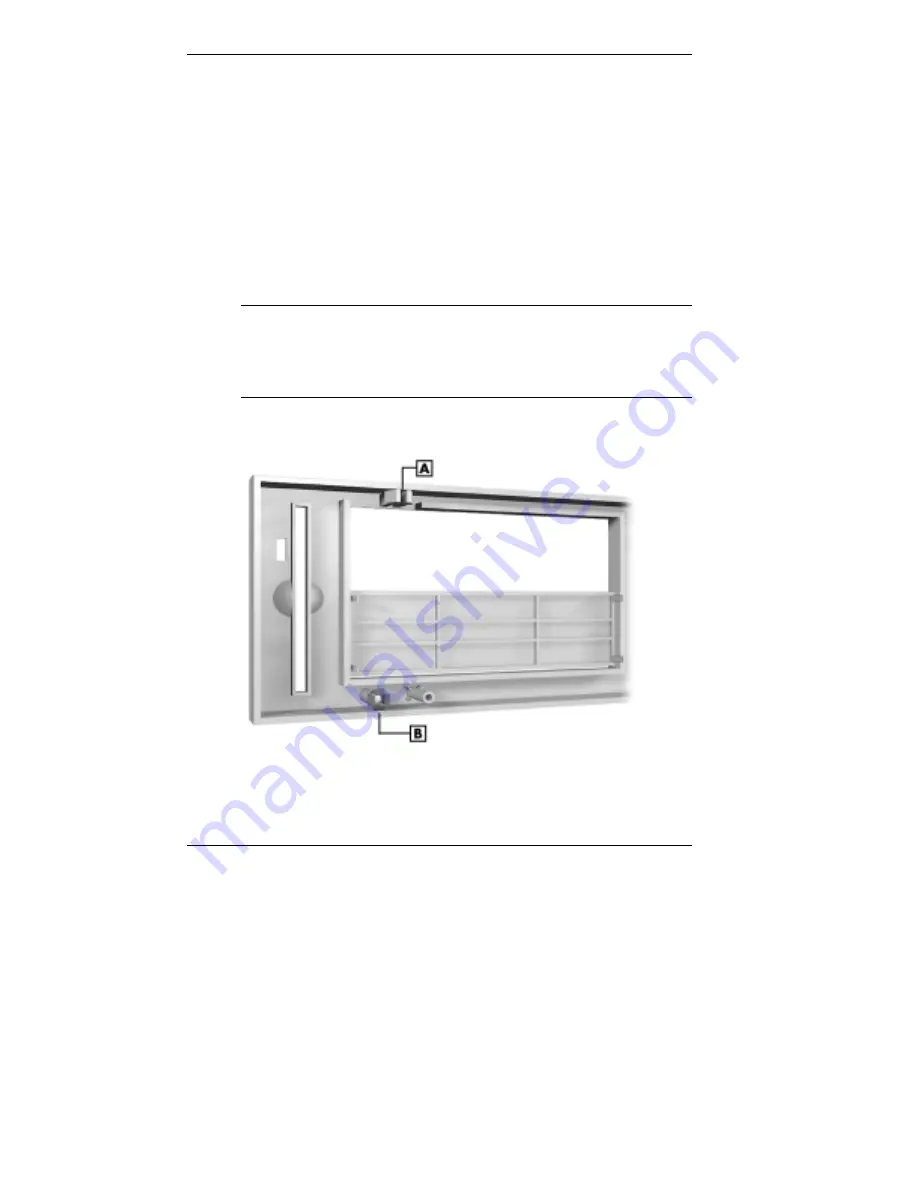
Note
Four pop-in tabs and two locking tabs on the back of the front
panel secure it to the desktop chassis. The tabs on the top of the front
panel (see the following figure) are locking tabs that must be squeezed
before the panel can be removed. The four pop-in tabs on the panel insert
into the holes in the desktop chassis.
Locating the front panel locking and pop-in tabs
A – Locking Tab
B – Pop-In Tab
3.
Remove the front panel by pulling the panel away from the front of
the unit with even pressure at both ends of the panel.


