


Disassembly and Reassembly 3-5
Removing the Cover
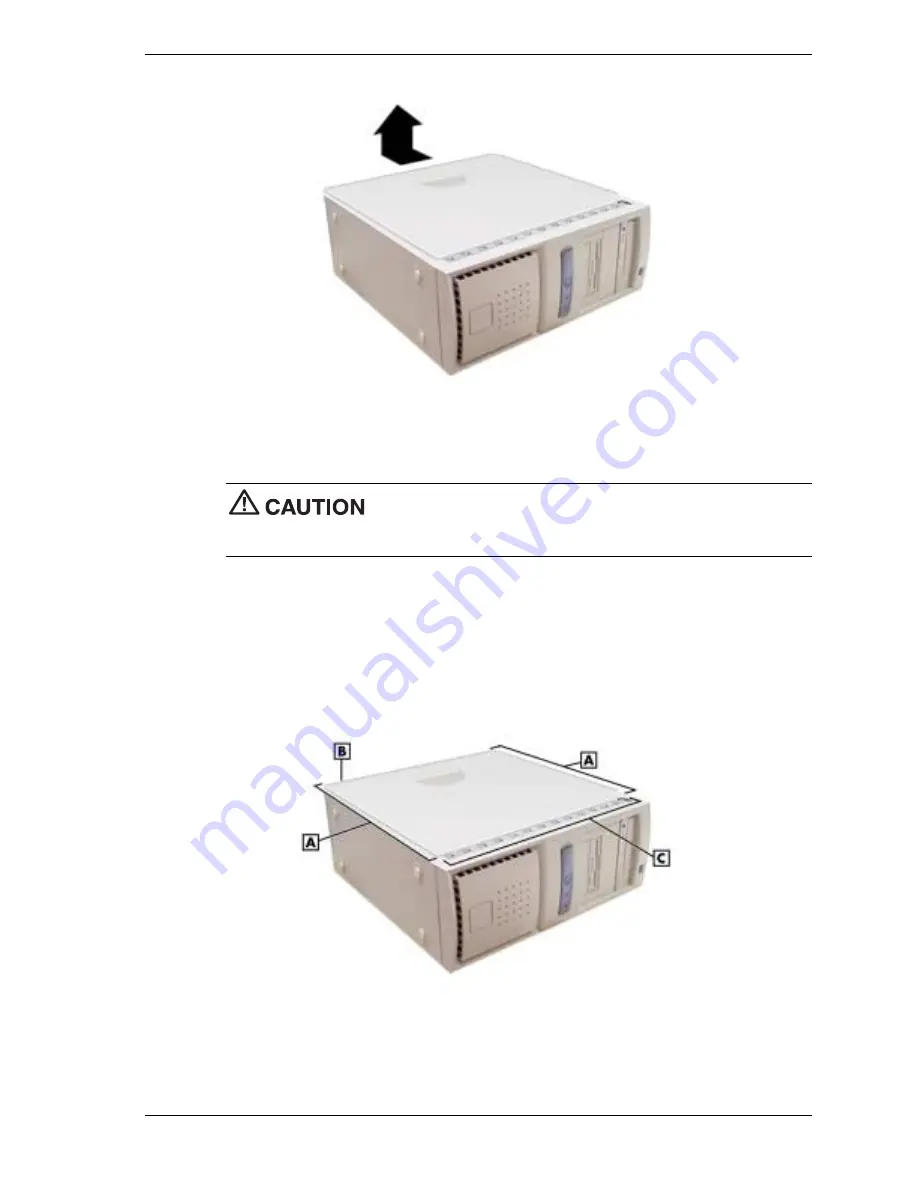
Replacing the Cover
Replace the cover as follows.
Ensure that all cables inside the chassis are positioned to prevent
crimping, abrasion, or cutting while installing the cover. Check that the ribbon cables are folded
along their fold lines and out of the direct path of the cover.
1.
Position the cover over the side of the chassis so that the back edge of the cover is about an
inch beyond the back edge of the chassis (see the following figure).
2.
Align the tabs and slots on the cover with those along the edges of the chassis.
3.
Align the locking tab slot at the bottom rear of the cover with the locking tab.
Replacing the Cover
A
– Side Slots and Tabs
C
– Front Slots and Tabs
B
– Locking Tab (hidden)
4.
Firmly press the cover against the chassis and slide the cover towards the front of the
chassis until it locks in place.
Summary of Contents for POWERMATE CT 815 - RELEASE NOTES
Page 13: ...1 System Overview Configurations Features Components Software...
Page 106: ...6 Preventive Maintenance System Cleaning Keyboard Cleaning Mouse Cleaning...
Page 109: ...7 Troubleshooting Checklist Diagnostics...
Page 118: ...8 NECC Information Services Service and Support Functions Technical Support...


