Repair 5-26
3.
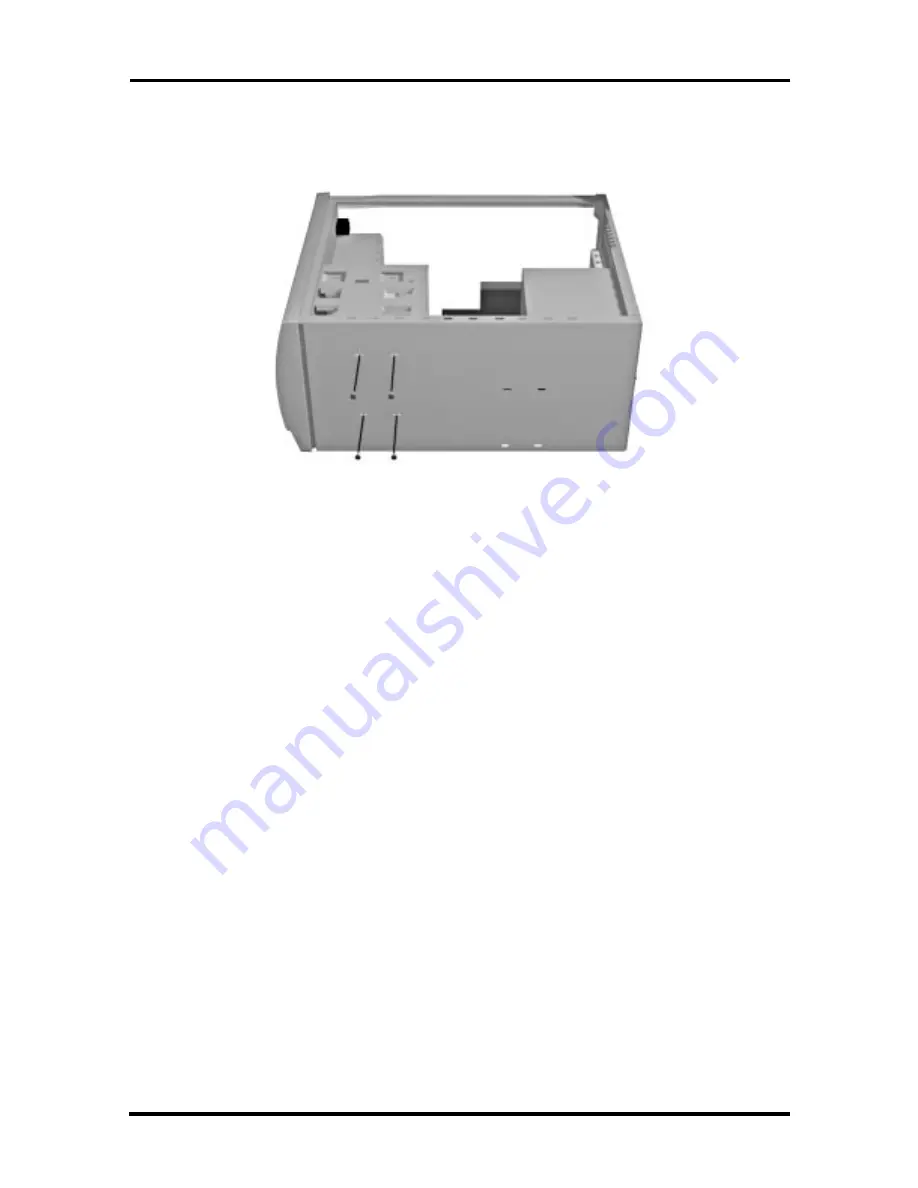
Remove the four screws securing the 3 1/2-inch drive to the bottom of the system
chassis (see Figure 5-30). Remove the drive out the side of the chassis.
Figure 5-30 Removing the 3 1/2-Inch Drive
5 1/4-Inch Device Removal
Remove a 5 1/4-inch device (CD-ROM reader or other device) from the 5 1/4-inch device
cage as follows.
1.
Remove the system unit cover, side panel, and front panel as previously described.
If removing a device from the top 5 1/4-inch slot, remove the system board as
described later in this section (see “System Board Removal”).
2.
Disconnect the device signal and power cables from the inside of the system unit.
(If removing a CD-ROM reader, also disconnect the audio cable.)
3.
Remove the 5 1/4-inch device as follows (depending on the slot).
If removing a device from the top 5 1/4-inch slot, remove four screws (two to
a side) from the drive cage (see Figure 5-31). Slide the device out of the top
slot from the front of the system unit.
If removing a device from the bottom or middle 5 1/4-inch slot, remove two
screws from the front of the system (see Figure 5-31). Slide the device out of
the slot from the front of the system unit.
Summary of Contents for POWERMATE P2166
Page 217: ...Index 4 ...


