Installation Guide
QX-S6600 Series Ethernet Switches
3-3
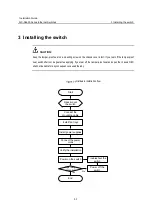
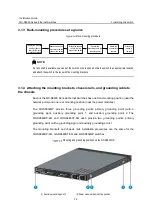
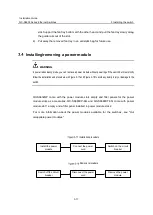
3.1.3 Rack-mounting procedures at a glance
Rack-mounting procedure
Attach the mounting
brackets to the two
sides of the switch
Identify the mounting
position (front or
rear) for the rack
mounting brackets
Attach the chassis
rails to the two
sides of the switch
Attach the
switch to
the rack
Attach the
slide rails to
the rack
Connect the
grounding cable to a
grounding point
NOTE:
If a rack shelf is available, you can put the switch on the rack shelf, slide the switch to an appropriate location,
and attach the switch to the rack with the mounting brackets.
3.1.4 Attaching the mounting brackets, chassis rails, and grounding cable to
the chassis
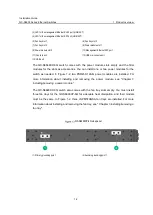
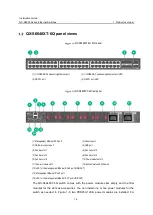
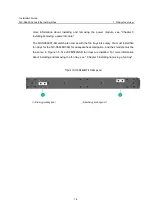
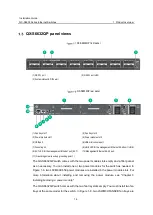
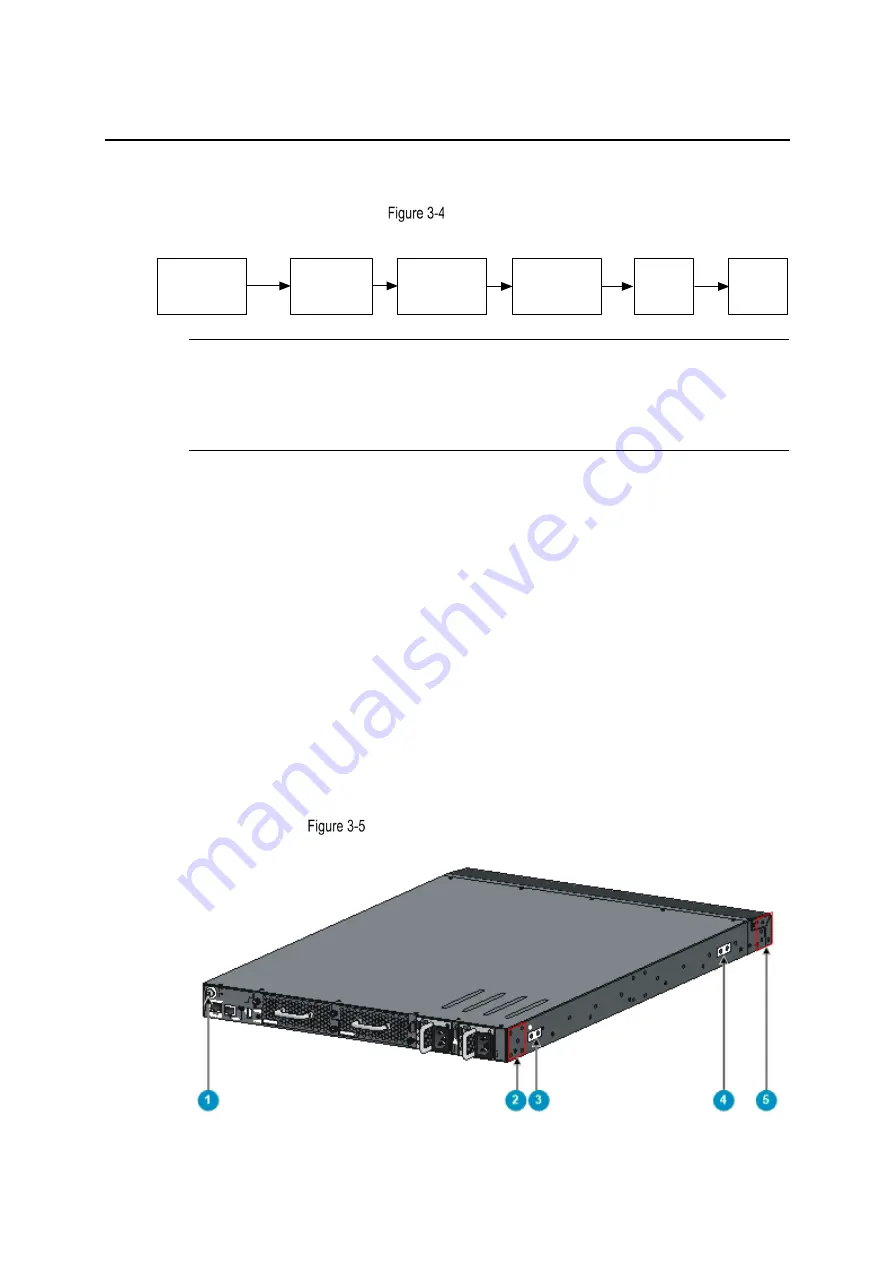
Each of the QX-S6600 Series Ethernet Switches has one front mounting position (near the
network ports) and one rear mounting position (near the power modules).
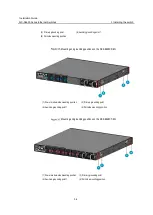
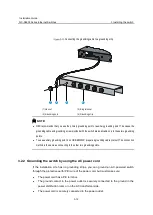
The QX-S6632QP provide three grounding points: primary grounding point (with a
grounding sign), auxiliary grounding point 1, and auxiliary grounding point 2. The
QX-S6648XP-6Q and QX-S6648XT-6Q each provide two grounding points: primary
grounding point (with a grounding sign) and auxiliary grounding point 1.
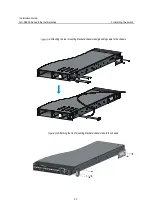
The mounting brackets and chassis rails installation procedures are the same for the
QX-S6648XP-6Q, QX-S6648XT-6Q and QX-S6632QP switches.
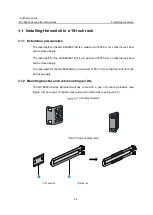
Mounting and grounding positions on the QX-S6632QP
(1) Auxiliary grounding point 2
(2) Power module-side mounting position

