18
<Using LAN>
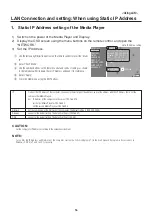
DHCP
IP:
192 .168 .0
.3
Netmask:
255 .255 .255 .0
Gateway:
192 .168 .0
.1
DNS:
192 .168 .0
.1
MAC:
00:50:41:80:01:34
Proxy
Update Mode from LAN:
Push mode
Pull mode
DATE/TIME
NETWORK
PREVIEW
TIMER
LANGUAGE
VIDEO OUT
MEMORY CARD
SLIDE SHOW
ADVANCED
Apply
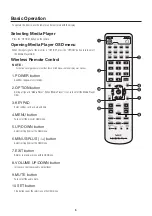
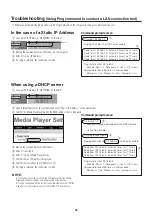
LAN Connection and setting: When using the DHCP server
1.
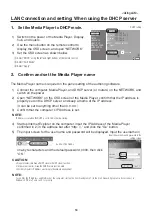
Set the Media Player to DHCP mode.
1)
Switch on the power of the Media Player, Display,
hub, and routers.
2)
Use the menu button on the remote control to
display the OSD screen, and open “NETWORK.”
3)
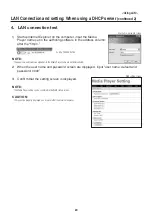
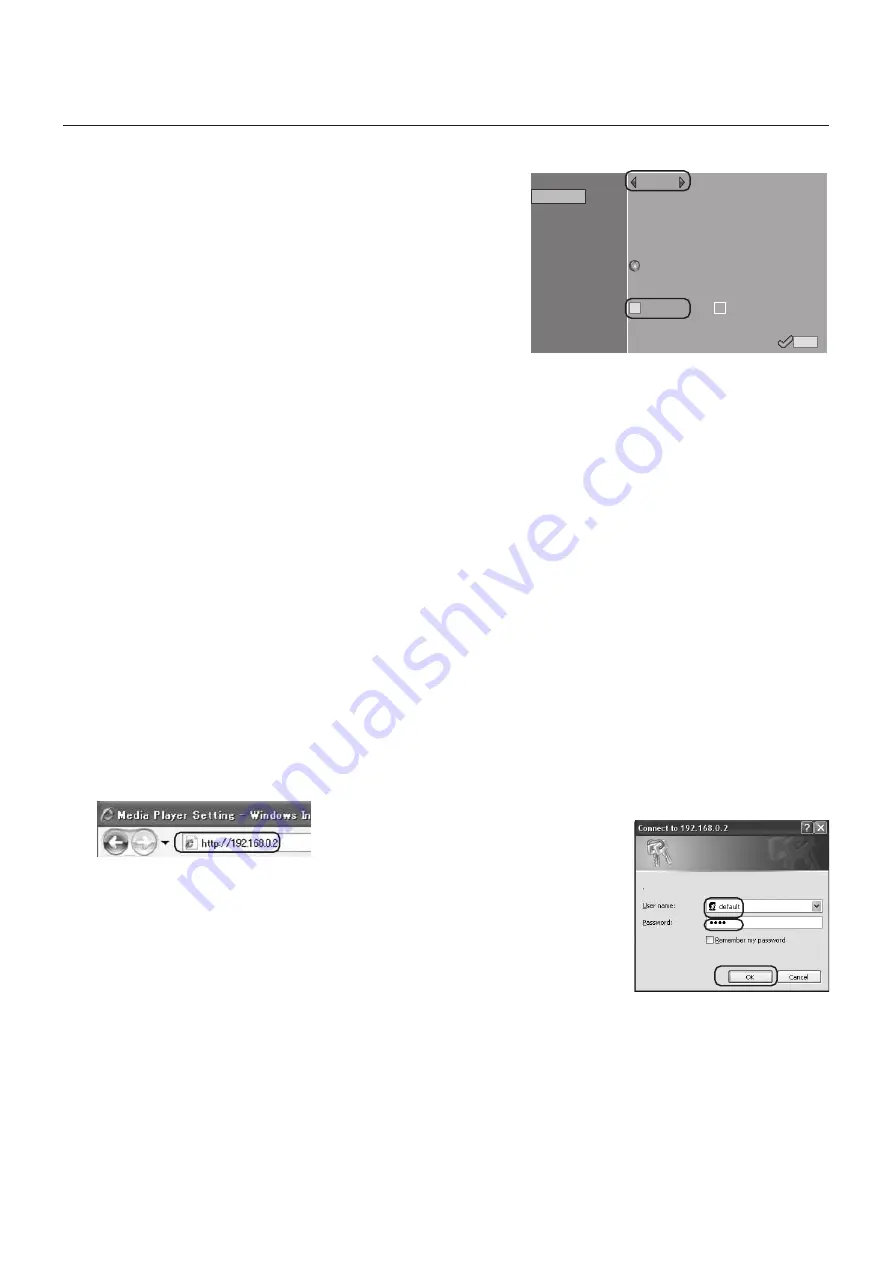
Set the OSD screen as shown below.
1
Select “DHCP” using the left and right buttons of the remote control.
2
Select “Push Mode”.
3
Select “Apply”.
2.
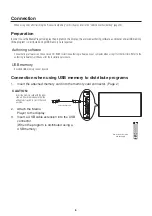
Confirm and set the Media Player name
The Media Player name is required in the panel setting of the authoring software.
1)
Connect the computer, Media Player, and DHCP server (or routers) on the NETWORK, and
switch on the power.
2)
Open “NETWORK” on the OSD screen of the Media Player, confirm that the IP address is
properly set on the DHCP server, and keep a memo of the IP address.
(It can be set to anything other than 0.0.0.0.)
3)
Confirm that the computer’s IP Address is set.
NOTE:
IP Address is set when the DHCP is set in OSD or during startup.
4)
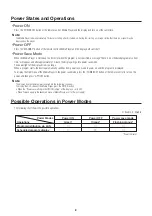
Startup Internet Explorer on the computer, input the IP Address of the Media Player
confirmed in 2) in the address bar after “http: // ,” and click the “Go” button.
5)
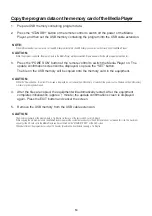
The input screen for the user name and password will be displayed. Input the username in
one-byte characters and the default password, 0000, then click
“OK.”
CAUTION:
•Prepare routers that have a DHCP server or DHCP server function.
•In the case of routers, make the DHCP server function valid.
•Set the computer’s IP Address according to the network environment.
NOTE:
To confirm the IP Address and Netmask of the computer, startup the “command prompt” (In the Start menu>All programs>Accessories.) in
Windows XP/Vista/7 and run C:\> ipconfig.
1
3
2
DHCP setting
Ex. http: //192.168.0.2
Input the user name and password in the
setting screen


