Issue 4.1
UNIVERGE SV8100
4 - 50
Installing the SV8100 Blades
4.2.2
Installation
The PZ-8DLCB is installed on the CD-8DLCA. To install:
1.
Connect the PZ-8DLCB to the CN2 connector on the
CD-8DLCA blade. Refer to
Figure 4-16 CD-8DLCA Blade on
page 4-44
for the location of the connectors on the blade.
2.
Install the CD-8DLCA into a slot.
3.
Each CNx01 connector (CN101, CN201, CN301, CN401) is
used to connect up to four digital extensions.
4.2.3
PZ-8DLCB Daughter Board Cable Connection
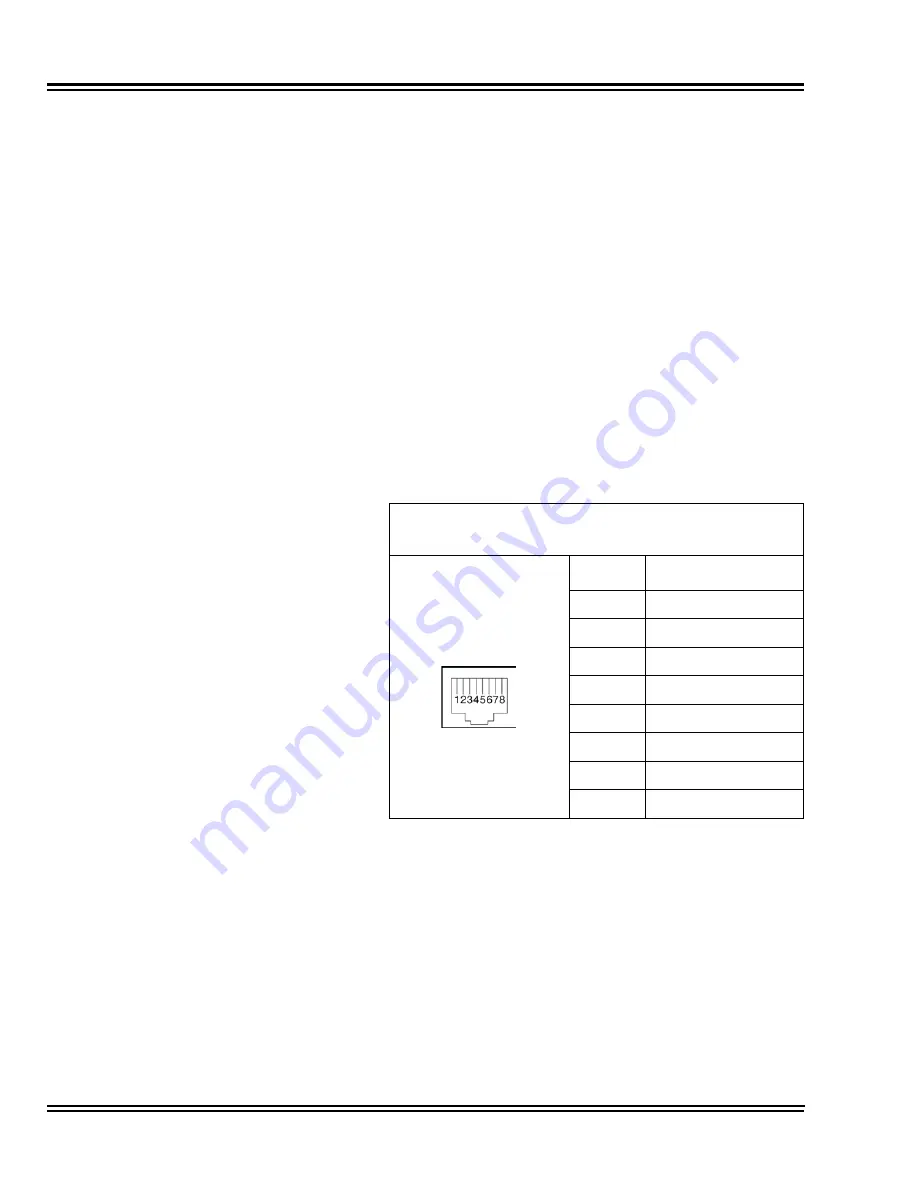
The PZ-8DLCB blade has connections for CN301 and CN401 Refer
to
Figure 4-17 CD-16DLCA Blade
for connector locations.
The following tables show the cable connections of the two RJ-61
connectors on the PZ-8DLCB.
Table 4-23PZ-8DLCB CN301 Connection
RJ-61 Cable Connector
CN301 (ports 9~12)
Pin No.
Connection
1
(T4) Tip for port 12
2
(T3) Tip for port 11
3
(T2) Tip for port 10
4
(R1) Ring for port 9
5
(T1) Tip for port 9
6
(R2) Ring for port 10
7
(R3) Ring for port 11
8
(R4) Ring for port 12
Summary of Contents for Univerge SV8100
Page 1: ...System Hardware Manual Issue 4 1 February 2011...
Page 2: ...THIS PAGE INTENTIONALLY LEFT BLANK...
Page 36: ...Issue 4 1 UNIVERGE SV8100 1 14 Introduction to SV8100...
Page 68: ...Issue 4 1 UNIVERGE SV8100 2 32 SV8100 System Specifications...
Page 99: ...UNIVERGE SV8100 Issue 4 1 System Hardware Manual 3 31 Figure 3 34 Install Screws Option 2...
Page 148: ...Issue 4 1 UNIVERGE SV8100 3 80 Installing the SV8100 Chassis...
Page 247: ...UNIVERGE SV8100 Issue 4 1 System Hardware Manual 4 99 Figure 4 34 Control Signal Connection...
Page 258: ...Issue 4 1 UNIVERGE SV8100 4 110 Installing the SV8100 Blades NOTES...
Page 418: ...Issue 4 1 UNIVERGE SV8100 6 64 Installing SV8100 Optional Equipment...


