3-24 Disassembly and Reassembly
8.
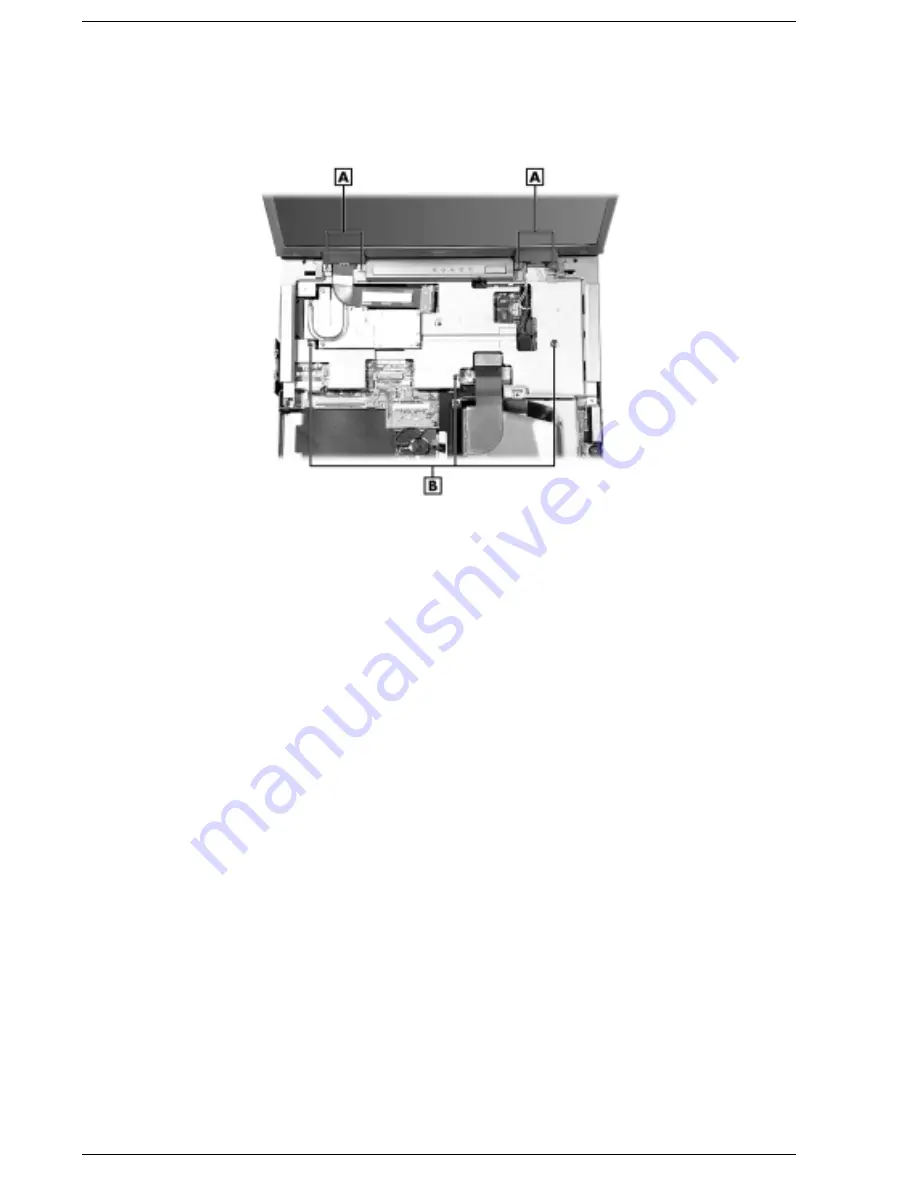
Locate and remove the three screws securing the top cover to the system. Locate and
remove the screws securing the LCD panel hinges. Remove the hinge covers. For the
15-inch LCD panel, remove the four screws securing the top cover to the system.
Removing the top cover screws
A – LCD Panel Hinge Screw
B – Top Cover Screw
9.
Partially lift the top cover. Disconnect the control panel cable from connector P52 on the
main board.
10.
Disconnect the cable from connector P2 on the audio board.
11.
Remove the top cover and LCD panel.
Audio Board
Use the following steps to remove the audio board from the system.
1.
Remove the keyboard, front cover, top cover, and LCD panel from the system.
Summary of Contents for Versa LXi
Page 1: ...NEC Versa Notebook Computer NEC VERSA LXI S E R V I C E A N D R E F E R E N C E M A N U A L...
Page 80: ...4 System Board Layout LED Status Board Audio Board Connector Board Main Board...
Page 83: ...5 Illustrated Parts Breakdown Illustrated Parts Breakdown Parts List...
Page 84: ...5 2 Illustrated Parts Breakdown Illustrated Parts Breakdown...
Page 91: ...7 Troubleshooting Quick Troubleshooting Helpful Questions...
Page 99: ...9 Specifications System Components Connector Locations Memory Map Interrupt Controllers...


