- 67 -
Using your NEC VERSA
Using your NEC VERSA
Using your NEC VERSA
Using your NEC VERSA
Removable Disk Drives
Removable Disk Drives
Removable Disk Drives
Removable Disk Drives
Optical Drive
The optical drive that comes with your system depends on the notebook configurations you purchase.
Note
The illustrations, colours and pictures shown are for illustration purposes. They may vary slightly from
country to country and the unit you purchase. Please refer to the finished product for final configurations.
Specifications and model names are subject to change without notice.
•
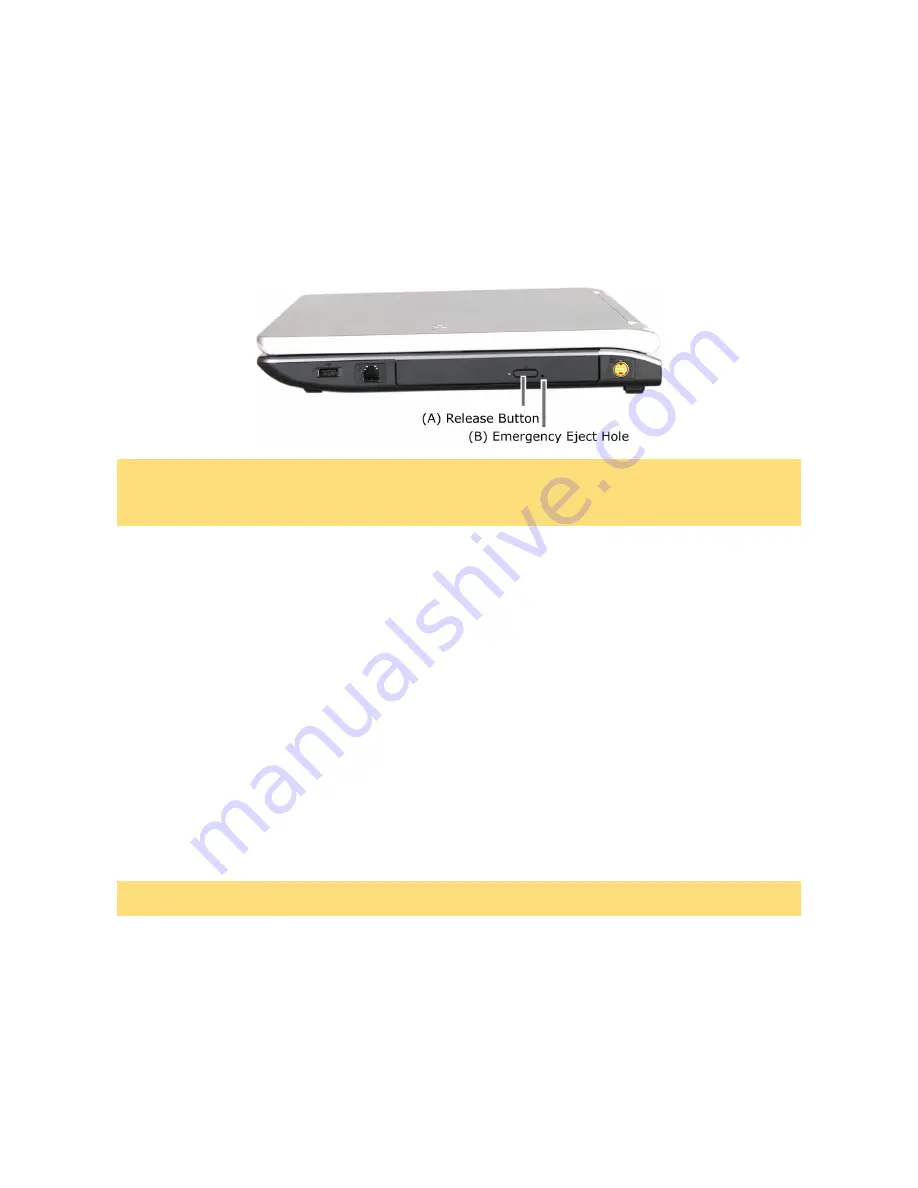
Release Button (A)
- ejects the disc tray. Press this button when power is on to insert a CD into or
remove a CD from the drive.
•
Emergency Eject Hole (B)
- allows you to manually remove a disc from the CD-ROM drive if the eject
function is disabled by software or a power failure occurs. To remove a disc, insert the end of a paper
clip into the eject hole, and push in until you hear a click. Manually open the drawer.
General Information about
General Information about
General Information about
General Information about Optical Discs
Optical Discs
Optical Discs
Optical Discs
Disc Loading
To insert a disc into the optical disc drive, follow these steps.
1. Press the Release button. The disc tray emerges a short way out of the drive door.
2. Gently pull the tray out until you can easily position a disc in the tray.
3. Put the disc, printed side up, into the circular impression in the tray.
4.
Push the disc tray in until it clicks shut.
Note
Some discs vibrate when playing. This does not affect the optical disc drive.
Disc Care
When handling optical discs, keep the following guidelines in mind.
•
Hold optical discs by the outer edge and the inner hub to avoid damaging the surface. Avoid direct
contact with the disc's surface.
•
Avoid scratching or soiling both sides of the disc.
•
Do not write on or apply labels to either side of the disc. Never write with a ballpoint on the surface of
the disc.


