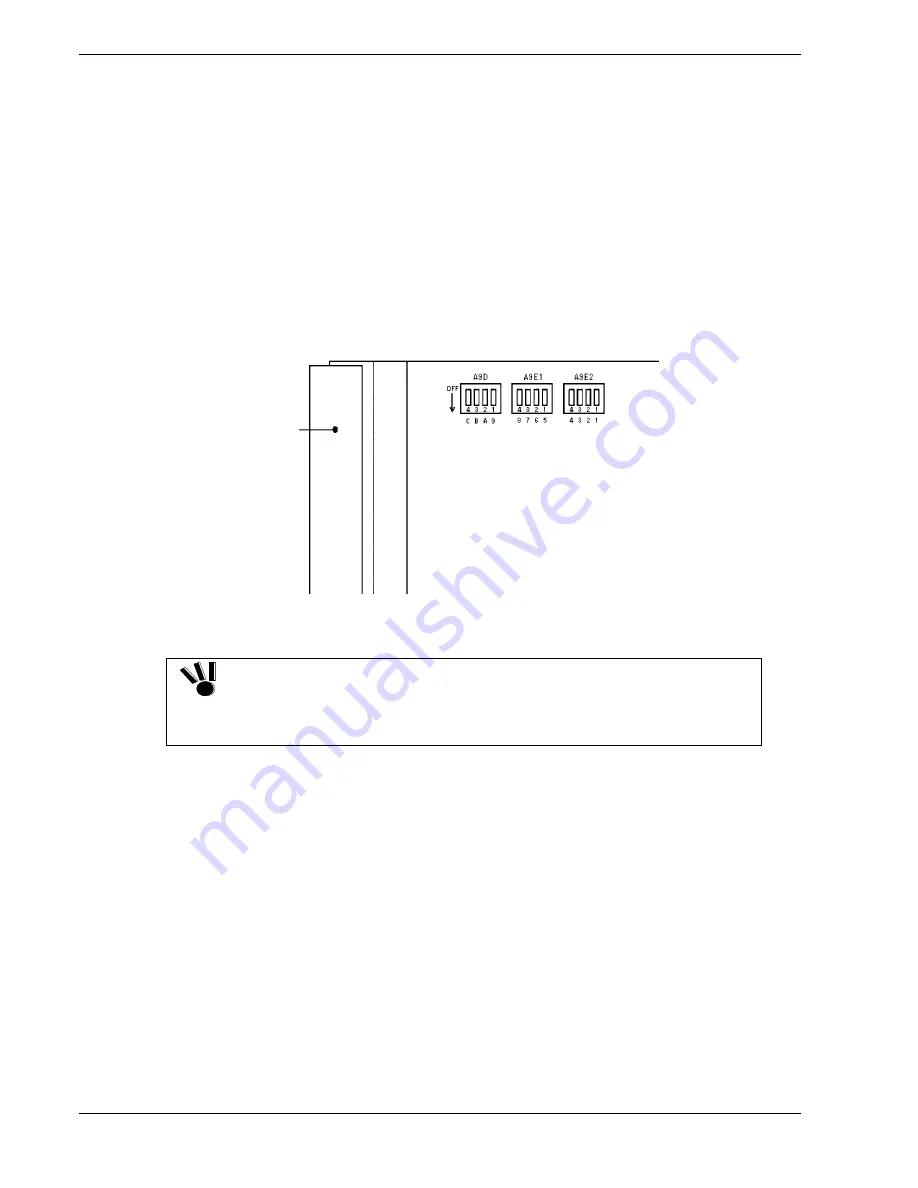
How to Change the Topology and Data Transfer Rate
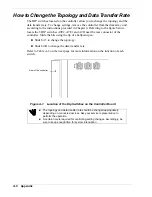
The DIP switches located on the controller allow you to change the topology and the
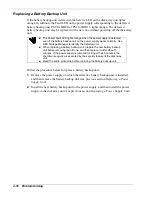
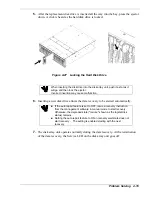
data transfer rate. To change settings, remove the controller from the disk array unit
according to the instructions provided in Chapter 4. Referring to the figure below,
locate the 3 DIP switches A9E2, A9E1 and A9D near the rear connector of the
controller. Slide the bits using the tip of a ballpoint pen:
Slide bit 3 to change the topology.
Slide bit B to change the data transfer rate.
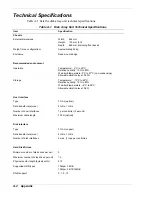
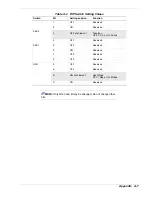
Refer to Table A-2 on the next page for more information on the function of each
switch.
Rear of the controller
Figure A-1 Location of the Dip Switches on the Controller Board
The topology and data transfer rate should be changed appropriately
depending on connected devices. Ask your service representative to
perform the operation.
A certain time is required for confirming setting changes. Accordingly, be
sure to keep enough time for system interruption.
A-6
Appendix
Summary of Contents for VERSA S1300 Series
Page 1: ... U s e r s G u i d e NEC Storage S1300 ...
Page 2: ......
Page 4: ......
Page 8: ...vi Contents ...
Page 18: ...xvi Using This Guide ...
Page 19: ...1 System Overview Overview System Chassis System Features ...
Page 54: ...A B Figure 2 3 Installing the Rack Mounting Kit 2 6 Setting Up the System ...
Page 73: ...3 Upgrading the System Overview Adding Hard Disk Drives Adding Disk Enclosures ...
Page 86: ...3 14 Upgrading the System ...
Page 114: ...A 8 Appendix ...
Page 117: ...xx ...
Page 118: ... ...

