14
9
Memory
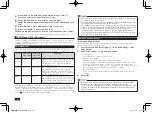
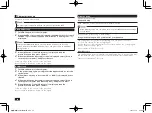
Installing memory
1
Remove the battery pack.
2
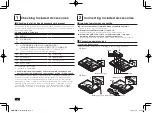
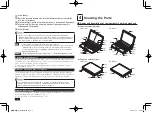
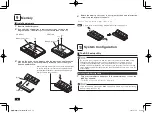
Use a Phillips screwdriver to remove the screws shown in the
diagram below. The memory slot cover should then come off.
VX Model
VB Model
(2)
Memory slot cover
(1)
(1)
(1)
Memory slot cover
(2)
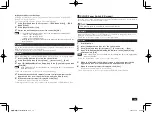
3
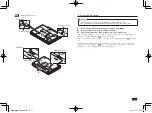
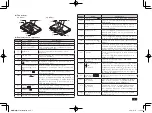
Line up the notch on the memory with the protrusion and insert the
pins all the way in. Push the memory down into the slot until you
hear an audible click.
Notch
Protrusion
When inserting memory, this part opens left and right,
to secure the memory return to the original position.
Confirm that both sides lock and that the memory is
firmly seated in the connector.
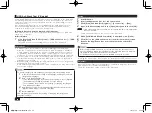
4
Return the memory slot cover to its original position and reinsert the
screws into the bottom of the unit.
Your new memory should now be ready to use.
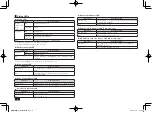
Please refer to the following diagram when removing memory.
10
System Configuration
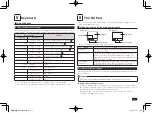
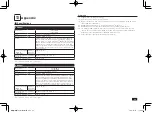
The BIOS setup utility
Do not turn your computer off with the power switch while in the BIOS setup
utility. When turning the power off after configuration is complete, be sure
to either exit the BIOS setup utility and shutdown your computer from the
Windows menu after Windows has loaded, or turn the power off after selecting
[Save Changes and Power Off] from the [Exit] menu when you wish to save the
new settings.
Entering the BIOS setup utility
1
Turn your computer on and press <F2> several times as soon as the
NEC logo appears.
The BIOS setup utility will then be displayed.
If you have trouble entering the BIOS setup utility, please try to vary the timing
when pressing the <F2> key.
取扱説明書-853810602418A.indd 14
2011/11/14 9:38:06


