30
3. Projecting an Image (Basic Operation)
This section describes how to turn on the projector and to project a picture onto the screen.
���
Turning on the Projector
NOTE:
• The projector has two power switches: a main power switch and a POWER (ON/STAND BY) button (POWER ON and OFF on the
remote control).
• When plugging in or unplugging the supplied power cable, make sure that the main power switch is pushed to the off (
)
position. Failure to do so may cause damage to the projector.
Cr/
Pr
STATUS
LAMP
POWER
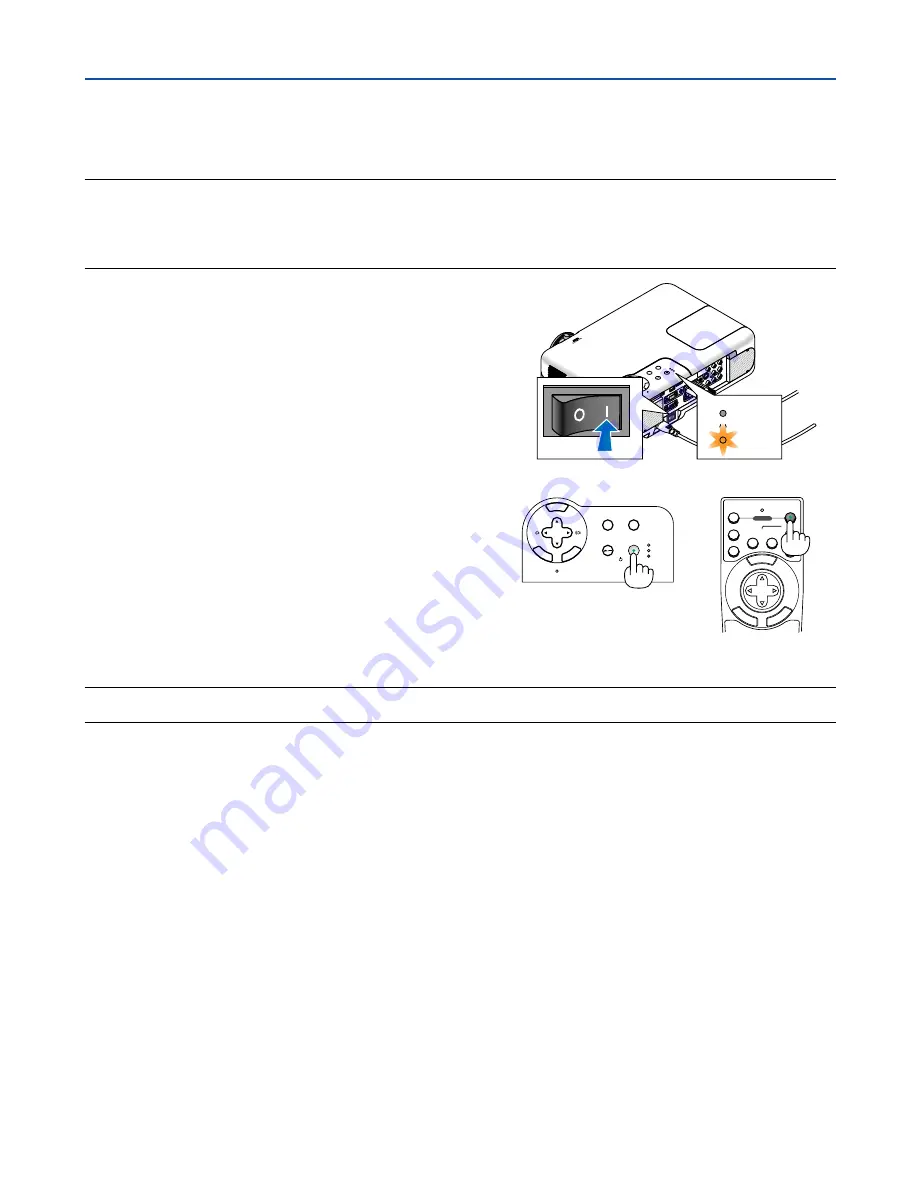
To turn on the main power to the projector, press
the Main Power switch to the on position ( I ).
•
If you turn on the projector immediately after cooling
down, it may take longer than usual for the lamp to light.
After you turn on your projector, ensure that the
computer or video source is turned on and that your
lens cap is removed.
Only after you press the POWER (ON/STAND BY)
button on the projector cabinet or POWER ON but-
ton on the remote control for a minimum of 2 sec-
onds will the power indicator turn to green and the
projector become ready to use.
3D REFORM
SOURCE
SELECT
STATUS
LAMP
PC CARD
POWER
ON/STAND BY
AUTO ADJUST
MENU
EN
TER
CAN
CE
L
MENU
E
NT
ER
CA
NC
E
L
OFF
1
2
VIDEO
S-VIDEO
AUTO ADJ.
COMPUTER
COMPONENT
ON
SELECT
POWER
NOTE: When no signal is available, a blue, black or logo screen is displayed.
When the projector displays a blue or a black screen (not logo), the Eco mode will be automatically selected in "Lamp Mode."


