
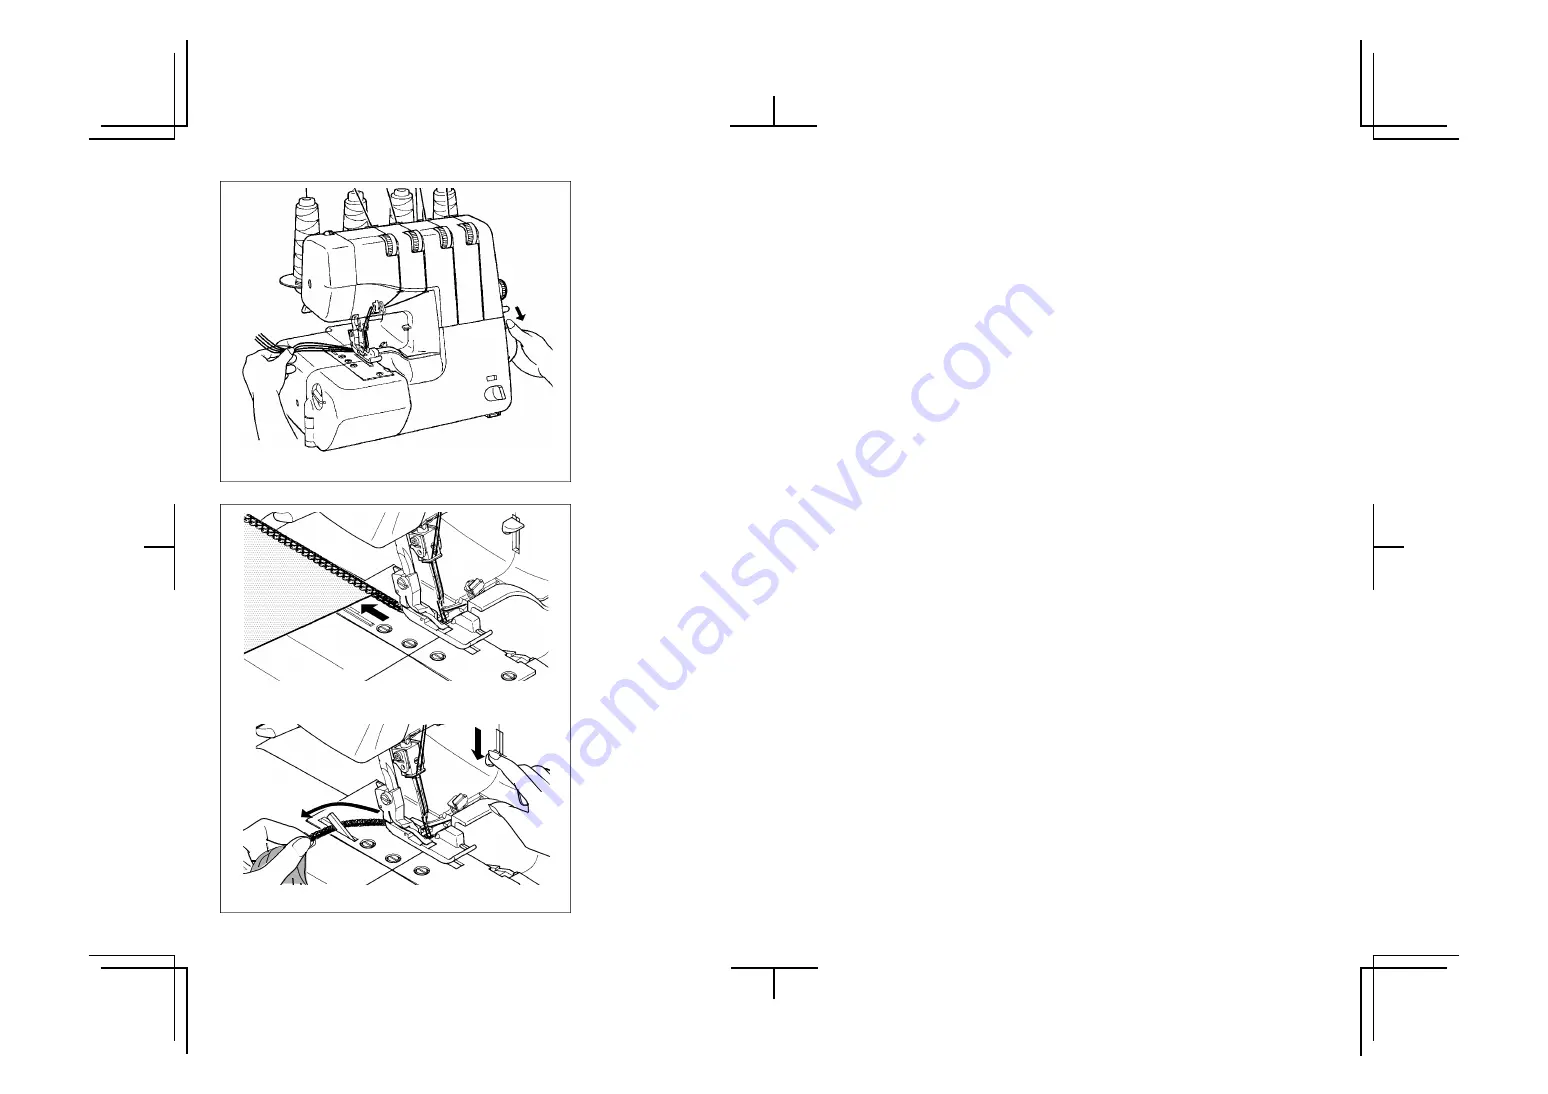
Fig. 2
Fig. 3
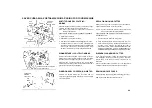
Fig. 1
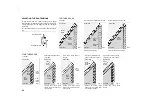
PROVARE I PUNTI DEL PUNTO
OVERLOCK
Dopo che l'infilatura è completa usare un ritaglio della stoffa
che intendete cucire e provate a cucire nell'ordine seguente
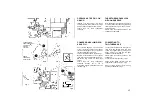
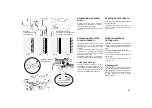
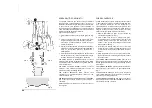
1. Tirare delicatamente tutti i fili a sinistra, abbassate il
piedino pressore, ruotate il volantino verso di voi alcune
volte per vedere se i punti annodati sono formati in modo
appropriato.
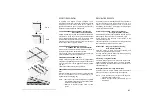
2. Avviare la macchina a bassa velocità e alimentare la
stoffa di prova sotto il piedino pressore spingendola
leggermente davanti. (Questo può essere fatto con il
piedino pressore abbassato su molti tessuti eccetto
materiali voluminosi). Guidare delicatamente la stoffa
mentre la macchina trasporta automaticamente il
materiale.
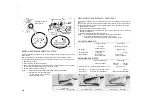
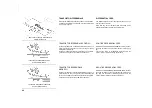
3. Controllate la tensione filo provando a cucire su stoffa di
scarto. (Vedere a pagina 19)
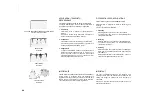
4. Alla fine della stoffa, continuare con la macchina a bassa
velocità per produrre una catenella di 10 cm circa tirando
leggermente la catenella da dietro. Tagliare i fili con il
tagliafilo spingendo la leva tagliaflio, lasciando 5 o 6 cm
di catenella.
TESTING STITCH OVERLOCK STITCHES
After threading is completed, use a scrap of fabric that you
plan to sew and test to sew in the following order.
1. Gently pulling all the threads to the left, lower the presser
foot. Rotate the hand wheel towards you a few times to
see if the lock stitches are properly formed.
2. Start the machine at low speed and feed in test fabric
under the presser foot by slightly pushing it forward.
(This can be done with the presser foot down on most
fabrics except bulky materials.)
Guide the fabric gently as machine automatically feeds
the material.
3. Check thread tensions by test sewing on spare fabric.
(See page 19.)
4. At fabric end, carry on running machine at low speed,
gently pulling the fabric towards the back, until about 5
to 6 cm of extra lock stitches are produced without fabric.
Cut thread by pushing thread cutter lever down, or with
scissors.
14
Summary of Contents for Lock 181
Page 1: ......