


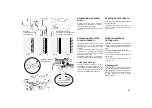

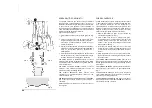


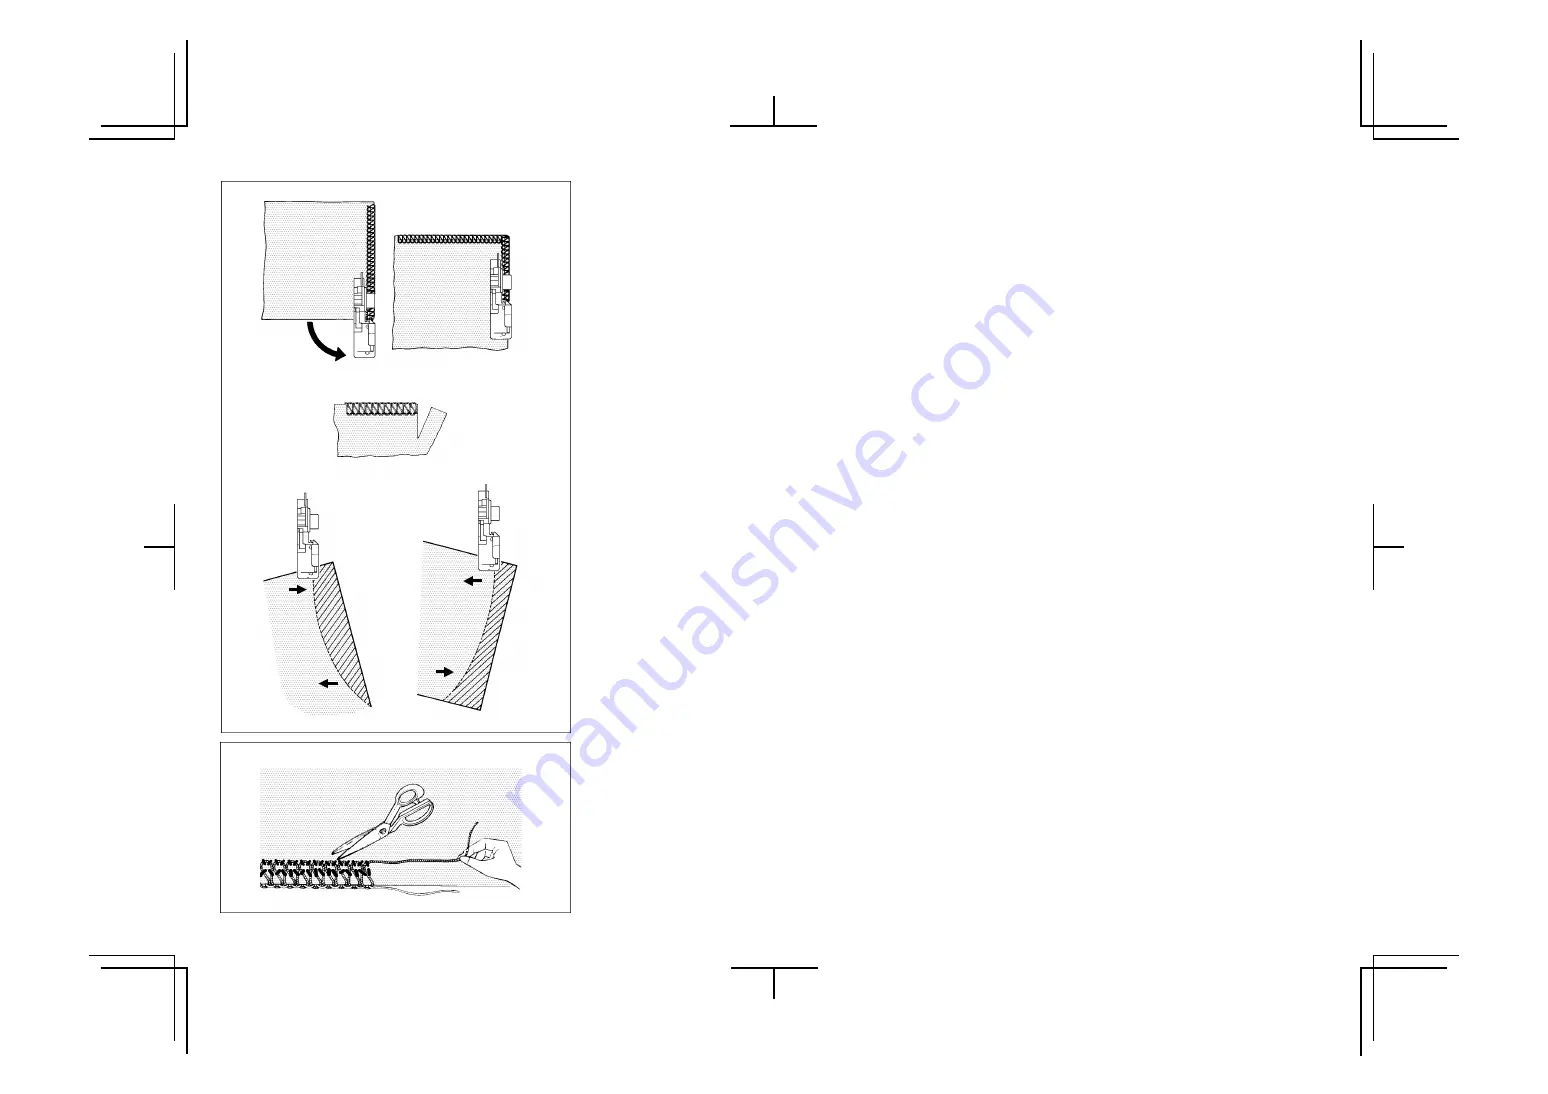
Fig. 1
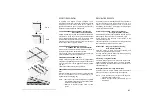
Fig. 2
TAGLIARE
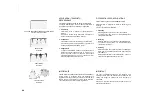
A
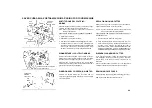
B
B
A
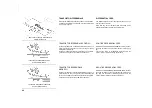
Fig. 3
Fig. 4
Cut !
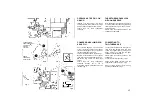
TECNICHE DI BASE
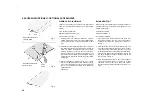
RUOTARE ANGOLI ESTERNI SENZA IL
TAGLIO DEI FILI.
1. Quando si raggiunge il bordo del tessuto, fermare la
macchina con l'ago al di sopra del tessuto.
2. Alzare il piedino pressore e tirare delicatamente sulla
catenella di filo proprio per liberare la guida del punto.
3. Ruotare il tessuto, abbassare il piedino pressore e
cominciare a cucire nella nuova direzione. Fig. 1
Nota : Quando si esegue il sopraggitto e si taglia nello
stesso tempo, tagliare il tessuto lungo la nuova linea
di cucitura per circa 3 cm, prima di ruotare la stoffa.
Fig. 2
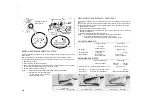
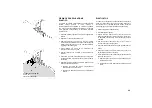
RUOTARE BORDI CURVI
Per curve interne, guidare delicatamente il tessuto con la
linea di taglio del tessuto sotto il fronte destro del piedino
pressore (o un poco a sinistra) applicando pressione al
punto A nella direzione della freccia con la mano sinistra ed
allo stesso tempo applicando una piccola pressione
opposta al punto B con la mano destra. Fig. 3
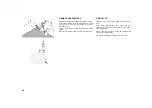
Per curve esterne, porre un modo simile il tessuto sotto il
piedino pressore ma applicare la pressione nell'opposta
direzione. Fig. 4
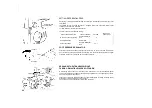
RIMUOVERE I PUNTI DAL TESSUTO
CUCITO
Per rimuovere punti già cuciti, tagliare ad intervalli il filo
dell'ago e tirare fuori il filo del gancio.
BASIC TECHNIQUES
TURNING OUTSIDE CORNERS
WITHOUT CUTTING THREADS
1. When you reach the fabric edge, stop stitching with the
needle above the fabric.
2. Raise the presser foot and gently pull on the thread chain
just enough to clear the stitch finger.
3. Turn the fabric, lower the presser foot and begin stitching
in the new direction. Fig. 1.
NOTE : When overlocking and trimming at the same time,
cut the fabric along the new stitching line for about
3 cm, before turning the fabric. Fig. 2.
TURNING CURVED EDGES
For inside curves, guide fabric gently with trimming line of
the fabric under the right front of the presser foot (or a little
to the left), applying pressure at point A in the direction of
the arrow with your left hand, and at the same time applying
a little opposite pressure at point B with your right hand. Fig.
3.
For outside curves place under the presser foot in a similar
manner but applying the pressure in the opposite directions.
Fig. 4.
REMOVING STITCHES FROM SEWN
FABRIC
To remove stitches already sewn, snip off needle thread(s)
at intervals and pull out looper thread(s).
25
Summary of Contents for Lock 181
Page 1: ......


