


48
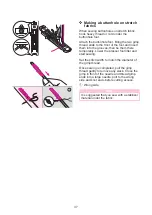
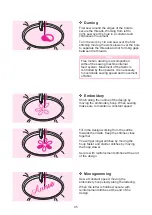
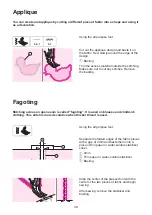
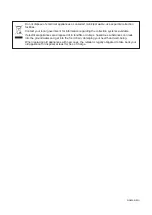
Applique
You can create and applique by cutting a different piece of fabric into a shape and using it
as a decoration.
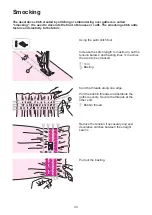
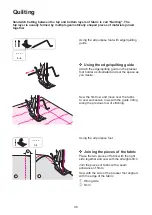
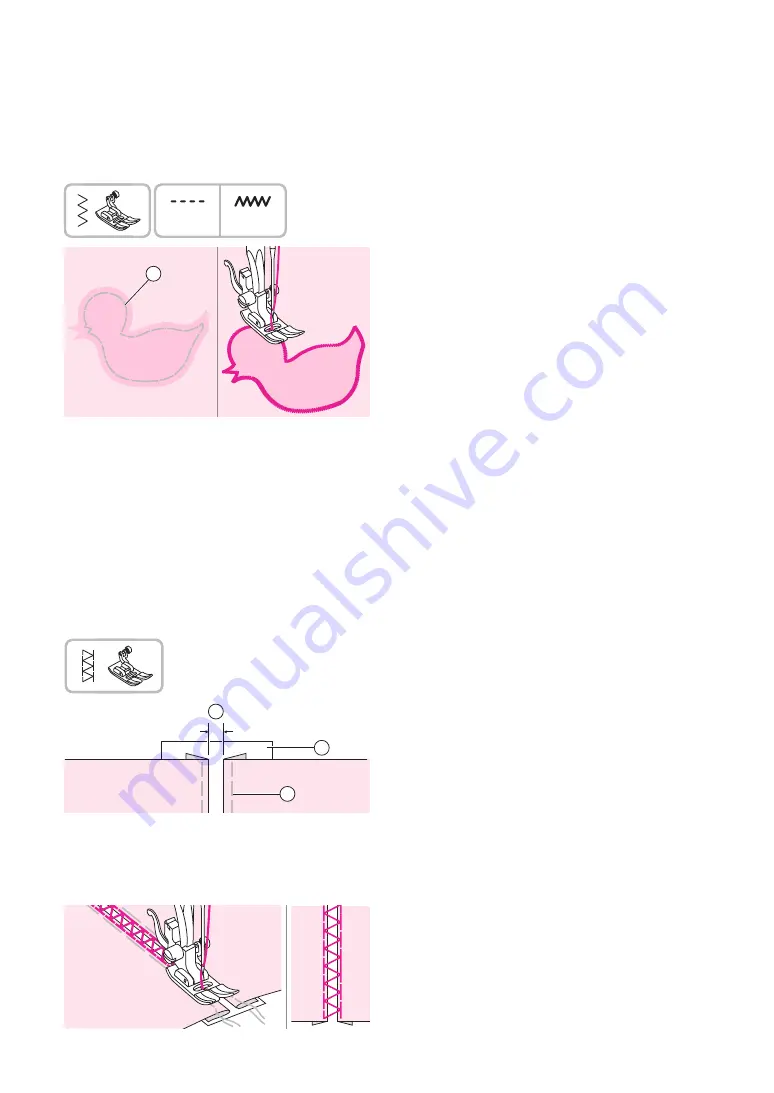
Fagoting
Stitching across an open seam is called "fagoting". It is used on blouses and children's
clothing. This stitch is more decorative when thicker thread is used.
1
Cut out the applique design and baste it on
the fabric. Sew slowly around the edge of the
design.
①
Basting
Trim the excess material outside the stitching.
Make sure not to cut any stitches. Remove
the basting.
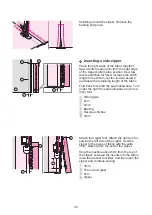
Separate the folded edges of the fabric pieces
with a gap of 4mm and baste them onto a
piece of thin paper or water-soluble stabilizer
sheet.
①
4mm
②
Thin paper or water-soluble stabilizer
③
Basting
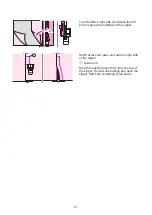
Align the center of the presser foot with the
center of the two pieces of fabric and begin
sewing.
After sewing, remove the stabilizer and
basting.
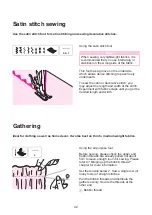
Using
the all purpose foot.
Using
the all purpose foot.
2
1
3
0.5~1
3~7
Summary of Contents for NC-59QD
Page 1: ...Instruction Manual NC 59QD NecchiAIO Enjoy your Necchi time...
Page 2: ......
Page 7: ...Machine Introduction...
Page 11: ...Machine Setup...
Page 26: ...Sewing Basics...
Page 36: ...Utility Stitches...
Page 56: ...Maintenance and Trouble shooting...
Page 61: ......
Page 62: ......
Page 63: ......


