Controls
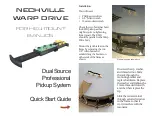
Experiment with the balance of the pickups to taste. We have found
the best results by starting with all magnetic, then blending a touch
of piezo to add clarity, shimmer, and accurate transients.
Factorysetto
~4:00
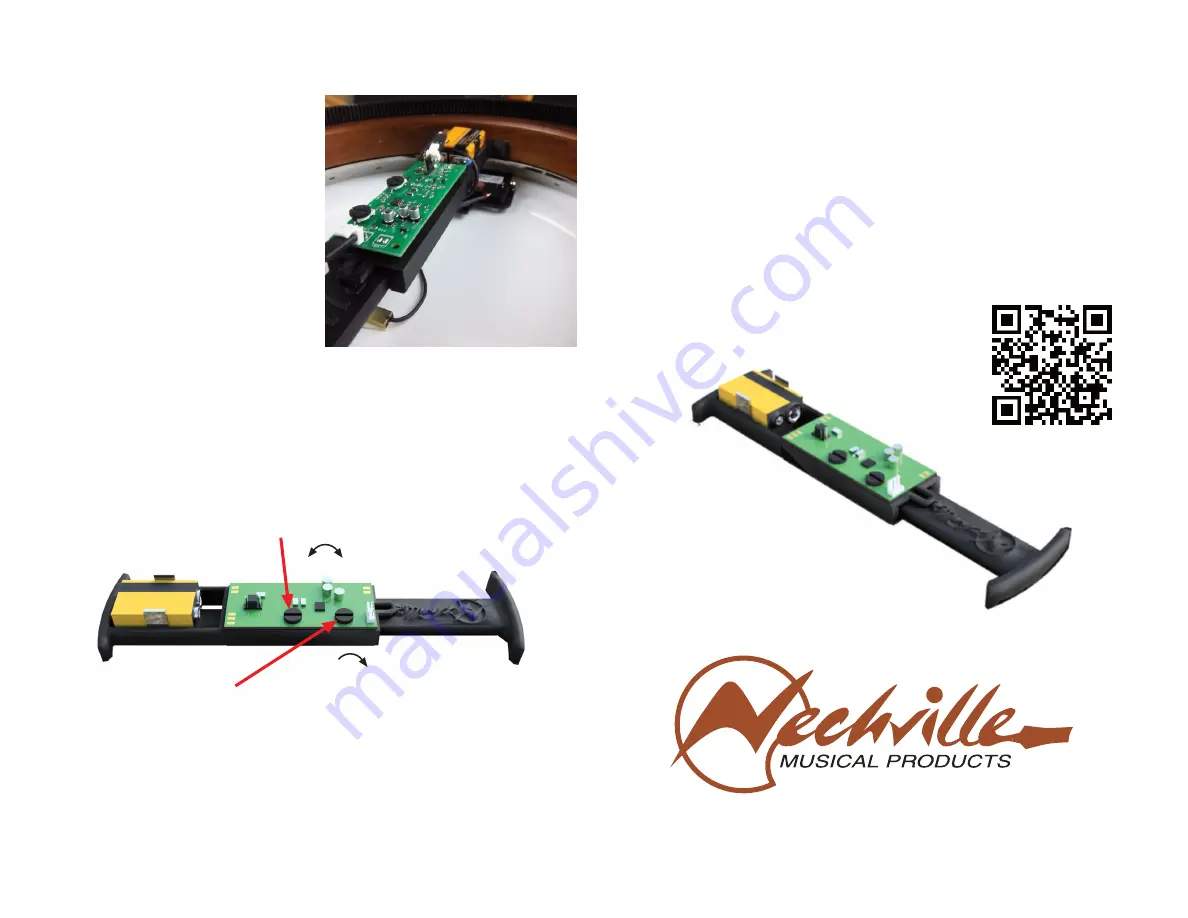
Remove the resonator. Make
sure the spring is inserted in
between the two spring holds
and compress the Warp Drive
with the battery end at the neck
position. Lower it down towards
the bottom of the rim until the
EMG pickup touches the head.
Raise the EMG pickup off the
head using the spring loaded
screws until it's a business card's
distance away.
Use the included 3M two-sided
tape to adhere the piezo onto the
head. We recommend placing it
directly under or just behind the
middle foot of the bridge.
Plug in the wire harness from
the jack to the circuit board.
The “1kHz” thumb knob filters mid frequencies. Turning it clockwise
will subtly remove frequencies that the pickups are most sensitive to.
It’s a great head start if you don’t have an active DI with a parametric
EQ. If you do have an EQ you can use it to free up a band, or keep it
fully counter-clockwise to send a flat signal. When satisfied, reinstall
the resonator.
Factorysetto~10:00
*Remove instrument cable from jack when not in use to avoid draining the
battery
*Secure the unit when changing batteries to keep the battery compartment
or Warp Drive from shifting
Piezo Mag
Mid Filter
More information
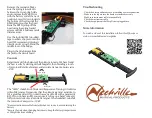
To watch a video of this installation, follow this QR code or
visit: www.nechville.com/warpdrive
Troubleshooting
- Check the battery and make sure it is making a secure connection
- Make sure the inputs into the board are inserted correctly
- Make sure instrument cable is inserted fully
- Check the instrument cable
- Check the equipment the Warp Drive is plugged into


