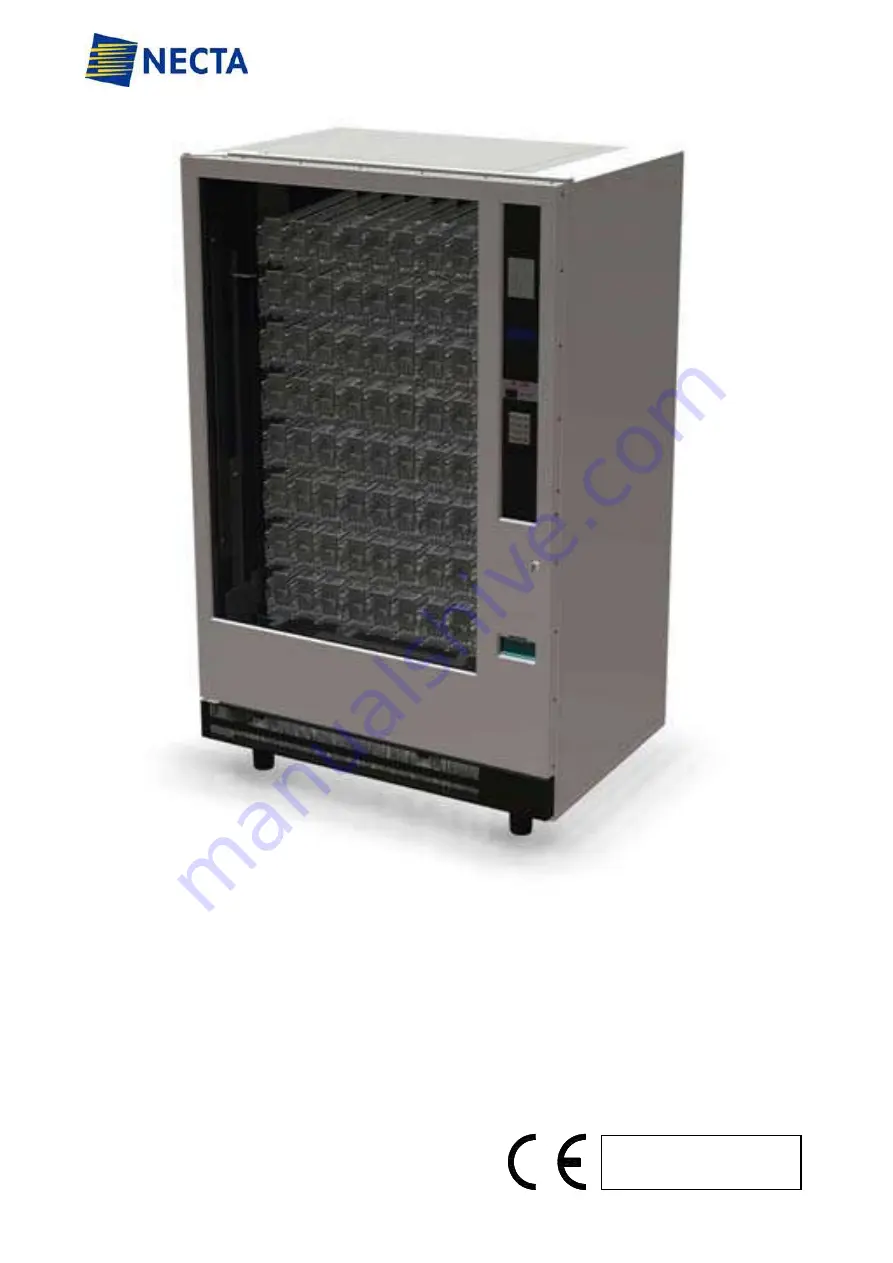
background image


USER AND MAINTENANCE MANUAL


VENDING MACHINE 

Mod.  SINFONIA


Code

 : H4345 EN 00 

Date

: February 2013 

Summary of Contents for SINFONIA GF6

Page 1: ...USER AND MAINTENANCE MANUAL VENDING MACHINE Mod SINFONIA Code H4345 EN 00 Date February 2013 ...

Page 2: ...er Use 14 5 3 Loading Products 15 5 4 Loading Operation 16 5 5 Extraction of shelves 18 5 6 Final Check 20 5 7 Control Setting 20 5 8 Start up 20 5 9 Replacement of TRAY SHELF ASSY height Instruction 21 6 Description and function of control unit 24 6 1 Display 24 6 2 Key board 25 6 3 Set the temperature 25 6 4 Quick defrost 25 6 5 Description of the main signals and alarms 26 6 6 Function 26 7 MAI...

Page 3: ...echnicians due to the potential electrical and mechanical risks The appliance is not to be used by children or persons with reduced physical sensory or mental capabilities or lack of experience and knowledge unless they have been given supervision or instruction Children being supervised not to play with the appliance Instructions state that access to the service area is restricted to persons havi...

Page 4: ...t be installed in a way that the electric plug is accessible after installation If the power cable is damaged it should be substituted by the manufacturer or by his after sales technicians or however by an equally qualified person in order to avoid any risks The vendor should not be installed in an area where water jets are used The vendor should not be installed outdoor To preventy hazards due to...

Page 5: ... indicated operation refer to the instructions in the Manual Maintenance operations In case of a particular function and or irregularity a mechanical adjustment and or electric setting could be required Warning Indicates a warning failure to comply may involve damages to the vending machine Danger Extreme care must be given when operating the vend mechanism Danger Extreme care must be given when u...

Page 6: ...R H Settable temperature range 1 C 25 C Refrigerant R404A Load 0 360 Kg Expansion direct with capillary Cooling forced circulation by means 3 fans FIG 2 1 MOD GF9 DR9 Dimensions GF9 DR9 Height A with feet 1830mm 1895mm Height A with leveling screws 1765mm 1830mm Width C 1220mm Depth B STD door Flat door 860 845 mm Weight 340 kg 350 kg Electric features Nominal tension 230 V Nominal frequence 50 Hz...

Page 7: ...3 DOOR LIFT WHEEL 4 LEVELLING SCREW 5 COOLING UNIT 6 CONTROL PANEL FIG 2 4 2 2 Description of Components FIG 2 3 1 CBV PLUG COVER 2 DISPLAY 3 COIN INTRODUCTION 4 PUSH BUTTONS 5 PRODUCT EYELET 6 DOOR LOCK 7 COIN RETURN 8 PRODUCTS WINDOW 9 LOWER DOOR PANEL 10 DOOR UPPER DECOR 11 DOOR LOWER DECOR 1 2 3 4 5 6 7 10 9 8 1 2 6 5 4 3 ...

Page 8: ...its to fork the vendor on 4 sides fig 3 1 If installation is not immediate position the vendor vertically in a dry and covered area CAUTION it is absolutely forbidden to transport and or position the vendor in a horizontal position If the machine is mistakenly placed in a horizontal position re position it again in working position vertical and wait at least12 hours before starting it otherwise it...

Page 9: ... the rear of the vendor and the obstacle wall Check that the surface where the vendor is placed supports the weight of the machine 3 3 Removing of Wooden Bases To remove wooden bases work as follows With a transpallet lift the machine from the floor holding it from the Front With an adjustable wrench unscrew the screws that fasten the wooden base to the machine 2 screws on the right hand side and ...

Page 10: ...lded rear bracket A P N 130461 1 2 x Bracket B P N 386460 2 x Plugs with screw P N 391598 12 x Screw P N 390139 2 Ground anchor kit P N 139218 Components provided 4 x Bracket fixed to the ground P N 402852 16 x Thick metals P N 402854 12 x Screw 6 3 x 19 P N 800876 ATTENTION SandenVendo does not assume responsibility for any damage caused by the lack of consultation of the instructions All the ope...

Page 11: ...dicated on the plate with technical details of the machine this vendor must be connected to a 230 V 50 Hz power main voltage under 207 V or over 253 V could cause failures Assure that the supply outlet is grounded and that after making connection the entire appliance is ground connected Assure that the vendor is positioned in a way that the plug for connection to the power main is accessible after...

Page 12: ...spacers washer 1 between the coin box door and the back of the coin box support When it is perfectly centered remove the selector and tighten the 3 supporting screws E Caution these operations are not necessary using the coin mechanism recommended by SandenVendo Europe S p A Press the coin return button and check that the mechanism works smoothly It is important that the selector opens as much as ...

Page 13: ...01 PROGRAMMING MANUAL supplied with the vendor i REFER TO THE SF01 PROGRAMMING MANUAL 4 ACCESS TO INTERNAL PARTS Access inside the machine maintenance area is possibile yusing the specially provided key supplied with the vendor rif Fig 4 1 Access to the service area is possible only using a specially provided tool Hereunder is a list of the service areas of the vending machine LED lighting area Re...

Page 14: ...Shelf 240 5 Shelf Selling cycle time Max 13 sec No shelves from a minimum of 4 to a maximum of 7 Selections standard 30 max 42 Modell GF9 Modell DR9 Can capacity 0 33 h 116 504 7 Shelf 576 8 Shelf Can 0 33 h 146 432 6 Shelf 504 7 Shelf Bottle capacity 0 50 PET h 210 360 5 Shelf 360 5 Shelf Bottles 0 50 Coca Cola h 235 288 4 Shelf 360 5 Shelf Selling cycle time Max 13 sec No shelves from a minimum ...

Page 15: ...helf place the products in the selection in front of the pusher until completely loaded push the shelf back to it s working position the pusher unhooks automatically Re close the door of the vendor and wait for the reset check of the parameters configuration Caution When the shelf is pushed back to its working position the pusher unhooks automatically and presses against the product If a selection...

Page 16: ... H4345 00 02 2013 Page 16 of 41 5 4 Loading Operation Follow the below photos for loading products It is absolutely forbidden to step on the lift during loading It is absolutely forbidden to use the shelf as support ALWAYS HOLD THE PUSHER OF AN EMPTY SELECTION AFTER UNHOOKING IT ...

Page 17: ... and final User SINFONIA Rev 00 H4345 00 02 2013 Page 17 of 41 Pull out the shelf until it reaches the blocking point Push the pusher back until it is hooked to the back bar of the shelf PRODUCT PUSHER PUSHER SPRING PUSHER HOOKED TO SHELF S BACK BAR ...

Page 18: ...345 00 02 2013 Page 18 of 41 Load products in the space in front of the pusher and replace the shelf in its working position 5 5 Extraction of shelves To extract shelves do the following Place the palm of your hand under the shelf and lift it slighty to allow unhooking SHELF BRACKET ...

Page 19: ... vend door 2 The product bucket moves from left to right allowing extraction of the shelf 3 Extract the shelf lifting it slightly 4 The procedure for product loading is the same as the other shelfs When closing the door the bucket returns to starting position BUCKET MOVING FROM LEFT TO RIGHT VEND DOOR LIFT SHELF FOR EXTRACTING WHEN CLOSING THE DOOR THE PRODUCT RETURNS TO STARTING POSITION PRODUCT ...

Page 20: ...gramming routine of the electronic board is described in the SF01 PROGRAMMING MANUAL supplied with the vending machine i REFER TO SF01 PROGRAMMING MANUAL 5 8 Start up To start up the Vending machine work as follows Assure that the plug is connected to the supply mains Give power to the Vendor ppress the luminous green button MAIN SWITCH situated on the transformer box inside of the machine on the ...

Page 21: ...HELF ASSY height Instruction When the TRAY ASSY position height is changed please control if the SHELF ASSY is installed in a collect position When the SHELF ASSY is correctly installed the TRAY ASSY is slightly declined towards front approx 3 5 degree see the machine side view SHELF ASSY SHELF SUPPORT LH SHELF SUPPORT RH 3 5 TRAY ASSY ...

Page 22: ...ted with R in the photo The shelf assy must be inserted into the same hole position as the shelf supports See example Second shelf position 7 Position of shelf assy in cabinet back panel Hole no 7 Position of front shelf supports RH and LH Hole no 7 R 10 9 8 7 SHELF ASSY SHELF SUPPORT LH SHELF SUPPORT RH Back panel internal Cabinet Cabinet Right rear Cabinet Left rear side R Reference Hole R 10 9 ...

Page 23: ...nd final User SINFONIA Rev 00 H4345 00 02 2013 Page 23 of 41 Mod GLASS FRONT VENDOR BOARD BOX FEATURES ANTISTATIC FILTER MAIN SWITCH FUSE HOLDER 24 VDC RELAY BOARD RELAYS BOARD TEMPERATURE SETTING CONTROL UNIT SF 01 BOARD POWER SWITCH SLAVE CONTROLLER ...

Page 24: ...ay The LEDs light on the display show the status of operation of the components of the refrigerant system 1 Compressor LED indicates the statusof the compressor o LED is lit the compressor is ON o LED blinks the compressor is waiting before starting check ES o LED OFF the compressor is OFF 2 Fan LED indicate the status of the evaporator o LED is lit the fans are running o LED blinks the fans are w...

Page 25: ...f the internal temperature is performed via the contro unit in the following manner Press for more than 1 second the button 2 SET the display show the set point temperature setting To increse or decrese the value press button 1 UP or 3 DOWN Press button 2 SET to confirm the new value 6 4 Quick defrost You can start a defrost without changing the interval set on the controller If the gasket is dama...

Page 26: ...um time The indication disappears if the next defrost is finished correctly DF Defrosting in course it is not an alarm signal but an indication that the instrument is doing a defrosting DISPLAY BLINKS The control unit display and all the leds are flashing indicates that the door is open or that the door switch is not working correctly it is activated when the door remains open for more than one ho...

Page 27: ...ended Check the vending machine and its surroundings area check for signs of rust on the cabinet and obstructions of air vents Open the door and check the absence of water accumulation signs of rust and moisture around the edges of the door Check the evaporator drain for obstructions water in the evaporator area must drain towards the condenser pan Periodically check the door seals If damaged repl...

Page 28: ...ition To re install please follow the previous instructions backwards 1 Connect the harness on the left side of the bucket 2 Place the bucket on the moving part and push until it locks into place 3 Fix with the screws which are removed before 1 Move the bucket to the middle with caution 2 Remove the two screws 3 Put your finger under the bucket and unhook the hook and lift it up 4 Remove the harne...

Page 29: ...ch Take out the LED tube from the fastening clips Disconnect the LED tube from is wiring Wire up the new LED tube and fasten it with the clip After replacement work as follows Turn on the machine pressing the main switch Close the door NOTE with the door open the LED s turn off automatically Q TY 1 LED TUBE 981mm LH SIDE INSIDE CELL WITH THE VENDOR DOOR OPEN THE LEDS CLOSE AUTOMATICALLY Q TY 2 LED...

Page 30: ... will find the product inside to take out How to adjust the sensitivity of the photocell 1 Insert the appropriate regulation key A provided whit photocells into the cut of the fornt B 2 Turn the regulation key in one direction until the led lights on C underneath the photocell 3 Turn it to the opposite direction until the led turns off 4 Turn it to the opposite direction and stop immediately after...

Page 31: ...f the door CAUTION DO NOT USE WATER CLEANERS AND WATER JETS 7 7 Warnings Before doing any cleaning operations on the machine pay particular attention to the following indications Cut off power supply to the machine Do not use blades or other sharp tools to scratch parts or components of the vendor Do not clean the vending machine in areas under the sun or with high temperature Disconnect power sup...

Page 32: ...th neutral soaps or detergents in warm water Use soft cloths or sponges Do not rub harshly Rinse with warm water Dry with cotton rags or synthetic skin cloths CAUTION almost all the organic solvent fuel oils kerosene or alcohol will corrode the panel material If used the panel will be permanently damaged Cooling area The condenser and the evaporator must be kept clean for efficient operation Be su...

Page 33: ...owing type of products Neutral detergent Compressed air max 2 bar CAUTION In order to avoid any oxidation corrosion and removal of paint or other damages to the machine NEVER USE under any circumstances the following products Abrasive detergent Alcaline or acid detergent benzene petrol acetone 7 10 Safety device for cleaning For each cleaning operation wear gloves and or protection clothes ...

Page 34: ... to make the user aware of the dangers that exist whilst working on the machine Here below are some examples 1 Watt indicator of the neon 2 CAUTION The vendor must have a ground connection 3 Type of gas in cooling unit 4 Fuse type and state indicator 5 CAUTION Mains voltage on 6 Ground connection indicator 7 Alternate current indicator 8 Fuse symbol 9 Lamp indicator 10 Equipment suitable for insid...

Page 35: ...er and final User SINFONIA Rev 00 H4345 00 02 2013 Page 35 of 41 13 Identification of the Vendor and main technical details 14 CAUTION Be very careful when handling delivery mechanisms 15 Final inspection certificate Production details Month Year ...

Page 36: ...hanism with an approved detergent Dry thoroughly Vendor is in sold out All columns are empty or those that are not empty have signalled a product jam to the board Check that the full columns work properly with manual test after which reset the errors ref Programming manual Coin accepted but no product delivered Prices are set too high Reset prices ref Programming manual Communication error coin me...

Page 37: ...locked Check the relay guide board No gas in system Check if there are leaks or reload only with the quantity and type of gas recommended by the manufacturer The temperature setting is not correct Set the desired temperature ref Programming manual EMS badly programmed Check if the energy saving program is correct and change if necessary ref Programming manual The compressor works continuously Defe...

Page 38: ...nufacturer for instructions 10 2 Clearance disposal Information for protecting the environment Dispose the packing in conformity with the recycling procedures In this way you contribute towards reducing the need for virgin wood using material that would otherwise accumulate at landfills Recycling the vending machine Do not dispose the vending machine with other domestic waste This vending machine ...

Page 39: ...is waste fro separate collection By law the person in charge of disposal must upon receiving an appliance showing this symbol before disposing of it selecta the WEEE waste and make it available for collection FIG 10 1 G DRINK VENDING MACHINE 10 4 Sanctions The sanctions in case of the illegal DISPOSAL of WEEE waste are indicated in the national decrees related to the Directive ROHS 2002 95 CE Dire...

Page 40: ...tandards and normative documents UNI EN 12100 Sicurezza del macchinario Principi generali di progettazione Valutazione del rischio e riduzione del rischio UNI EN 12100 Safety of machinery General principles for design Risk assessment and risk reduction UNI EN 60204 Equipaggiamento elettrico delle macchine EN 60204 Electrical Equipment of Machines Il fabbricante vieta un utilizzo della macchina o d...

Page 41: ..._________________ ________________________________________________ ________________________________________________ ________________________________________________ ________________________________________________ ________________________________________________ ________________________________________________ ________________________________________________ _______________________________________...

Page 42: ..._________________ ________________________________________________ ________________________________________________ ________________________________________________ ________________________________________________ ________________________________________________ ________________________________________________ ________________________________________________ _______________________________________...

Page 43: ...Revisions manual Revisioni manuali Révisions manuel Revision Data Changes 00 27 02 2013 Manual Creation 01 02 03 04 05 06 07 08 ...

Page 44: ......

Reviews: