NEX HD
EN
4 Installation
4.1 90°-bend in hanging or standing po-
sition
The NEX HD arm is recommended to be mounted
according to
item A, with the 90°-bend in
hanging position.
In exceptional cases, the arm can be mounted accord-
ing to item B, with the 90°-bend in a standing posi-
tion. However, the arm holder must then be revolved
180°. Revolve the arm holder in the following way:
1
Loosen the four screws fitting the arm holder to
the 90°-bend.
2
Move the arm holder approximately 17 mm away
from the 90°-bend.
3
Revolve the arm holder 180°.
4
Move the arm holder back towards the 90°-bend.
5
Fasten the four screws.
4.2 Mounting NEX HD
See
mounted on a wall or ceiling together with a wall
bracket. Ensure that the surface, on which to mount
the arm, is level and use the wall bracket to mark the
holes.
Use locking fixing bolts and nuts suitable for the wall
material. The bolts much each stand a torque force of
a minimum of:
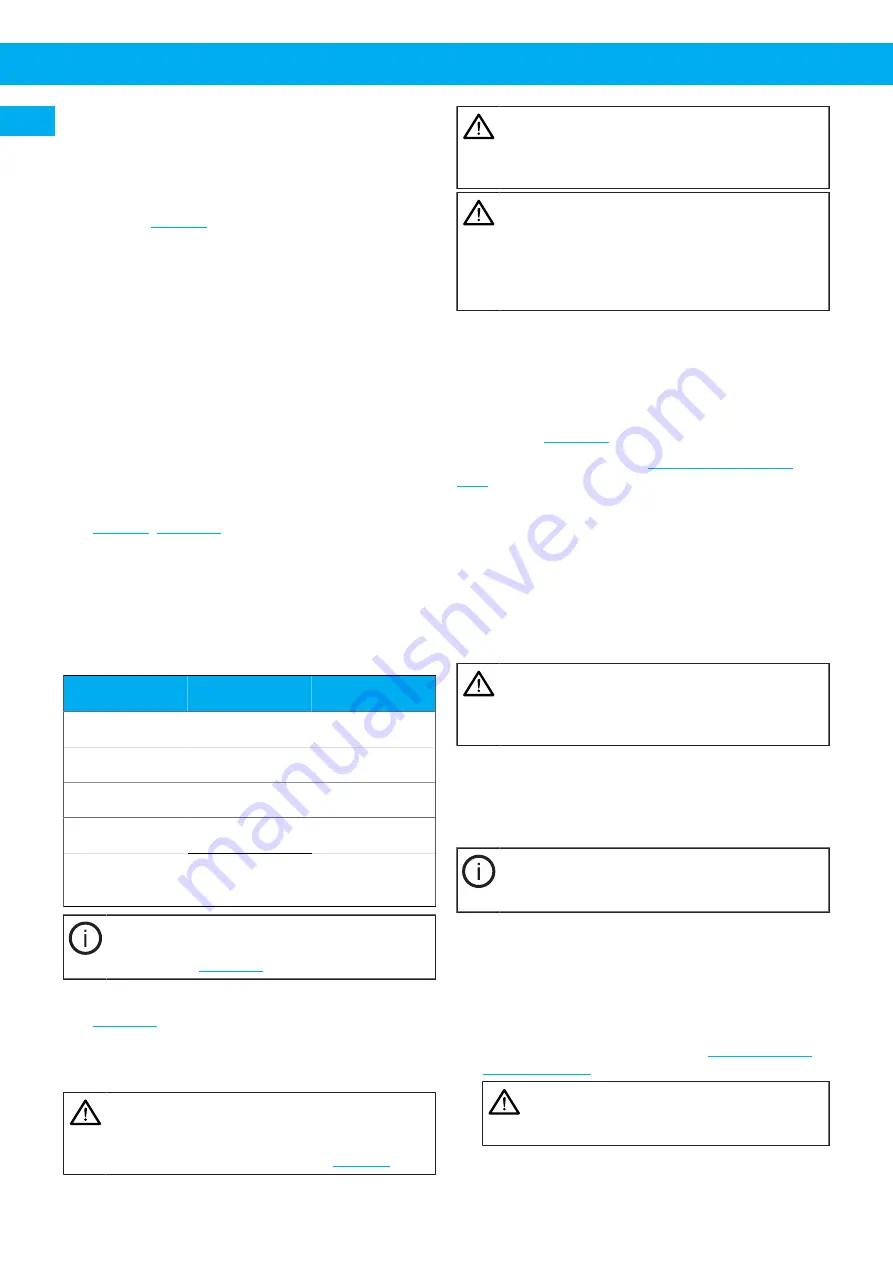
Model
Force [N]
Force [lbs]
2 m
1200
270
3 m
1900
430
4 m
3200
720
5 m
4500
1000
Use a spirit level and make sure that the extraction
arm is fitted in a horizontal position.
NOTE!
The nut securing the hood must be tightened
securely, see
item B.
4.2.1 Fitting the hose
See
. Stretch the hose on the lengths X and Y
to get the maximum hose over the links.
5 Using NEX HD
CAUTION! Work safety regulations
The NEX HD arm must not be used for extract-
ing such dust or fume air mixtures that could
affect the product materials, see
WARNING! Risk of explosion
The NEX HD arm must not be used for extract-
ing dust or fume air mixtures in explosive envir-
onments.
WARNING! Risk of fire
Check that no sparks or other objects which can
cause fire are sucked into the arm. For weld-
ing applications generating a high amount of
sparks, spark protection (accessory) must be
mounted in the hood to reduce the risk of fire.
The extraction arm can easily be positioned at any
point within its working area. It can be rotated 180°
when wall mounted and 360° when ceiling mounted.
For best capture, the hood should be positioned as
near the fume or dust-generating process as possible.
It has the best suction capacity when it is positioned
according to
. Also, see the hood data.
Recommended airflow: See
.
Always check that the airflow is sufficient in the hood
before work begins. Insufficient airflow is depending
on:
• The fan impeller rotating in the wrong direction.
• Hood, ducting or hose are blocked/damaged.
• Filter cartridges are blocked.
6 Maintenance
WARNING! Risk of personal injury
When handling hazardous substances, use the
required protective equipment depending on
the substance.
All installation, repair and maintenance work must
be carried out by qualified personnel. Contact your
nearest authorized distributor or Nederman for advice
on technical service or if you require help with spare
parts.
NOTE!
The service intervals in this chapter are based
on the unit being professionally maintained.
Recommended at least once a year. Use the necessary
safety equipment.
1
Check that the hoses are intact. Clean the hose if it
is dirty. If necessary, change the hose.
2
Check the mounting of the arm on the wall or ceil-
ing.
3
Adjust the links if necessary, see
.
WARNING! Risk of personal injury
Spring power. Check the function of the
spring and spring holder.
4
Check that the suction capacity in the hood is suf-
ficient.
20
Summary of Contents for 10560232
Page 8: ...NEX HD Figures 5m 4m 3m 2m 1 x air flow m3 h y static pressure Pa A 5 m B 4 m C 3 m D 2 m 2 8 ...
Page 11: ...NEX HD 7 230 287 225 220 Ø 11 NEX HD 4m 5m mm 8 11 ...
Page 13: ...NEX HD A B F 11 Y A B D C Z X 12 13 ...
Page 14: ...NEX HD A X max 0 4 m B 13 14 ...
Page 15: ...NEX HD 2 4 1 1 3 3 3 14 15 ...
Page 16: ...NEX HD C1 C2 B A 13 mm C3 1 3 m m C5 C4 F C6 C7 C8 15 16 ...
Page 87: ...www nederman com ...


