8
Before using the appliance for the first time
In this section, you can read about
■
How to set the clock after connecting up your appliance
■
How to clean your appliance before using it for the first time
Setting the clock
Note:
When you press the
KJ
clock function button, you have
3 seconds to set the clock using the rotary selector. Should this
have been insufficient for you, you can amend the clock time
later.
‹
:
‹‹
flashes in the clock display.
1.
Briefly press the
KJ
clock function button to go to the
setting mode.
The
KJ
and
3
symbols light up.
‚ƒ
:
‹‹
appears in the
clock display.
2.
Set the current time using the rotary selector.
Your setting is accepted after 3 seconds.
Changing the clock
To subsequently change the time, press the
KJ
clock function
button repeatedly until the
KJ
and
3
symbols light up again.
Change the time with the rotary selector.
Cleaning the appliance
Clean your appliance before using it for the first time.
1.
Remove the accessories from the cooking compartment.
2.
Completely remove any residual packaging (e.g. chips of
polystyrene) from the cooking compartment.
3.
Clean the accessories and cooking compartment with hot
soapy water (see section: Cleaning and care).
4.
Heat with
%
Top/bottom heat at 240 °C for 60 minutes.
5.
Afterwards, wipe the cooled cooking compartment with hot,
soapy water.
6.
Clean the outside of the appliance with a soft, damp cloth
and soapy water.
Operating the appliance
In this section, you can read about
■
how to switch your appliance on and off
■
how to select an operating mode and temperature
Switching on the appliance
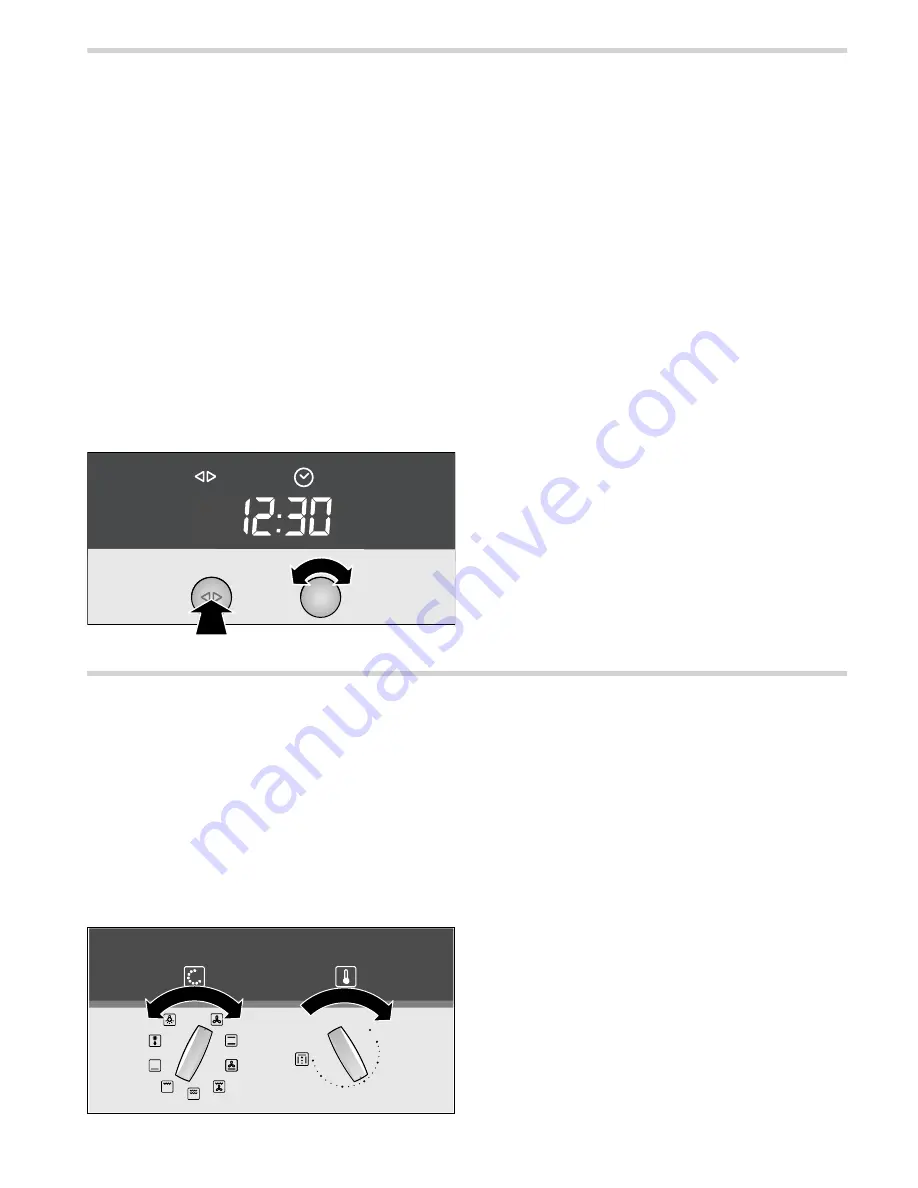
1.
Turn the operating mode selector until the desired operating
mode is selected.
2.
Turn the temperature selector until the desired temperature is
selected.
The
r
indicator lamp lights up while the appliance is heating
up and during any subsequent heating.
Switching off the appliance
1.
Turn the operating mode selector back to the
Û
position.
2.
Turn the temperature selector back to the
Ú
position.
After the appliance is switched off, the cooling fan may
continue to run.
Summary of Contents for B45M54.3GB
Page 1: ...en Instruction manual Built in oven B45M54 3GB...
Page 2: ......
Page 26: ......
Page 27: ......


