Accessories
en
11
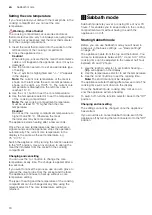
Inserting accessories
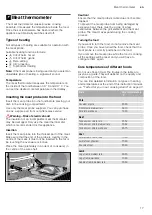
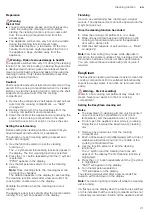
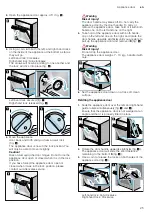
The cooking compartment has four shelf positions. The
shelf positions are counted from the bottom up.
Depending on the appliance model, your cooking
compartment will have one or more pull-out rails and a
clip-on pull-out rail. The pull-out rails are fixed in place
and cannot be removed. The clip-on pull-out rail can be
fitted as required to levels that are not currently being
used.
Always insert accessories between the two guide rods
for the shelf position.
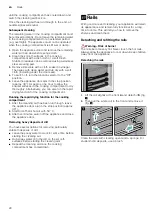
Accessories can be pulled out approximately halfway
without tipping. You can use the pull-out rails to pull the
accessories out further.
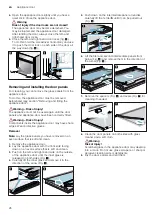
Make sure that the accessory is placed behind the lug
‚
on the pull-out rail.
Example in the picture: Universal pan
The pull-out rails lock in place when they are fully pulled
out. This makes it easy to place the accessories in
position. To unlock the pull-out rails, use a little force to
push them back into the cooking compartment.
Notes
■
Make sure that you always insert the accessories
into the cooking compartment the right way round.
■
Always insert the accessories fully into the cooking
compartment so that they do not touch the appliance
door.
■
Take any accessories that you will not be using out
of the cooking compartment.
■
The shelves can be taken out of the cooking
compartment for cleaning.
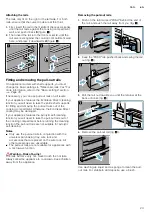
Locking function
The accessories can be pulled out approximately
halfway until they lock in place. The locking function
prevents the accessories from tilting when they are
pulled out. The accessories must be inserted into the
cooking compartment correctly for the tilt protection to
work properly.
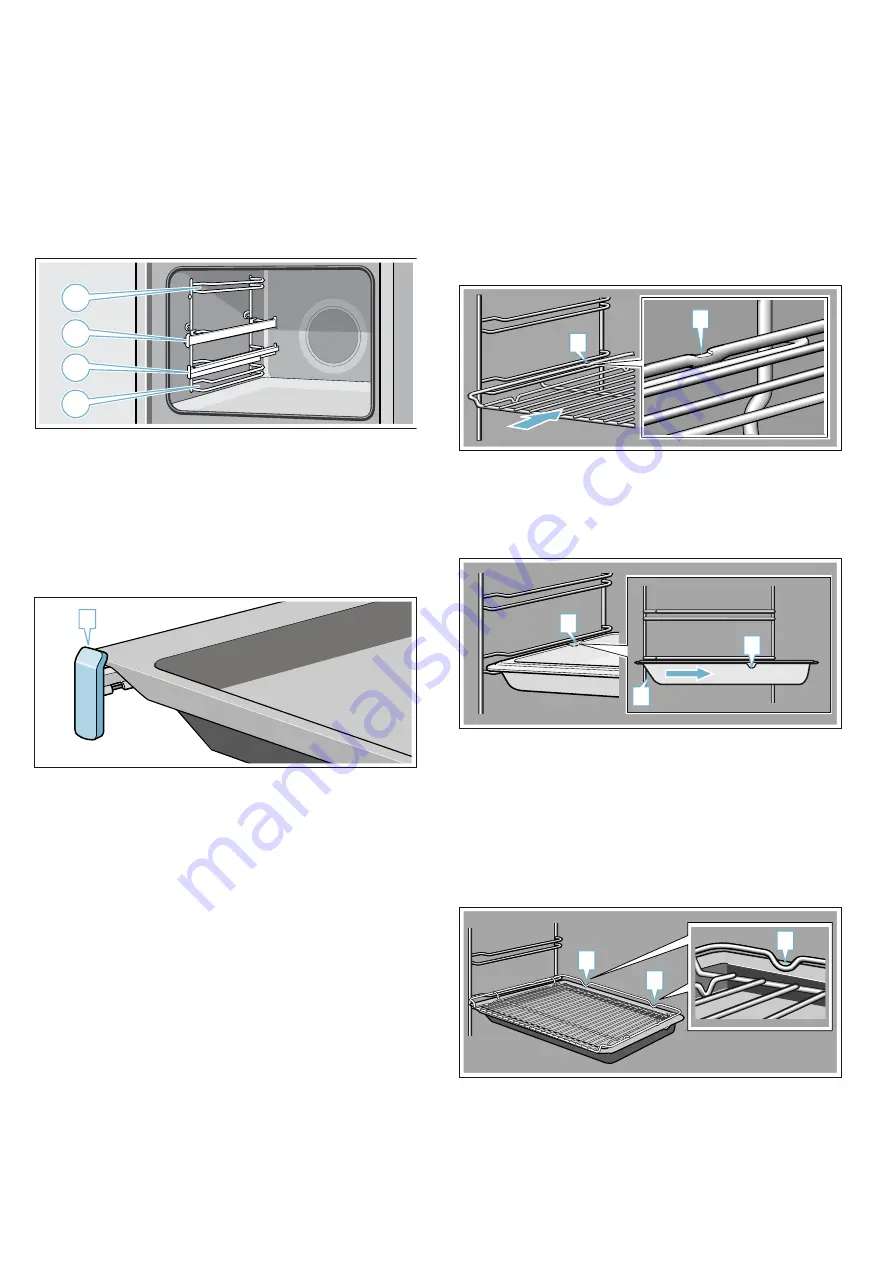
When inserting the wire rack, ensure that lug
‚
is at the
rear and is facing downwards. The open side must be
facing the appliance door and the outer rail must be
facing downwards
¾
.
When inserting baking trays, ensure that lug
‚
is at the
rear and is facing downwards. The sloping edge of the
accessory
ƒ
must be facing towards the appliance
door.
Example in the picture: Universal pan
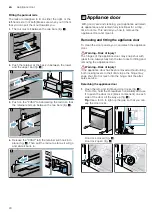
Combining accessories
You can insert the wire rack and the universal pan at
the same time to catch drops of liquid.
When inserting the wire rack, ensure that both spacers
‚
are at the rear edge. When inserting the universal
pan, the wire rack is on top of the upper guide rod of
the shelf position.
Example in the picture: Universal pan
1
4
3
2
D
D
D
D
D
E
D
D
D
Summary of Contents for B5ACM7H 0B Series
Page 1: ...en INSTRUCTION MANUAL BUILT IN OVEN B5ACM7H 0B...
Page 2: ......
Page 41: ...6...
Page 42: ...6...
Page 43: ...6...


