How it works
en
31
Food
Accessory/cook-
ware
Shelf pos-
ition
Temperature in
°C
Microwave
power setting
in W
Cooking
time in
mins
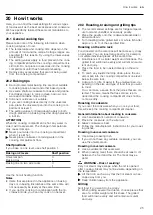
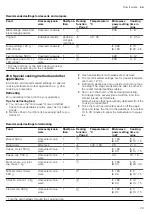
Soup, stew, 200 ml
Frozen
Covered cookware
1
-
600
4 - 6
1
Plated meal, 1 portion
Frozen
Covered cookware
1
-
600
11 - 15
1
Stir the food well.
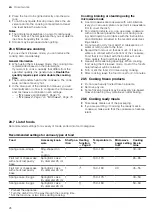
20.9 Test dishes
The information in this section is provided for test institutes to facilitate testing of the appliance in accordance with
EN 60350-1:2013 or IEC 60350-1:2011 and EN 60705:2012 or IEC 60705:2010.
Baking
¡
The setting values apply to food that is placed into a
cold cooking compartment.
¡
Please take note of the information on preheating in
the recommended settings tables. These setting val-
ues assume that the rapid heat-up function is not
being used.
¡
For baking, use the lower of the specified temperat-
ures to start with.
¡
Items that are placed in the appliance on baking
trays or in baking tins/dishes at the same time will
not necessarily be ready at the same time.
¡
Shelf positions when baking on 2 levels:
– Universal pan: Shelf position 3
Baking tray: Shelf position 1
¡
Hot water sponge cake
– When baking on two levels, place the springform
tins at diagonally opposite corners of the wire
racks.
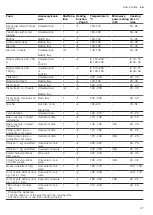
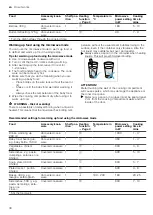
Recommended settings for baking
Food
Accessory/cookware Shelf posi-
tion
Temperature in °C
Cooking time
in mins
Viennese whirls
Baking tray
1
140–150
1
25–35
Small cakes
Baking tray
1
150
1
20–30
Small cakes, 2 levels
Universal pan
+
Baking tray
3+1
140
1
30–40
Hot water sponge cake
Springform cake tin,
diameter 26 cm
1
160–170
2
30–45
1
Preheat the appliance for five minutes. Do not use the rapid heating function.
2
Preheat the appliance. Do not use the rapid heating function.
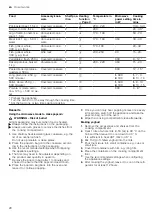
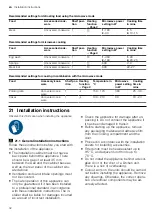
Recommended settings for grilling
Food
Accessory/cookware Shelf posi-
tion
Temperature in °C
Cooking time
in mins
Toasting bread
Wire rack
3
290
3–6
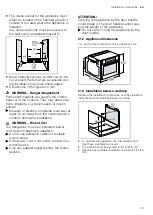
Microwave cooking
¡
If you use the wire rack, slide it into the cooking
compartment with the
Microwave
imprint facing the
appliance door and the bump pointing downwards.
¡
To test the microwave mode on its own, switch off
the drying function in the basic settings. →
Summary of Contents for C17MR02G0
Page 1: ...Oven en User manual and installation instructions C17MR02G0...
Page 37: ......
Page 38: ......
Page 39: ......

