9
Operation
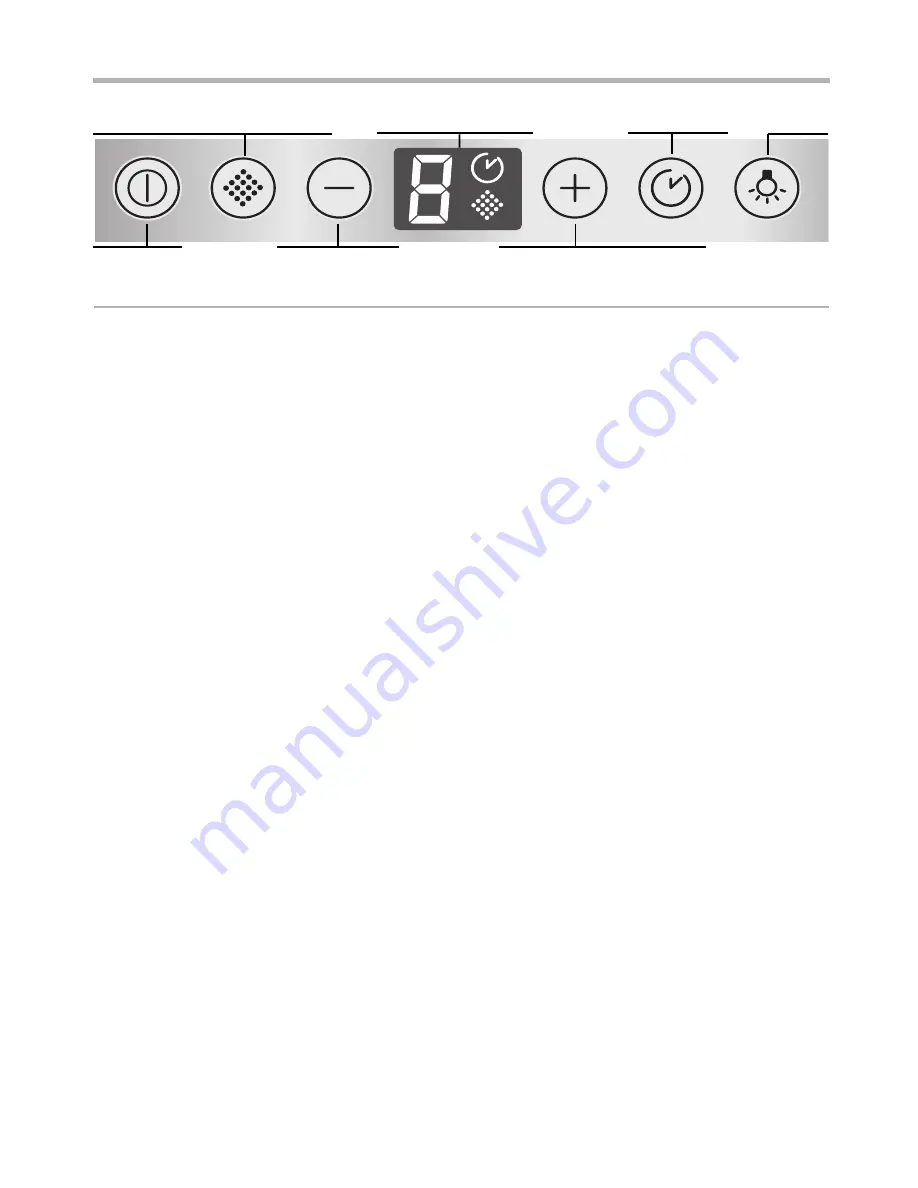
Light
Fan On/Off
Switch back fan
Display fan settings
Fan run-on
Switch on and increase fan
Intensive setting
Grease filter saturation display
NOTE:
It is recommended to switch on the
blower when you start cooking and not to
switch it off again until several minutes after you
have finished cooking. In this way the kitchen
fumes are removed most effectively.
Switching on the fan and
selecting the fan settings
Press button
-
.
Press button
+
. The fan setting is increased
by one.
Press button
–
. The fan setting is reduced by
one.
Switching off the fan
Press button
-
.
Intensive setting
The Intensive setting
ç
generates maximum
performance. It can be used if thick fumes or
strong odours occur temporarily.
Keep pressing button
+
until
ç
is displayed.
If the Intensive setting is not switched off
by hand, the fan automatically switches back
to setting 2 after 10 minutes.
Fan run-on
Press button
r
.
The fan runs for 10 minutes at the selected
setting. The
r
symbol is lit on the display.
Then the fan switches off automatically.
Light
The light can be switched on and off
independently of the fan.
To adjust the luminosity, hold down
button
0
until the required luminosity is
obtained.
Saturation displays
When the grease filters or the activated
carbon filter are saturated, a signal sounds for
6 seconds after the fan is switched off.
Display
J
or
ã
J
is lit.
Exhaust-air mode:
J
Circulating-air mode:
ã
J
The grease filters should now be cleaned or
the activated carbon filter changed.
To cancel the display, press button
-
.
Switching the acoustic signal off and on
When a button is pressed, an
acknowledgement signal sounds.
To switch off the acoustic signal,
simultaneously press buttons
-
and
+
for
approx. 3 seconds. An acknowledgement signal
sounds.
To switch on the acoustic signal, repeat the
process.
Summary of Contents for D72F58N0GB
Page 1: ...Installation instructions and how to use and look after your built in cooker hoods NEFF UK Ltd...
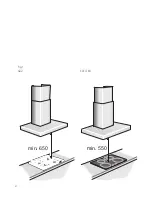
Page 2: ...Abb 1 ELECTRO Fig 1 GAZ min 650 min 550 2...
Page 18: ...18 Notes...
Page 19: ...19 Notes...
Page 20: ...20 Notes...
Page 21: ...21 Notes...
Page 22: ...22 Notes...
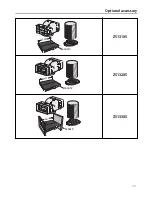
Page 23: ...23 Optional accessory Z5131X5 Z5132X5 Z5133X5 669419 236 669659 321 669648 281...


