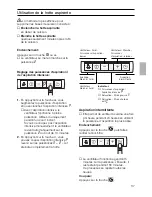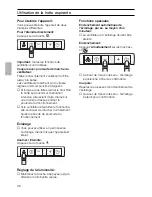
23
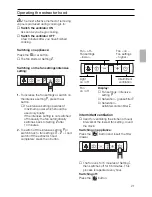
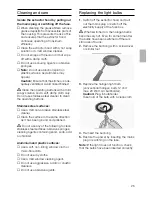
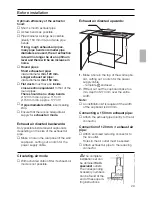
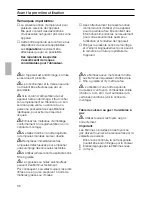
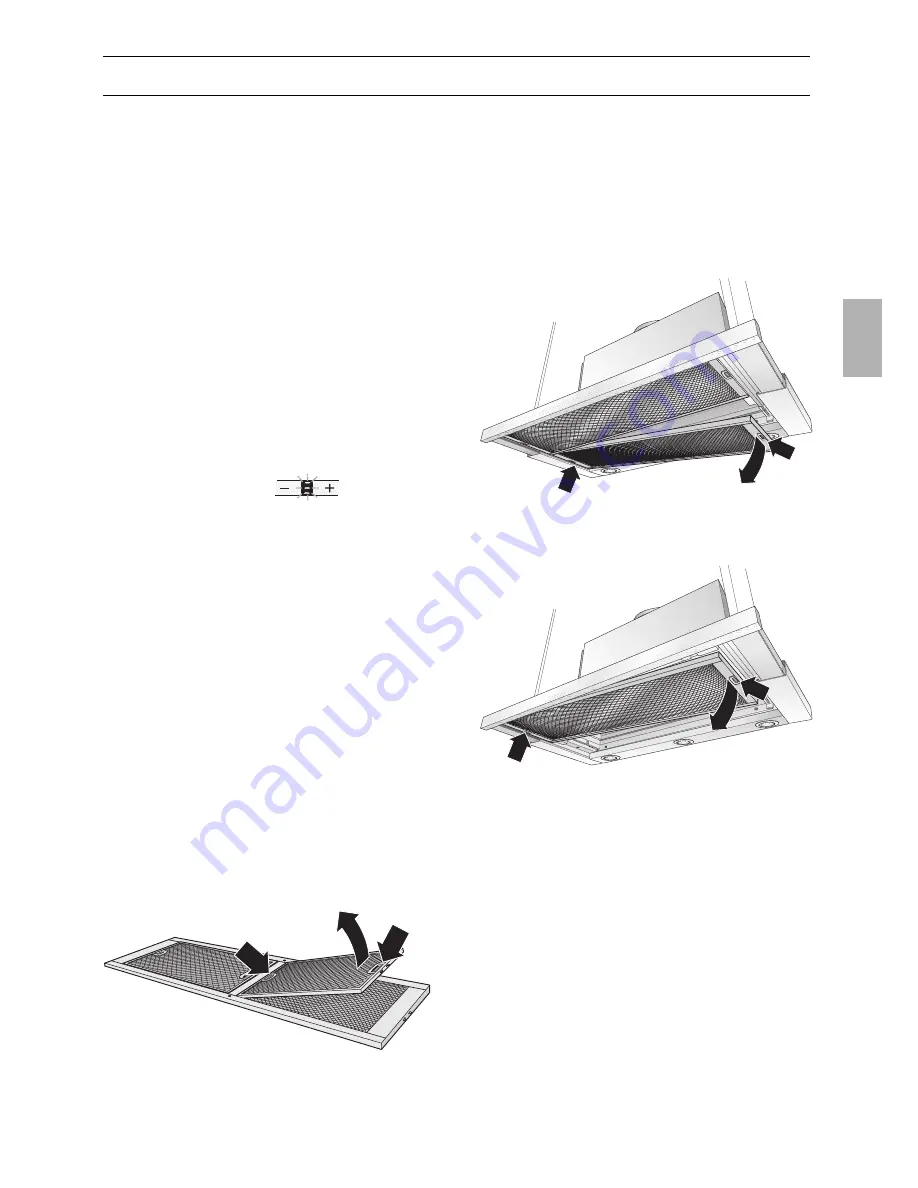
Removing and inserting the metal-mesh
grease filters:
Warning:
The halogen bulbs must be
switched off and cool.
1.
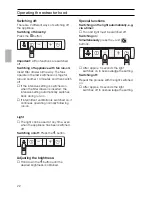
Pull the filter drawer all the way out.
2.
Depress the catches at the rear of the
grease filter and remove the grease filter.
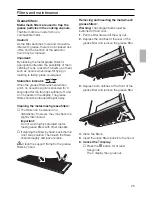
4.
Clean the filters.
5.
Insert the clean filters back into the hood.
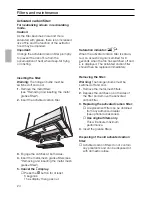
6. Cancel the
#
display.
❑
Press the
L
button for at least
3 seconds.
The
#
display then goes out.
3.
Depress both catches at the front of the
grease filter and remove the grease filter.
Grease filters:
Metal-mesh filters are used to trap the
grease particles in the cooking vapours.
The filter mats are made from non-
combustible metal.
Caution:
As the filter becomes more and more satu-
rated with grease, there is an increased risk
of fire and the function of the extractor
hood may be impaired.
Important:
By cleaning the metal grease filters at
appropriate intervals, the possibility of them
catching fire as a result of a build-up of heat
such as occurs when deep-fat frying or
roasting is taking place, is reduced.
Saturation indicator:
When the grease filters reach saturation
point, an acoustic signal is sounded for 6
seconds after the fan has switched off, and
an
#
appears in the display. The grease
filters should be cleaned straight away.
Cleaning the metal-mesh grease filters:
❑
The filters can be cleaned in a
dishwasher. However, they may become
slightly discoloured.
Important:
Do not wash highly saturated metal-
mesh grease filters with other utensils.
❑
If cleaning the filters by hand, soak them in
a hot soap solution. Then brush the filters,
rinse thoroughly and leave to drain.
Clean the support frame for the grease
filters by hand.
Filters and maintenance
Summary of Contents for DA89B
Page 99: ...99 D 4 Pa 0 04 mbar...
Page 100: ...100 T E A...
Page 101: ...101 L 1 10 2 off on On Off On Off 5 55...
Page 102: ...102 2 L 10 a a 3 3...
Page 103: ...103 1 2 4 5 6 L 3 3 6...
Page 104: ...104 A 1 2 3 4 3 4 5 L 3 6 1 2...
Page 105: ...105 3 12 Volt 20 Watt G4 4 5 1 2...
Page 106: ...106 1 2 2 3 4 5 6 2 1 FD...
Page 107: ...107 650 mm 1 Hs 03 0 kW 08 3 kW 03 9 kW 03 9 kW 11 3 kW 430 mm 1 TRGI 300 mm...
Page 108: ...108 D D 4 Pa 0 04 mbar...
Page 110: ...110 600 mm 293 350 mm 435 mm 293 mm O II 0 5 mm 1 l 2 mm 10 mm O II 2 3 1...
Page 111: ...2 7 8 9 1 2 5 2 6 4 2 111...
Page 112: ...112 2 1 O III l 2 mm 10 mm 16 0 16 5 kg...
Page 113: ...113 1 2 3 4 1 30 m 3 mm LS 5 6 1 2 3 2...
Page 114: ...114 1 L 2 3 3 1 2...


