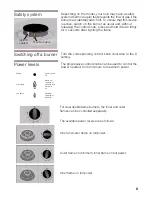
background image

8

Gas burners 
Operation

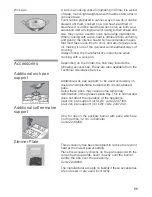
There are indications to show which burner each control 

knob operates. Fig. 1.

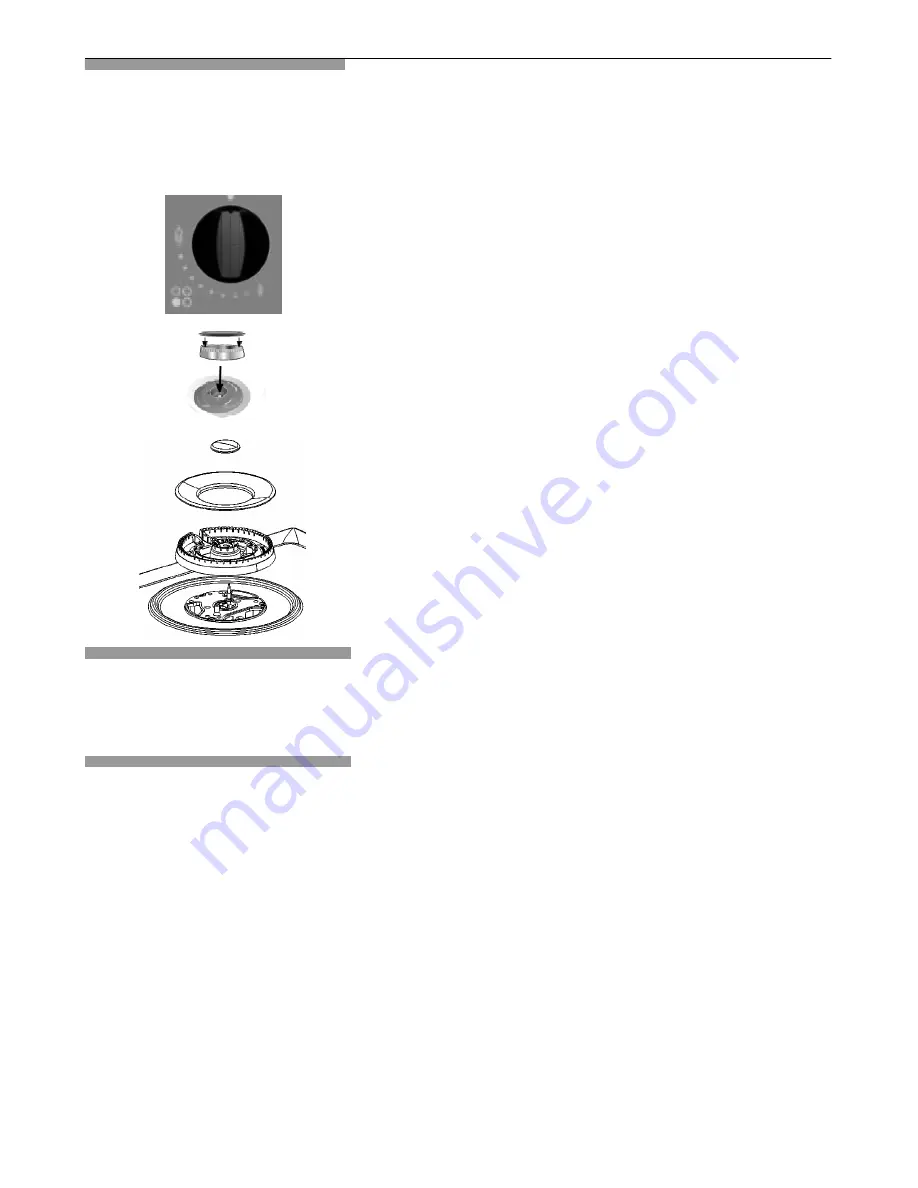
It is essential to ensure that all the burner parts and pan 

supports are correctly installed for the appliance to work 

correctly. Fig. 2-3. 

Switching on manually

1. Press the chosen burner control knob and turn it 

anticlockwise to the required setting.
2. Use any type of lighter or flame (cigarette lighter, 

matches, etc.) and bring it close to the burner. 

Switching on 

automatically

If your hob can be switched on automatically (ignition 

sparkers):
1. Press the chosen burner control knob and turn it 

anticlockwise to the maximum power setting.

While the control knob is still pressed down, sparks are 

produced on all burners. The flame ignites (it is no longer 

necessary to press down the control knob).
2. Turn the control knob to the required setting.
If it does not come on, turn the control knob to the off 

setting and repeat the steps above. This time, press and 

hold the control knob for longer (up to 10 seconds).
Warning! If after 15 seconds the flame does not ignite, 

switch off the burner and open a nearby window or door. 

Wait at least one minute before trying to switch the burner 

on.

Fig. 1

Fig. 2

Fig. 3

Summary of Contents for T22S36N0GB

Page 1: ...Carl Wery Stra e 34 81739 M nchen Neff GmbH www neff international com Operating instructions en Cod 9000413914 F...

Page 2: ...Suitable pans 10 Accessories 11 Additional wok pan support Wok pan 11 Additional coffee maker support 11 Simmer plate 11 Cooking recommendations 12 Precautions for use 13 Cleaning and maintenance 14...

Page 3: ...which are strictly necessary to guarantee efficient protection during transport These materials are 100 recyclable thus reducing the environmental impact You can also contribute to caring for the env...

Page 4: ...lled on yachts or in caravans The warranty will only be valid if the appliance is used for the purpose for which it was designed The place in which the appliance is installed must have fully functioni...

Page 5: ...ctrocution This appliance is class 3 type according to the EN 30 1 1 standard for gas appliances built in appliance Do not store or use corrosive chemicals steamers flammable materials or non food pro...

Page 6: ...0 kW Burner up to 1 75 kW Burner up to 1 0 kW Burner up to 3 0 kW Burner up to 1 75 kW Triple flame burner up to 4 0 kW Burner up to 1 75 kW Burner up to 1 0 kW Burner up to 3 0 kW Burner up to 1 75...

Page 7: ...switched on automatically ignition sparkers 1 Press the chosen burner control knob and turn it anticlockwise to the maximum power setting While the control knob is still pressed down sparks are produc...

Page 8: ...e corresponding control knob clockwise to the 0 setting Power levels The progressive control knobs can be used to control the power needed from minimum to maximum power Ignition sparker Thermocouple S...

Page 9: ...l This is caused by the presence of dust in the atmosphere spilt liquids etc The kitchen will become hot and humid when this gas appliance is used You must therefore ensure that the kitchen is well ve...

Page 10: ...ob may include the following accessories These are also available from the Technical Assistance Service Additional wok pan support Additional wok pan support to be used exclusively on double and tripl...

Page 11: ...shes Rapid burner Escalopes steaks omelettes frying Rice white sauce and ragout Steaming fish vegetables Semi rapid burner Steamed potatoes fresh vegetables stews pasta Reheating and keeping things ho...

Page 12: ...cook without using a lid and make sure the lid is properly fitted to avoid wasting energy Always place the pan right over the burner not to one side Otherwise it could tip over Do not place large pans...

Page 13: ...s on the hob at the start of cooking may damage the enamel After cleaning and drying the burners make sure the burner covers are correctly placed on the diffuser Unsuitable products Do not use steam c...

Page 14: ...r and the burner must be clean Dry the burner covers carefully Check that the covers are correctly positioned Contact the electrical installer The burner flame is not uniform The burner components are...

Page 15: ...in the country of purchase Detailed information is available from retail outlets Proof of purchase must be presented to obtain the benefits of the warranty We reserve the right to introduce changes Us...

Reviews: