


8
Switching on manually
1.
Press the chosen burner control knob
and turn it anticlockwise to the required
setting.
2.
Use any type of lighter or flame (cigarette
lighter, matches, etc.) and bring it close
to the burner.
Switching on automatically
If your hob can be switched on
automatically (ignition sparkers):
1.
Press the chosen burner control knob
and turn it anticlockwise to the maximum
power setting.
While the control knob is still pressed
down, sparks are produced on all
burners. The flame ignites.
2.
Release the control knob.
3.
Turn the control knob to the required
setting.
If it does not come on, turn the control
knob to the off setting and repeat the steps
above. This time, press and hold the
control knob for longer (up to 10 seconds).
m
Risk of deflagration!
If after 15 seconds the flame does not
ignite, switch off the burner and open a
nearby window or door. Wait at least one
minute before trying to switch the burner
back on.
Safety system
Depending on the model, your hob may
have a safety system (thermocouple) that
prevents the flow of gas if the burners
accidentally switch off.
To ensure that this device is active:
1.
Switch on the burner as usual.
2.
Without releasing the control knob, press
and hold it down firmly for 4 seconds
after lighting the flame.
Switching off a burner
Turn the corresponding control knob
clockwise to the 0 setting.
Power levels
The progressive control knobs can be used
to control the power needed, from
minimum to maximum power.
Warnings
It is normal to hear a soft whistling noise
while the burner is operating.
When it is first used, it is normal for the
burner to give off odours. This does not
pose any risk and does not indicate a
malfunction. They will disappear in time.
An orange-coloured flame is normal. This is
caused by the presence of dust in the
atmosphere, spilt liquids, etc.
The kitchen will become hot and humid
when this gas appliance is used. You must
therefore ensure that the kitchen is well
ventilated: Either keep the natural
ventilation apertures open, or install a
ventilation system (extractor hood).
Intense and prolonged use of the appliance
may mean additional ventilation is required
(for example, opening a window) or more
effective ventilation (for example,
increasing the hob's ventilation, if possible).
If the burner flames are accidentally blown
out, switch off the burner operating control
knob and do not try to relight it for at least
one minute.
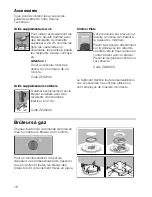
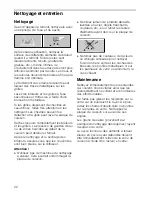
,JQLWLRQ
VSDUNHU
7KHUPRFRXSOH
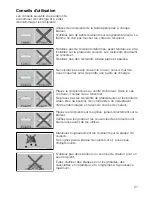
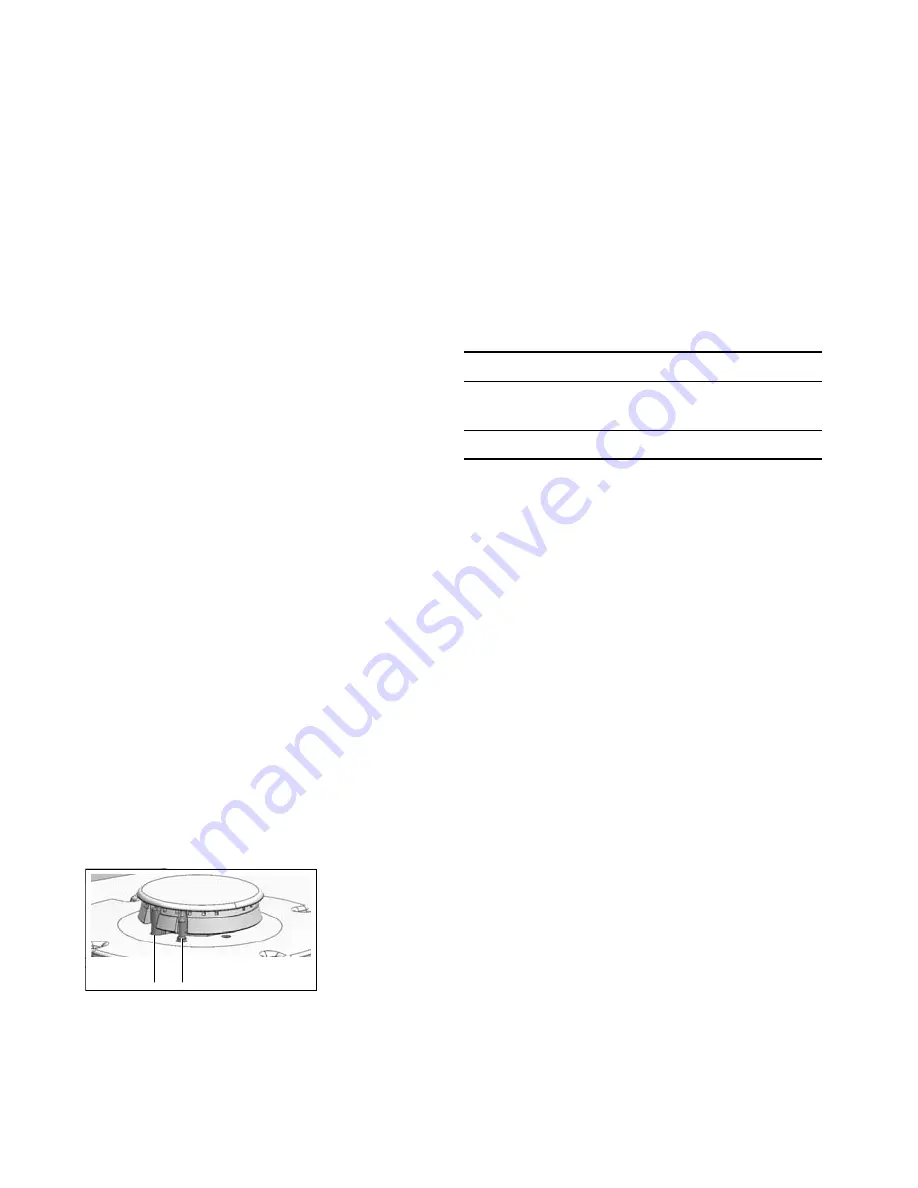
Setting
Ú
Control knob off
High flame
›
Maximum capacity or aperture
and electricity on
Low flame
œ
Minimum capacity or aperture


