a) Open the cover of the carrier and place a sheet of the tattoo spirit
paper inside on top of the backing sheet (under the carbon layer) - facing
upwards.
b) Remove the protective sheet from between the cover and carbon
layer. If this sheet is not removed before imaging the design will not
transfer onto the cover.
Turn the machine on and set to the required setting [will differ depending
on artwork type].
Between 6-8 is the normal speed for photocopies and laser prints
•
a) Feed the carrier into the front of the machine in a continuous motion.
The machine will ‘grab’ the carrier and pull it through
•
Do not stop feeding until
•
after the machine grabs the head of the carrier
b) Support the carrier using your hand as it exits the top of the machine.
Do not pull the carrier unless cover ‘slips’ or begins to roll
•
Lift the cover of the carrier to reveal your tattoo paper. Peel back the
cover sheet of the paper, which will slightly stick to the carbon layer, to
reveal your imaged design on the back of the cover sheet.
Slightly peel the artwork from a corner to check correct imaging.
If under imaged do not remove the design as you can re-feed it back
•
through the machine to complete the imaging process
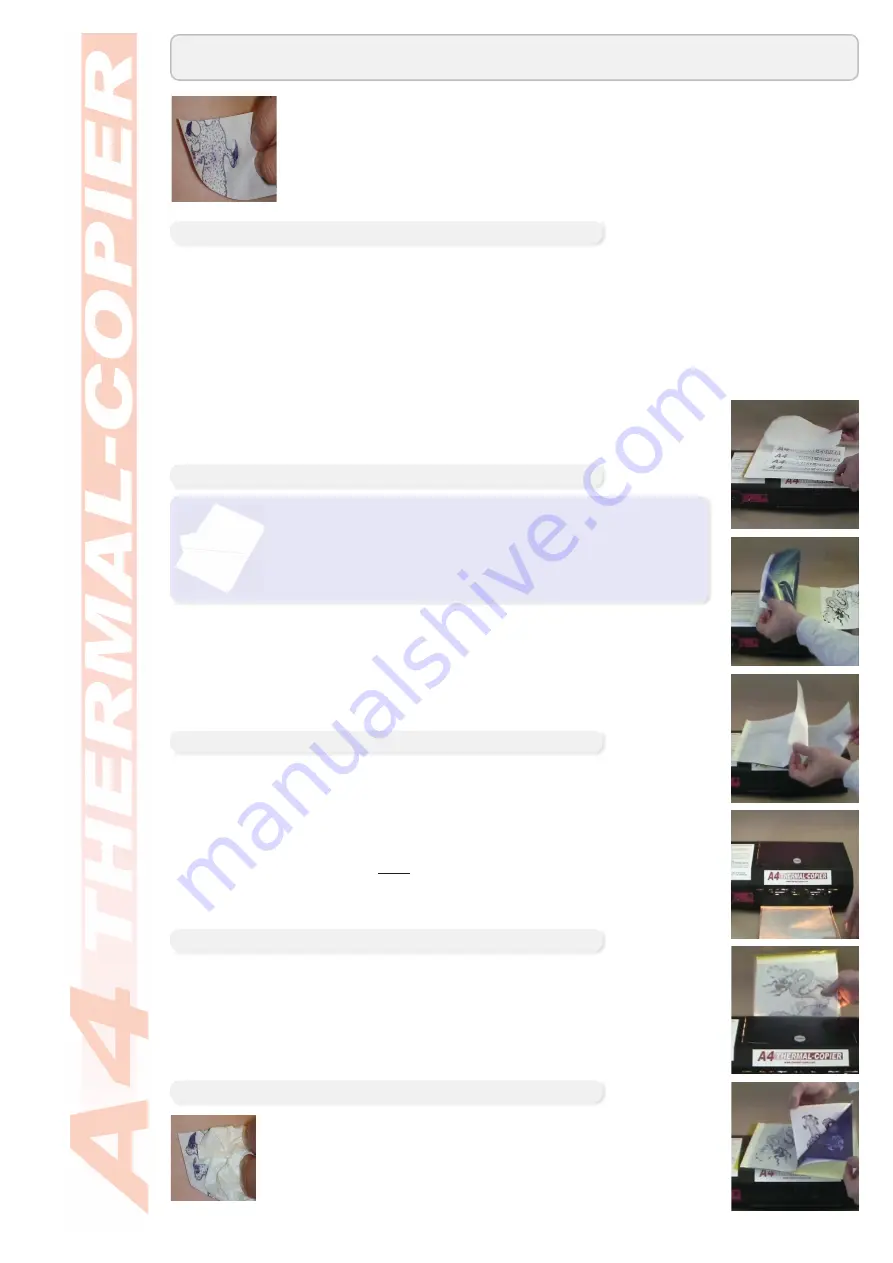
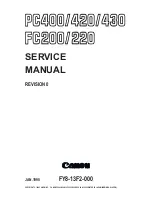
Cut off excess paper (leave 1cm around design), clean the
skin and apply paper design side down.
For best results pat the back of paper with damp cloth.
•
Use caution not to rub hard or the paper may move causing
a smudged design
5
© 2008 NEHOC Australia Pty Ltd
Imaging Tattoo Spirit Paper
Tattoo Spirit Paper, also called Tattoo Transfer Paper, is used to transfer a
copy of a design onto the skin as a guide prior to tattooing.
In order to keep the tattoo paper and artwork together as it passes through
the machine you MUST use a thermal carrier. Imaging tattoo paper without
using a carrier will result in the paper wrapping around the glass roller and
damaging the machine.
Artwork can be hand drawn, photocopied or computer laser printed - as long as it’s carbon
based, it will work. Full details on Artwork types and preparation see Information Sheet #01.
The quality of your artwork is important, so taking two minutes to ensure it’s clean of
background marks etc. will make all the difference once your paper has been imaged.
Artwork Preparation
Whilst not essential for tattoo paper, quality is improved by cleaning up your artwork before
use, by passing through the machine against Artwork Clean-Up Paper (product code S-155)
at a setting of 5. This process:
Remove’s moisture from the artwork
•
Helps remove pinholes, small marks and some background marks
•
Removes excess carbon eliminating dark spots
•
Step 1. Artwork
Step 2. Combine artwork and paper in carrier
Step 3. Imaging
Step 4. Remove imaged design
Tattoo Spirit Paper contains multiple layers:
Cover sheet - your design appears on back after imaging
Protective sheet - must be removed before use
Carbon Paper - transfers the artwork to the cover sheet
Backing sheet - artwork lays on top face up
Step 1
Step 2a
Step 2b
Step 3a
Step 3b
Step 4
Step 5. Apply design to skin


