The A4 Thermal-Copier has a maximum imaging width of 220mm (full A4 width), however
an A4 design can also be placed onto an A3 size screen by folding the outer edges of the mesh
under the design and passing through the machine.
Why would an A3 size screen be needed with A4 artwork?
An A3 sized screen is required for A4 artwork when printing ‘off contact’ using opaque inks or
Aqua Inks for Plastic/ metals.
Does the fold to the ScreenMaster effect the print?
The fold created on the outer edges of the artwork is outside the design area. When stretched
to a metal frame the fold becomes almost fl at, however it’s the fact it’s outside the print area
that’s important. Provided there is a 5mm gap between the design and fold there is no issues.
7
© 2008 NEHOC Australia Pty Ltd
Imaging Oversized Screens
Prepare your artwork using the Artwork Clean-Up Process
1.
outlined on page 4 of this guide.
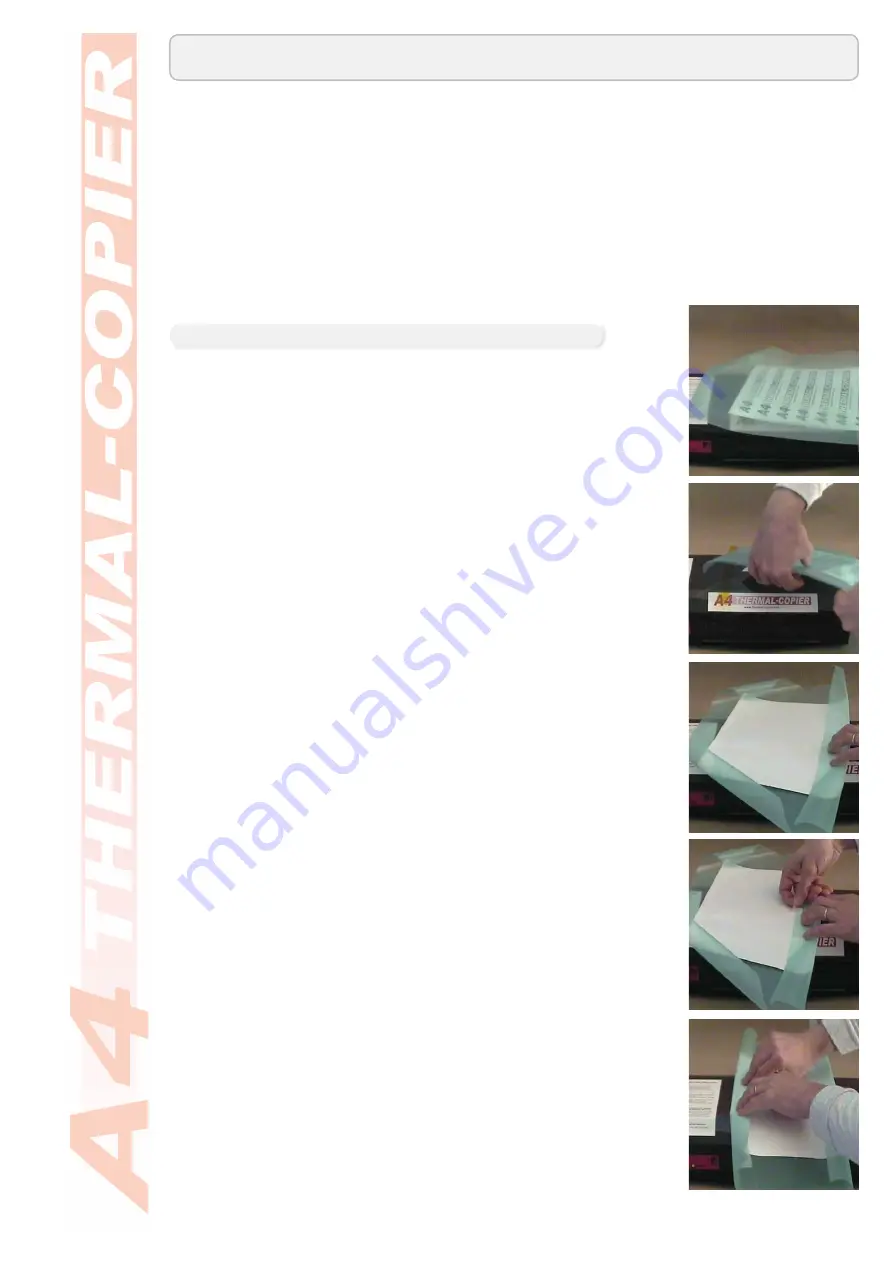
With your ScreenMaster cut to size, place over your artwork, fi lm
2.
side (smooth) down against the design.
Holding both the artwork and ScreenMaster together fl ip the
3.
combination over to have the artwork on top facing downwards,
as pictured right.
If the artwork moves when the mesh is fl ipped you must reposition
•
the design against the screen, as the next step will fi x the design
in place
Ensure this process is done on a fl at surface with suitable space
•
to limit any movement of the artwork/mesh combination
Fold the long edge closest to you back onto the artwork as pictured
4.
right.
Do not
•
fold or crease the ScreenMaster mesh with your hand to
fl atten at this stage
The mesh will have a slight curve, not crease, as it folds over
•
around the paper
Using a removable sticky tape attach the folded edge to the
5.
back of the artwork
Do not
•
use highly adhesive tapes as they may damage the
mesh when removed
Do not
•
use adhesive sprays or glues of any type
With the fi rst long edge taped down, proceed to perform the
6.
same task on the second long edge of the screen.
Pull the mesh over onto the back of the artwork
•
Tape down against the back of the artwork
•
Do not fold or crease the edge
•
Preparation
Step 2
Step 3
Step 4
Step 5
Step 6


