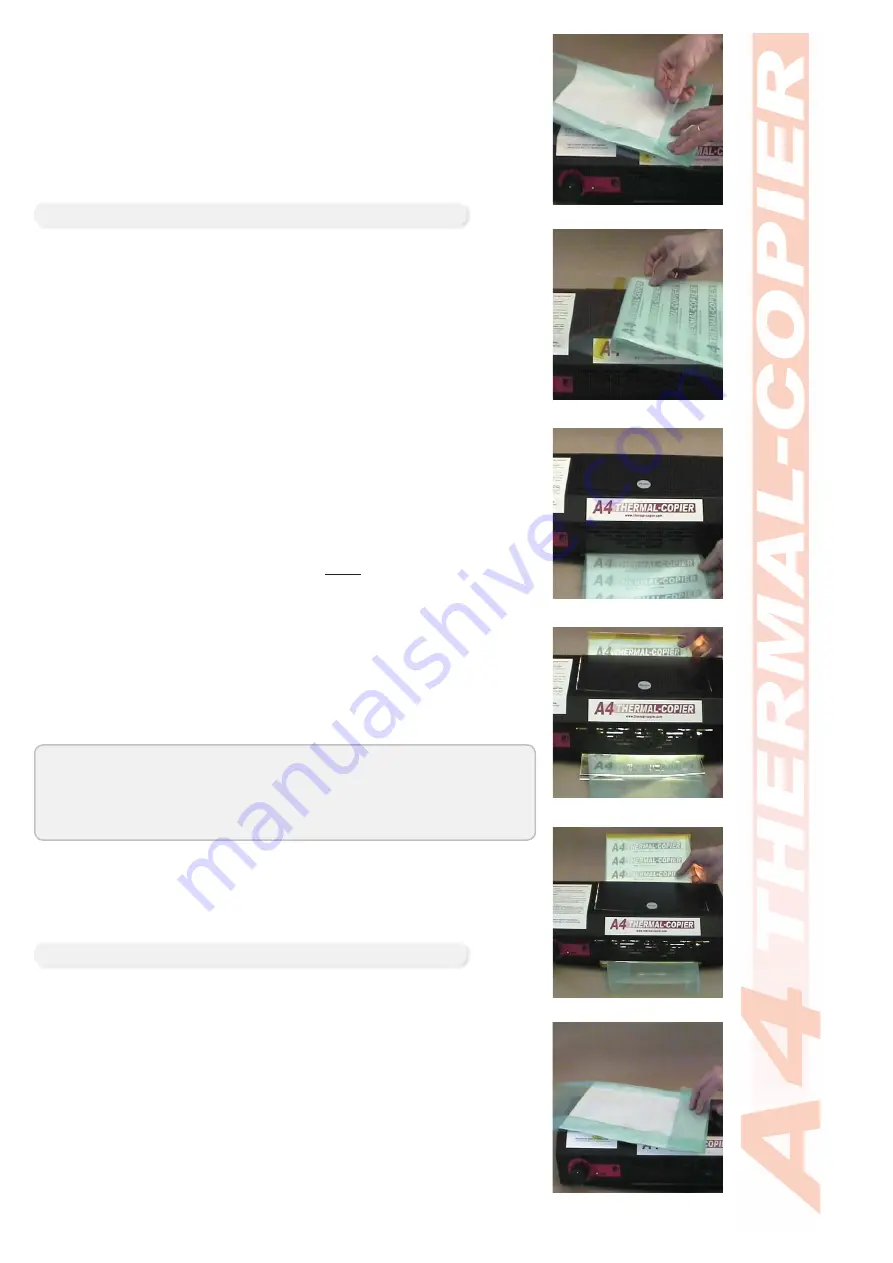
With both long (side) edges of the screen taped down proceed
7.
to fold and tape the head/ top of the mesh to the artwork.
Use caution not to fold or crease the edges
•
Tape down against the back of the artwork, not against the
•
mesh on the sizes or this may cause damage to the mesh when
removed
There is no requirement to tape the fourth side of the mesh
•
Open the cover of the thermal carrier and insert the top of the
8.
artwork/ mesh into the carrier.
Ensure the head is sitting just below the thermal tape - do not
•
place the design behind the thermal tape as it will not image
Lower the cover of the thermal carrier back over the mesh/
9.
artwork - you are now ready for imaging.
Mesh will protrude out the bottom of the carrier - this is OK
•
Turn the machine on and set to the speed to the required setting
10.
Speed setting will differ depending on artwork type used
•
Between 6 and 8 is generally the normal speed used for
•
photocopies and laser prints
Feed the carrier into the front of the machine in a continuous
11.
motion. Do not stop feeding until after the machine grabs the
head of the carrier.
The machine will ‘grab’ the carrier and pull it through
•
Support the carrier with your hand as it comes out the back
12.
of the machine.
Do not pull the carrier, support it’s weight as it comes out the
•
back
Lift the cover of the carrier and remove your imaged screen
13.
from the carrier.
We must now remove the tape from the back of the artwork to
reveal our imaged screen.
Remove the tape from the head of the design using caution
14.
NOT to tear the artwork or mesh.
The benefi ts of a removable sticky tape are clear at this point
•
If required you may keep the tape attached to the mesh and simply
remove from the artwork. Fold the tape back onto the ScreenMaster
mesh as this part of the screen will be attached to the frame and
will not effect printing.
Imaging
Step 7
Step 8
Step 11
Step 12
Step 12
Step 14
Maximum length of the design is 300mm
•
Maximum length of mesh outside the carrier is 100mm
•
For longer designs, fold and tape both the head and base of
•
the mesh to the back of the artwork (all 4 sides).
Separating and Checking
© 2008 NEHOC Australia Pty Ltd
8


