6
Note: To prevent damage to the passages, do not use metal objects to clean the Nozzle and
Fluid Tip.
5. Clean inside of Spray Gun by pouring warm soapy water into the Fluid Inlet, then run a
flexible brush through the passage between the Fluid Inlet and Nozzle opening.
6. Wipe down Spray Gun Body with a clean cloth and
warm soapy water.
7. Rinse Cup, along with any tubes or filters, in warm
soapy water.
8. Make sure all parts are free from grease and oil.
Repeat cleaning if necessary.
9. Rinse all parts and inside of Spray Gun, except Air
Inlet, with warm water.
10. Thoroughly blow dry all parts and inside of Spray Gun
with compressed air.
11. Reassemble Spray Gun, making sure to retract Fluid
Needle when replacing Fluid Tip.
Spray Gun Setup Adjustment
CAUTION!
Keep hands away from Trigger while making adjustments.
1. Thread the Cup to the top of the Gun Body and tighten until the Cup is securely in place.
Note:
This Spray Gun can be used for spraying oil-based or latex paints.
Paint Preparation and Filling
Note: Proper paint mixture is essential.Follow the manufacturer’s directions.
Most paints will spray easily if they are thinned properly.
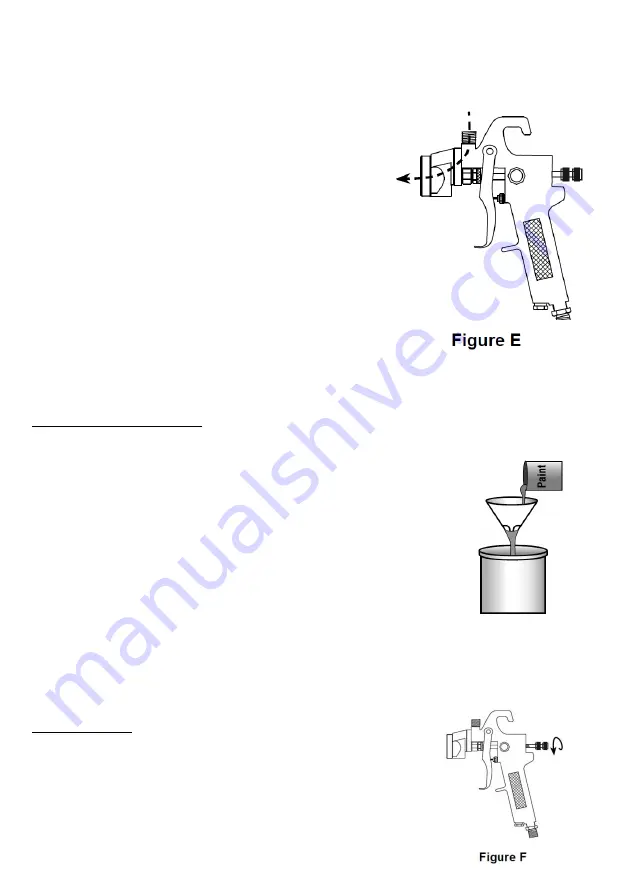
2. Thin the paint according to manufacturer’s
directions and mix thoroughly.
3. Carefully strain the paint through a paint strainer or a
piece of cheesecloth.
4. Fill the Cup to 3/4 full. Close Cup.
5. Start the air compressor and set the regulator to needed
pressure.Do not exceed maximum air pressure.
6. Test the consistency by spraying on a piece of scrap
material. If it still appears too thick, add a very small
amount of thinner (not included) and mix thoroughly.
Use the proper thinner for the type of paint. Thin
CAUTIOUSLY. Proceed slowly, adding minimal amounts
at a time. DO NOT exceed the
manufacturer’s thinning
recommendations.
Fluid Adjustment
7. Loosen Collar on Fluid Knob. Turn the Fluid Knob
counterclockwise until it is open enough to show 3 or 4
threads.


