inspection, Maintenance, and cleaning
warning! Make sure the Throttle Lever (20) is in its “OFF” position and that
the Air Punch/Flange Tool is disconnected from its air supply before performing any
inspection, maintenance, or cleaning procedures.
before each use, inspect the general condition of the tool. Check for loose
screws, misalignment or binding of moving parts, cracked or broken parts, and
any other condition that may affect its safe operation. If abnormal noise or vibra-
tion occurs, have the problem corrected before further use.
do not use damaged
equipment.
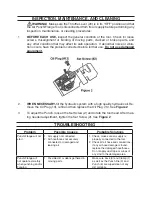
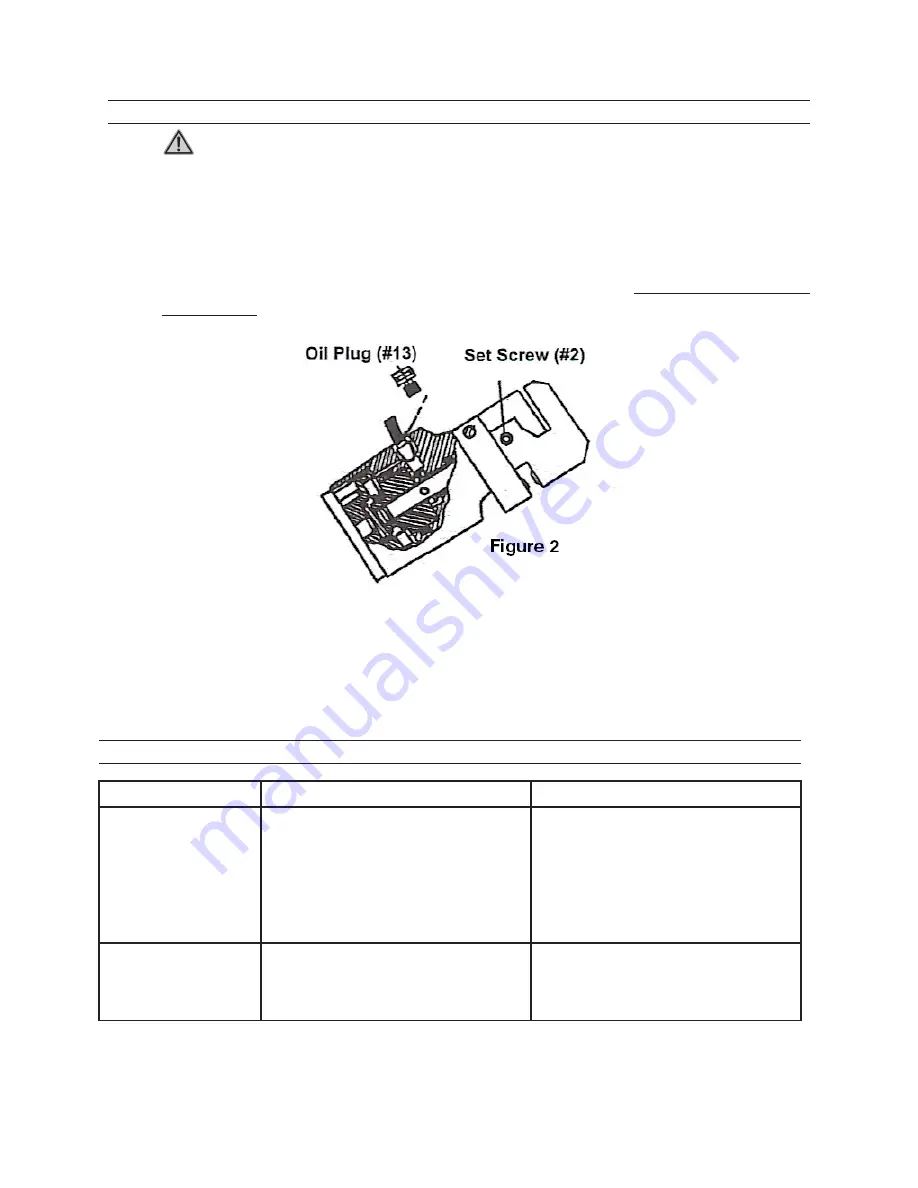
when necessary, fill the hydraulic system with a high quality hydraulic oil. Re-
move the Oil Plug (13), refill and then replace the Oil Plug (13). See
figure 2
To adjust the Punch, loosen the Set Screw (2) and rotate the tool head. After mak-
ing needed adjustment, tighten the Set Screw (2). See
figure 2
1.
2.
3.
troubleshooting
problem
possible causes
probable solutions
Punch/Flange will not
start
Air supply not connected.
Air hose/hoses not securely
connected, or damaged and
leaking air.
1.
2.
Check, make sure air supply is
properly connected to the tool.
Check all air hose and connections.
if any air hose damage is found,
replace the damaged hose/hoses.
Do not apply duct tape or wraps of
any kind to the damaged area.
1.
2.
Punch/Flange will
not operate smoothly
when punching and/or
flanging.
Possible dirt or debris gathered in
moving parts.
1.
Make sure Anvil (9) and Clamp (1)
as well as the Punch Die (3) and
Punch (6) are wiped clean of any
dirt or debris.


