Genesis Manual Rev1.6 Copyright 2018, Nellis Engineering, Inc.
5
Assembly
Before charging the DPV for the first time,
the batteries must be connected to the tail
section internally. The DPV can be opened
by sliding the large rubber band forward to
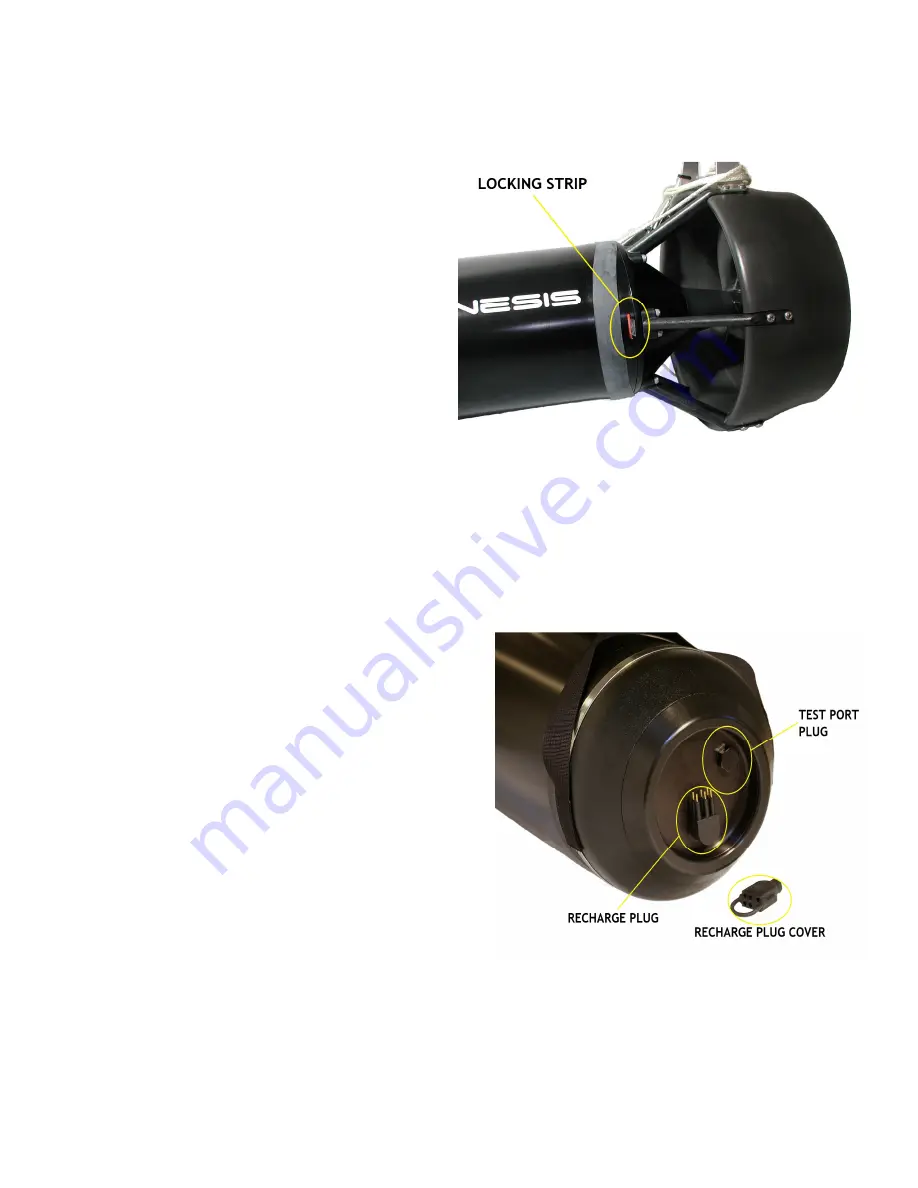
expose the orange plastic locking strips
(2ea) at the 3 & 9 O'clock positions (Fig. 1).
Remove the two locking strips by pulling on
the clear tab to lift the strip out of the
groove and then grasp the tab and strip
before pulling it free of the housing. It may
be necessary to compress the tail section
into the body to free the locking strip, as a
slight pressure inside the DPV can cause
them to bind. With the locking strips
removed, stand the DPV on its nose and lift
the tail section off of the body.
Note
It is possible to have a slight vacuum or
pressure inside the DPV body that prevents
the tail section from being removed. A test
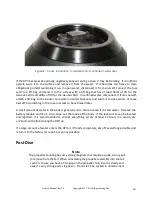
port plug (Fig. 2) on the nose of the DPV can
be removed with an 11/16" socket to equalize
the pressure. This is the pressure/vacuum
test port that will be discussed later.
Figure 1
Lock strip slot view
Figure 2
Nose cone view


