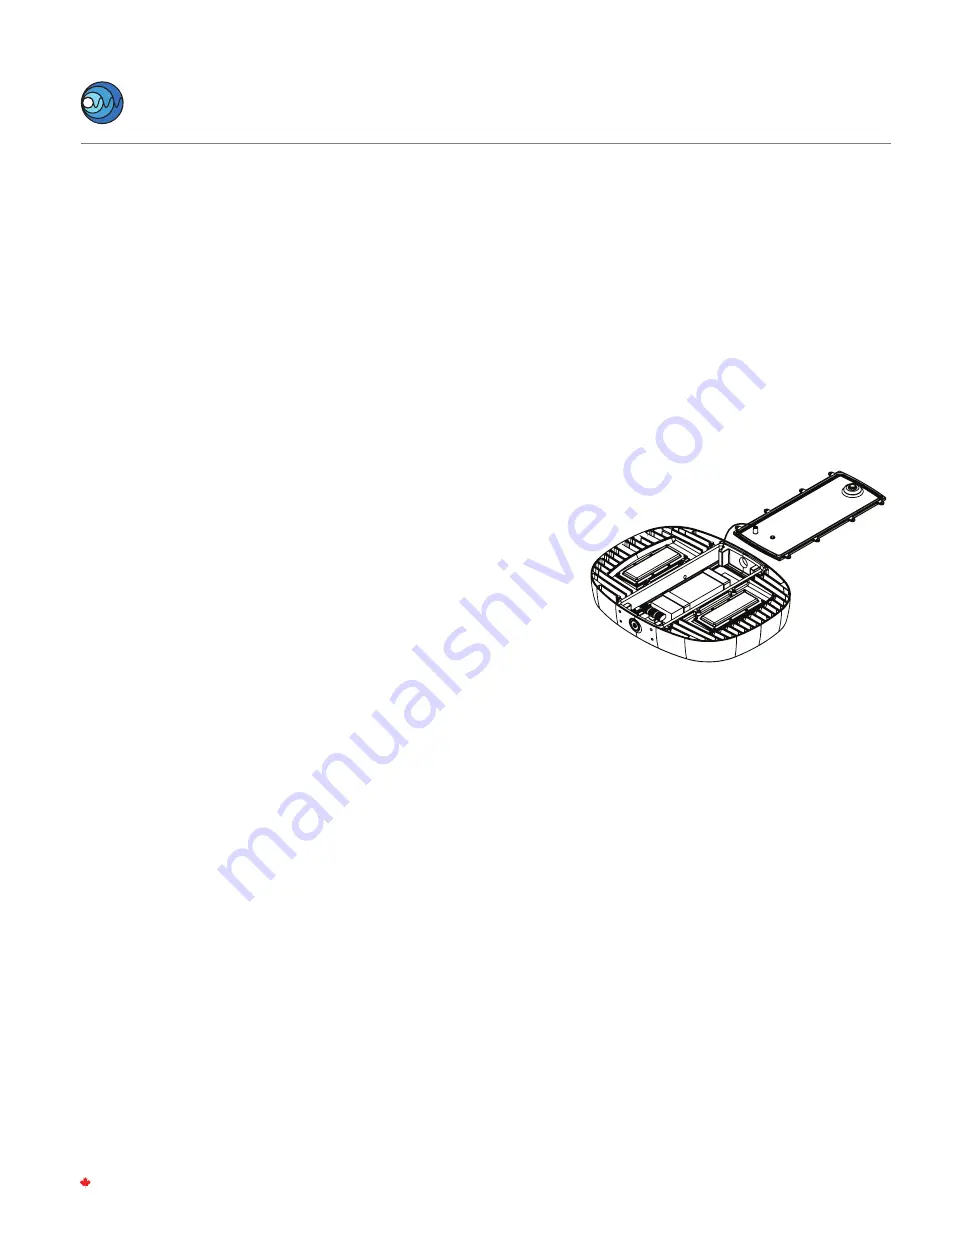
STEP 4.
Open XR Wiring Cover and allow cover to hang via
retention strap.
Note:
Screws are captive fasteners and will remain attached
to the cover for ease of reinstall and to prevent loss of
fasteners.
STEP 5.
Make wiring connections from branch circuit conductors
to factory provided lead wires using one of the 3/4" NPT
threaded entries. Follow wiring method requirements of
the Canadian Electrical Code or National Electrical Code
for the specific hazardous location of the installation.
For 0-10V Analog Dimming Control. Ensure dimming
control is certified and suitable for the classification of
the area of installation. Connect Violet (+) and Gray (-),
driver lead wires, to 0-10VDC control wiring.
• LED Drivers will source a combined maximum of
200µA for control needs
• 0-10V Controller must sink current from LED driver
0-10V control connections
NOTE:
To aid in assembly and provide protection against
ingress, use of a petrolatum or soap thickened mineral oil
based thread lubricant/sealant is necessary.
Un-used conduit opening must be plugged to maintain
the integrity of the enclosure.
STEP 6.
Close XR cover. Ensure the retention cable is not pinched
between XR Head and the XR cover. Tighten cover bolts
to 1.7 N-m (15 in-lbs).
Step 5
TM
Nemalux
I N D U S T R I A L
XR-HAZ
rev. A-13
3-14
www.nemalux.com | sales@nemalux.com | Tel 403•242•7475 | Fax 403•243•6190
MADE IN CANADA


