Network Setup
7
NemLink JP1
3.
Connect the Ethernet Module directly to your computer using a suitable ethernet cable.
4.
Power up the NEMTEK board and ensure the green POWER LED is lit (For the NemLink board,
power the board via either the J1 or J2 connector).
5.
Run the USR-M0 setup software on your computer.
6.
Click on the “Search Device” button.
7.
A device should appear in the dialog box above the “Search Device” button. If no device appears
check that the jumper is correctly installed, the ethernet cable is connected and that the board is
powered.
8.
Click on the device to display the device parameters.
9.
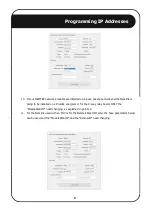
If the module is still configured as factory default, the following parameters should be displayed:
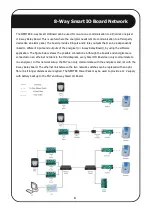
To create a network apart from the physical connections the following steps are required:
1.
Programming IP addresses for the Smart IO cards, Nemlinks and 8-Way Relay boards.
2.
Configure addresses, jumpers and programming of Smart IO cards, Nemlinks, 8-Way Relay
boards, FG7 and Energizers.
PROGRAMMING IP ADDRESSES
The NEMTEK Ethernet Module provides network connectivity to various NEMTEK products. To set up
the module successfully, follow these steps:
1.
Download and save the USR-M0 setup software from
http://www.NEMTEK-druid-
fenceprobe.com/downloads/USR-M0-V2.1.2.118.exe
2.
Install the jumper as per the relevant NEMTEK product shown in the figures below.
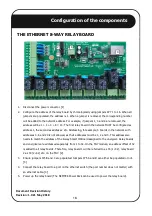
8-Way Relay Board JP3
Ensure jumper installed on the 2 upper pins as
in the figure.


