9
3.2. Configuration through an RS232 Terminal connection
1. Use the provided RS232 cable to connect the ePowerSwitch 8M+
R2
to an available serial port of your
PC.
2. Run a Terminal program such as Windows HyperTerminal.
3. Configure the appropriate serial port @ 9.600, n, 8, 1 and no flow control.
4. On your computer, press <ENTER> until the menu appears on your screen.
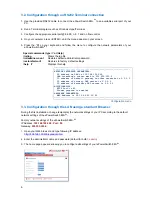
5. Press the “M” on your keyboard and follow the menu to configure the network parameters of your
ePowerSwitch 8M+
R2
.
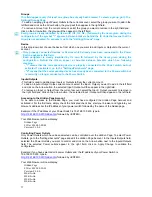
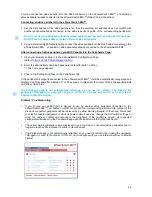
Special commands (type /? or /Help)
/initlog
Clears
the
log
file
/initadminaccount
Restores default administrator password
/restorefactconf
Restores to factory default settings
/help /?
Displays
this
help
------------------------------------------------------------
NETWORK INTERFACE PARAMETERS:
IP address on LAN is 192.168.100.200
LAN interface's subnet mask is 255.255.255.0
IP address of default gateway to other networks is 0.0.0.0
IP address of primary DNS server is 0.0.0.0
IP address of secondary DNS server is 0.0.0.0
MISCELLANEOUS:
HTTP Port is 80
Finder program is enabled
HARDWARE PARAMETERS:
MAC Address is 00.13.F6.01.3C.80
------------------------------------------------------------
Configuration menu
3.3. Configuration through the LAN using a standard Browser
During the first installation, change temporarily the network settings of your PC according to the default
network settings of the ePowerSwitch 8M+
R2
.
Factory network settings of the ePowerSwitch 8M+
R2
:
IP Address:
192.168.100.200 - Port: 80
Gateway:
255.255.255.0
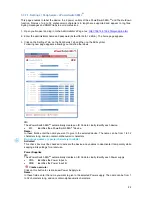
1. Open your Web browser and type following IP address:
http://192.168.100.200/sysadmin.htm
2. Enter the administrator name and password (default for both =
admin
)
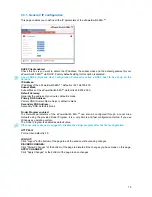
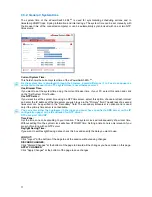
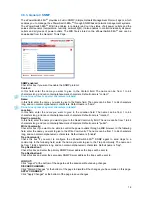
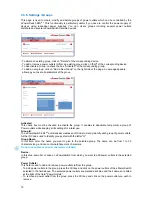
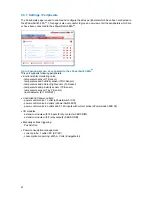
3. The home page appears, allowing you to configure all settings of your ePowerSwitch 8M+
R2
.


