25
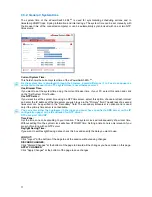
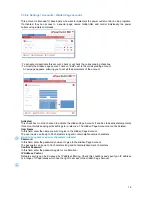
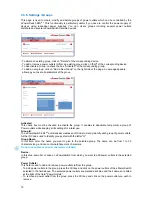
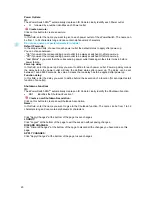
Power Outlets:
ID:
The ePowerSwitch 8M+
R2
automatically creates an ID Code to clearly identify each Power outlet.
•
O
followed by a number identifies each Power outlet
Create new rule:
Click on this button to create a new rule.
Name:
In this field, enter the name you want to give to each power outlet of the ePowerSwitch. The name can
be from 1 to 32 characters long and can contain alphanumeric characters.
Do not use quotes or special characters in labels!
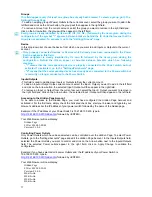
Default Power-Up:
In the drop-down lists, choose for each power outlet the default status to apply after power-up.
You can choose between:
- "On" if you want the corresponding power outlet to be always switched On after power-up.
- "Off" if you want the corresponding power outlet to be always switched Off after power-up.
- "Last Status" if you want that the corresponding power outlet takes again the state it was in before
power failure.
Power up delay:
In this field, enter the power up delay you want to define for each power outlet. Power up delay means
the delay before the power outlet will take the defined status after power up. The delay can be set
between 1 and 65535 seconds, the value 0 means that no delay has to be applied after power up.
Function delay:
In this field, enter the delay you want to define before the execution of a function (for example Restart
function of an outlet).
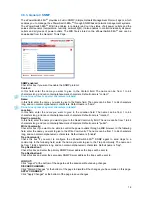
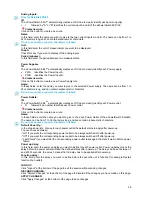
Shutdowns Functions
ID:
The ePowerSwitch 8M+
R2
automatically creates an ID Code to clearly identify the Shutdown Function.
•
SD1
identifies the Shutdown Function 1.
Create a new Shutdown Association:
Click on this button to create a new Shutdown Association.
Name:
In this field, enter the name you want to give to the Shutdown function. The name can be from 1 to 32
characters long and can contain alphanumeric characters.
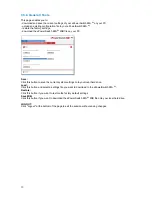
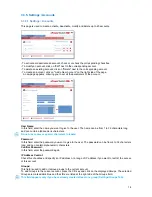
Click "Apply Changes" at the bottom of the page to save changes.
LOGOUT:
Click "Logout" at the bottom of the page to exit the session without saving changes.
DISCARD CHANGES:
Click "Discard Changes" at the bottom of the page to discard all the changes you have made on this
page.
APPLY CHANGES:
Click "Apply Changes" at the bottom of the page to save changes.

