49
Type of Action
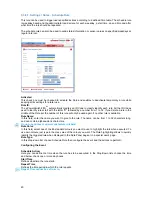
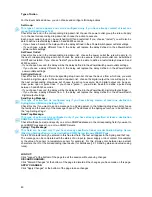
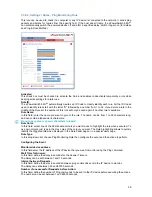
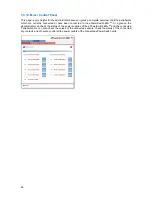
For the Event defined above, you can choose and configure following actions:
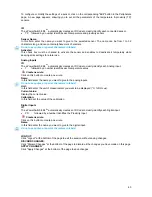
Set Group:
This type of action appears and can be configured only if you have already created at least one
group (Settings/Groups Tab).
Check this box and in the corresponding drop-down list choose the power outlet group the rule will apply
to. In the next corresponding drop-down list, choose the action to execute.
Each power outlet group can be switched On/Off and restarted. If you choose "restart" you will also be
able to define a restart delay between 0 and 65535 seconds.
- If you choose 0 second, the delay will be the delay defined in the ePowerSwitch power outlets settings.
- If you choose a delay different from 0, the delay will replace the delay defined in the ePowerSwitch
power outlets settings.
Set Power Outlet:
Check this box and in the corresponding drop-down list, choose the power outlet the rule will apply to. In
the next corresponding drop-down list, choose the action to execute. Each power outlet can be switched
On/Off and restarted. If you choose "restart" you will also be able to define a restart delay between 0 and
65535 seconds.
- If you choose 0 second, the delay will be the delay defined in the ePowerSwitch power outlets settings.
- If you choose a delay different from 0, the delay will replace the delay defined in the ePowerSwitch
power outlets settings.
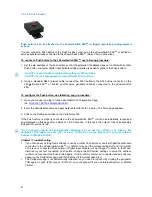
Set Digital Output:
Check this box and in the first corresponding drop-down list, choose the device from which one you want
to switch a digital output. In the second drop-down list, choose the digital output the rule will apply to. In
the next corresponding drop-down list, choose the action to execute. Each digital output can be open,
close, pulse open or pulse close. If you choose "pulse...", you will also be able to define a pulse delay
between 0 and 65535 seconds.
- If you choose 0 second, the delay will be the delay defined in the ePowerSwitch digital output settings.
- If you choose a delay different from 0, the delay will replace the delay defined in the ePowerSwitch
digital output settings.
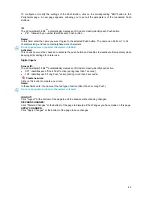
Send Syslog Message:
This type of action can be configured only if you have already created at least one destination
Syslog Server (Misc/Log Settings Tab).
Check this box if you want to send a message to a Syslog server. In the following drop-down lists choose
the facility and the severity of the message to send. The address of the Syslog server has to be defined in
the "Log Settings Page".
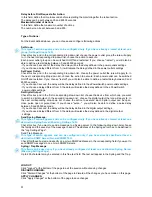
Send Trap Message:
This type of action can be configured only if you have already specified at least a destination
SNMP Server (General/SNMP Tab).
Check this/these box(es) and specify one or two SNMP addresses in the corresponding field if you want to
send SNMP messages to one or two SNMP Servers.
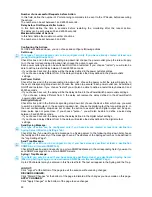
Syslog / Trap Message:
This field can be used only if you have already specified at least one destination Syslog Server
(Misc/Log Settings Page) or one destination SNMP Server (General/SNMP Page.
Up to 255 characters may be entered in this free text field. The text will appear in the Syslog and theTrap.
The message can be completed with the status of an input (a power supply or door contact for example)
or the value of a sensor (a temperature sensor for example). For this, simply enter, between two percent
characters, the ID of the corresponding input device (for details see § 5.1 Sending status and values using
rules).
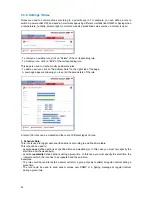
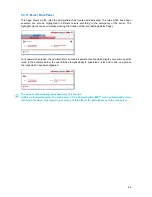
LOGOUT:
Click "Logout" at the bottom of the page to exit the session without saving changes.
DISCARD CHANGES:
Click "Discard Changes" at the bottom of the page to discard all the changes you have made on this page.
APPLY CHANGES:
Click "Apply Changes" at the bottom of the page to save changes.


