background image

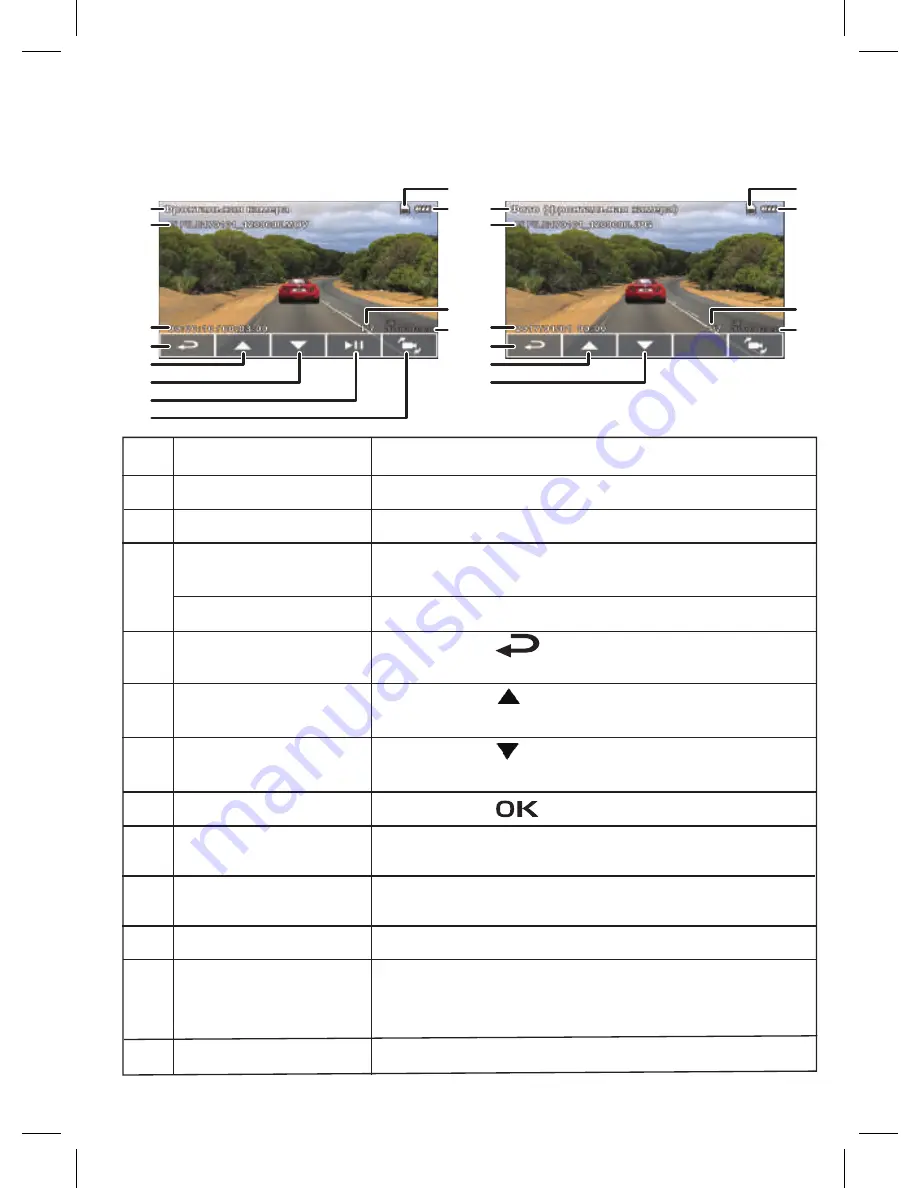
Video Playback Screen

Photo Viewing Screen

2

3

4

5

6

7

8

1

10

9

12

11

2

3

4

5

6

1

10

9

12

11

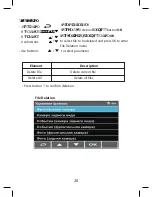
Element

File Type
Filename

Date

/

Time

Current Playback 


Time

Select File

 (

back

)

Previous File

Next File

View
Alternate Camera

Battery

Current file type indication
Filename

Elapsed time and recording time indication

Recording date and time

Press button


to go back to Select File menu

Press button


          to view the previous

photo/video record

Press button


to view


the next

video record/photo
Press button


to view video 

(

photo

)

To switch between front and rear camera on the 

screen

Battery charge indication

Description

No.

1
2

3

4

5

6

7

8

Memory card installed

Memory


Card

9


10

Displayed File 

Number

Number of currently displayed 

file

 and total 

number of files to be displayed

11

Date/Time Stamp

Recording date and time indication

12

19

Playback Screen

Summary of Contents for WIDE S49

Page 1: ...TWO CHANNEL DASHBOARD CAMERA NEOLINE WIDE S49 User Manual...

Page 2: ...NEOLINE WIDE 549 TWO CHANNEL DASHBOARD CAMERA...

Page 3: ...nificant for proceedings on administrative offence shall include still and motion picture footage audio and video recordings information bases and data banks and other information carriers Thus events...

Page 4: ...sible for loss of data and or damage whether direct or indirect caused to the user or to a third party through improper use of the device or software incorrect installation use of accessories not incl...

Page 5: ...tery470 Support of MicroSD memory cards class 10 8 to 32 GB Interval loop recording min 1 3 5 Continuous recording Automatic ON OFF Operating temperature 10 C to 40 Number plate stamp Date time stamp...

Page 6: ...5 3 List of Equipment Car dashboard camera NEOLINE Wide S49 Rear view camera Bracket with suction cup Bracket with 3M scotch tape Car charger Operation manual Warranty card...

Page 7: ...n Enter 10 Reset button 11 Microphone 12 Power button 13 mini USB receptacle 14 Memory card slot 15 HDMI output 16 Rear view camera connector 17 Bracket seat 5 Camera display switchover button 6 Indic...

Page 8: ...n battery is charging Power on battery fully charged Standby mode standby mode with disconnected screen Recording recording with disconnected screen Red No light Red Green Green Red blinking Note Plea...

Page 9: ...8 Installation of Dashboard Camera Windshield Mounting Mount bracket on the device Move it in the bracket holder till it goes click Remove protective film from adhesive bracket...

Page 10: ...racket base on the windshield check that the base is securely fixed Adjustment of Device Position Loosen knob to rotate the device vertically or horizontally Then tighten the knob to securely fix the...

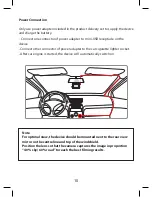
Page 11: ...evice Connect other connector of power adapter to the car cigarette lighter socket After car engine is started the device will automatically switch on Note For optimal view the device should be mounte...

Page 12: ...efully press the card and the remove from the slot IMPORTANT Attempting to insert the card with a wrong side can damage the device and the card itself Make sure the memory card is in correct position...

Page 13: ...cally switches on Manual ON OFF and Reset Manual ON OFF To switch on the device manually press power button To switch off the device press power button and hold it for at least 2 seconds Reset Use a p...

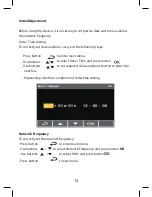
Page 14: ...n to enter main menu Use buttons to select Date Time and press button Use buttons to set required value and press button to enter the next box Repeat step 4 before completion of date time setting Netw...

Page 15: ...layback menu to obtain photo to block current recording 4 Press 5 Press 6 Press 7 Press 8 Press to switch view from front camera to rear camera and back 9 Audio recording indication 10 Current video r...

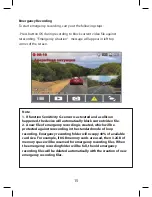
Page 16: ...ice will automatically block current video file 2 A new file of emergency recording is created which will be protected against rerecording in the standard mode of loop recording Emergency recording fo...

Page 17: ...atigue Warning function is activated one hour after the recording mode is started the device will generate an audio warning and then repeat it each half hour Press button to enter main menu Use button...

Page 18: ...ternal vibration affecting the motor car the video recording will last 10 seconds and the video file will be protected If button OK is pressed within 10 seconds the video camera will switch off instea...

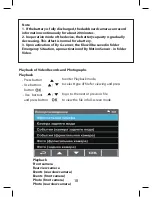
Page 19: ...ile will be saved in folder Emergency Situation upon activation of By Motion Sensor in folder Video Playback of Video Records and Photographs Playback Press button Use buttons button Use buttons and p...

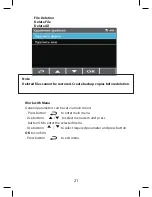
Page 20: ...te and time Press button to go back to Select File menu Press button to view the previous photo video record Press button to view the next video record photo Press button to view video photo To switch...

Page 21: ...BOE QSFTT CVUUPO OK to select file to be deleted and press OK to enter File Deletion menu 1SFTT CVUUPO 6TF CVUUPOT 6TF CVUUPOT Use buttons Use buttons to select parameter Press button to confirm delet...

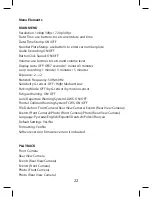
Page 22: ...u General parameters can be set via main menu Press button to enter main menu Use buttons to select menu item and press button OK to enter the selected menu Use buttons to select required parameter an...

Page 23: ...uency 50Hz 60Hz Sensitivity G sensor OFF High Medium Low Parking Mode OFF by G sensor by motion sensor Fatigue Warning ON OFF Lane Departure Warning System LDWS ON OFF Frontal Collision Warning System...

Page 24: ...ay upon attempt to view playback photo video file Uncompleted recording into file through file system error on the MicroSD card Format the MicroSD card Washed out picture Check whether the lens is fre...

Page 25: ...Taipei City 114 Taiwan Made in China Official website www neoline ru Technical support support neoline ru In warranty period 12 months Service life 36 months DC 5V 1A Operating temperature 100C to 40...

Reviews: